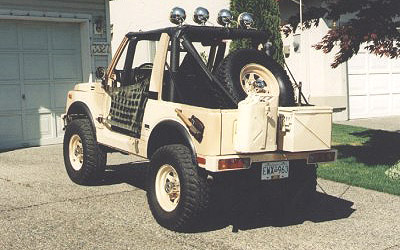
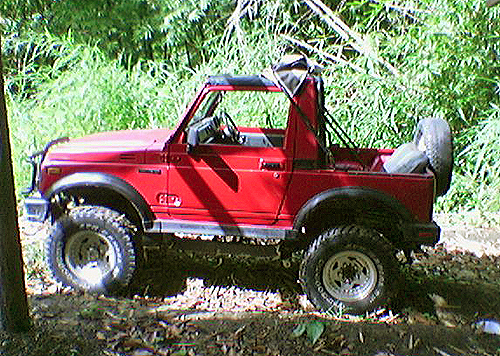
The aim of this page is to try and give enough information for you to fit a radio to your SuzUKi SJ with confidence.
Occaisionally the previous owners have decided that they want to upgrade the stereo or fit extra electronic gadgets. More often than not, they end up hacking the wiring beyond belief. In order to repair any damage done, the easiest and sometimes neatest way to do this, is to inspect the original factory wiring loom, and then try and match it up as closely as possible.
The SuzUKi SJ has a wiring loom that has been totally wrapped with PVC insulating tape. This makes it relatively easy to insulate any bare wires, and then to tape them into the original harness. Fitting another stereo in your car is a simple task and generally takes about an hour.
Remember...
When fitting any new electronic gadgets remember the following do's and don'ts:
Always take your permanent power for the gadget from the largest power wire possible.
Always use a multimeter to determine the voltage of a wire.
Always fit a fuse in the power line as close as possible to the source.
Do not let any wires touch unless you plan to join them together.
If possible, always twist wires to be joined, and then solder them for a secure joint.
Ensure that there are no sharp edges on the joint, then insulate the wires with PVC insulating tape.
Keep the wires together, and if possible, incorporate them into the main vehicle harness.
Roll off PVC insulating tape into smaller rolls. This makes it easier to tape up wires tight areas.
Tools you need...
- Voltmeter or Multimeter.
- Soldering iron and solder.
- Screwdriver - flat and philips.
- PVC insulating tape.
Removing the old unit...
Check to see if there's a plastic cover surrounding the old stereo. Remove it gently. Now if you look at the sides of the old stereo, there should be two small holes on either side of the unit. On some stereos it is a bit more complicated, and you may need a specialised tool.
If you have the stereo with the four small holes, it's easy to remove the old unit, you can buy a DIN removal tool from a DIY store, or you can bend a wire coat-hanger into two U- shapes. Alternatively, at a push, you can use four nails of a similar diameter to fit the small holes.
Now insert what you have decided what you are going to use, insert it into the holes and gently pull the old stereo free of the mounting cage. If it doesn't pull out easily, check the removal tool is pushed in properly, pull it out and re-insert it again if necessary.
Once the stereo is out, remove the old metal cage from the car by bending the tabs straight, and pulling the cage friom the car. It might be sharp so be careful. Now have a look and see how the stereo was connected. If there's two largish black plugs, one with four or five wires going into it and one with eight then your car is already wired for ISO fittings which is the new industry standard.
If however you have a mass of wires, it's not that easy. You will now have two options. If there is a large whit plug, you can buy an adaptor to change from the standard wiring to ISO standard. More often than not, there will be a mass of wires. Now you need to identify each wire, and connect it to the wiring loom of your new stereo. For any modern stereo you will need to have the following wiring.
Permanent Live 12 volts (to preserve the stereo's memory when the ignition is off)
Accessory or Ignition (switched 12 volt Live)
Earth
Front Right Speaker wires
Front Left Speaker wires
Rear Right Speaker wires
Rear Left Speaker wires
ISO Wiring configuration ...
Most new stereos are now wired to what is known as an ISO International standard. The wire colouring for this ISO standard is as follows.
Blue - Aerial / Amp Remote
Red - Accessory (Ignition) Live
Black - Ground
Yellow - Permanent (Battery) Live
Orange - Illumination (Side/Dash Light Circuit)
Grey - Front Right Speaker +
Grey / Black - Front Right Speaker -
White - Front Left Speaker +
White / Black - Front Left Speaker -
Green - Rear Left Speaker +
Green / Black - Rear Left Speaker -
Violet - Rear Right Speaker +
Violet / Black - Rear Right Speaker -
Installing the new stereo ...
Remove the new stereo from any packaging and read the instruction manual. DO NOT attach the faceplate whilst fitting the unit. Install the new cage by following the instructions supplied. Normally this entails you bending the metal tabs around the cage, these in turn clamp it into the car. Connect up any adaptor leads and /or wires until you are left with only the two ISO connectors.
Plug in the aerial lead, and the ISO sockets. These can only go in one way. Before sliding the stereo into the dash attach the faceplate and check the stereo works as it should. If it doesn't, check the trouble shooting section at the back of the manual or the universal one below. Now remove the faceplate and slide the stereo into the dash, it should just click in, if it doesn't have a look to see if any wire are causing an obstruction and then try again. The unit should slide in easily.
Fitting new speakers ...
Occaisionally you may need to, or decide to , fit new speakers. In the Suzuki SJ, there are speaker mounting facilities in the front of the vehicle. These mounting holes are for 4" speakers. Wires can be easily run from the head unit to these speakers.
Installing new rear speakers becomes more of a challenge, but is still quite simple. Additional wires will have to be run from the head unit to the new speaker mounting position. Depending on where the speakers are to be mounted, holes may have to be drilled, or panels will have to be cut in order for the new speakers to mounted correctly and securely.
The wires must be connected to all the speakers in the same way. Each speaker will have a + and a - marked on the terminals. Like-wise, each wire will be individually marked. Always connect the same type of marked wire to the same type of connector. For example, connect the green wire with the black trace to the - side of the left rear speaker, and the violet wire with the black trace to the - side of the right rear speaker, etc.
Troubleshooting ...
- Recheck wiring.
- Stereo won't turn on - Check fuse, Check permanent power, Check ignition power, Check earth.
- Stereo looses its memory - Switch the permanent power and ignition power wire around.



![0610_4wd_01z+suzuki_samurai+group_of_suzukis[1274].jpg](/images/gallery/favourites/0610_4wd_01z+suzuki_samurai+group_of_suzukis[1274].jpg)





![fenderfrt6_SJ-1[376].jpg](/images/gallery/favourites/fenderfrt6_SJ-1[376].jpg)
