|
Like everything else, a SJ ages with time. Just because a vehicle is not brand new, doesn't mean that it has to look shabby. One of the easiest items to replace, repair, or modify are the door panels. Suzuki SJ owners have made door cards from wood, cloth, vinyl, diamonnd plate metal sheet, and even plastic. All it takes is a bit of time, and a few simple tools.
|
Essential tools and equipment ...
The tools required will depend on whether or not you are replacing the whole door panel or only the material on the whole door panel. Below we have listed the tools required to re-cover the existing door panel.
-Small flat screwdriver.
-Medium flat screwdriver.
-Medium Philips screwdriver.
-Needle-nose plies.
-Chisel to scrape off any old glue.
-Tape measure or ruler.
-Scissors
-Sharp craft knife.
-Tin of contact adhesive.
-Adhesive applicator.
-Material covering (either vinyl or cloth) about 18"x36" for each panel.
-Jig saw or Sabre saw (if replacing the fibreboard panel).
The door panel ...
The first step to replacing the door panels, is to carefully remove the existing panel.
|
This is done by loosening all the screws on the door panel with the phillips screwdriver. Next you will want to remove the window winder crank handle clip with a small flat bladed screwdriver. Once this is done, remove the door panel by slowly and steadily pulling the panel away from the door. Work carefully so as not to break the panel.
|

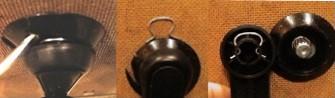
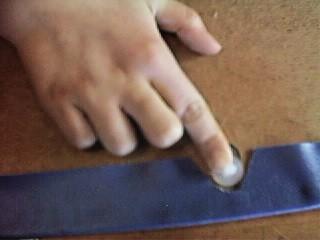
Remove the window crank clip.
Remove the screws from these points.
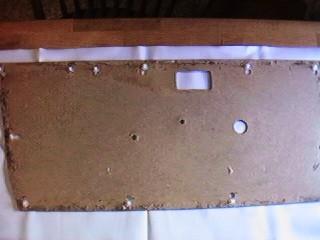
If the fibreboard door panels have deteriorated to such an extent that they are unusable, it is possible to make new ones. You can use a number of materials as mentioned previously. The easiest way to go is to use a good quality fibreboard, 1/4" thick. Trace the shape of the door panel onto the new peice of fibreboard and cut it out using a jig saw. Drill new mounting holes, and finish either with material or vinyl as described below. If you have chosen to use a good quality plywood or metal, finish accordingly with varnish or polish.
|
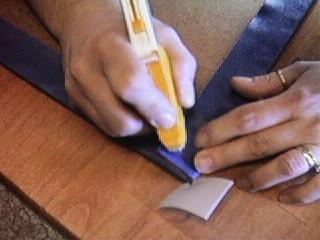
Once the panel has been removed, discard the old covering, and lay the door panel face down on the new material. Trace around the panel including all the openings. Now add 1" all the way around the panel to allow the material to be folded over the inside of the panel. Using a sharp pair of scissors, cut out the shape marked out on the material. |
Marking the new material
Fold over the top and bottom edges, and glue them in place, followed by the side edges.
|
The corners are the hardest part. Fold the material over, and cut through both pieces of material together 45° from the corners. Remove the waste, and glue the material securely in place. |
|
Replace all the clips that were removed earlier, trimmming the surrounding material so that the clips lay flat on the panel. Replace door handles and window crank handle.
|
Replace the door clips
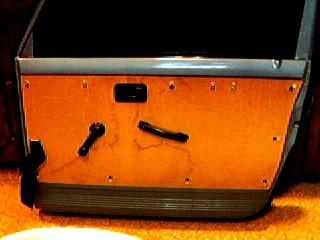
Here we can see a finished door panel. For this particular project, the material that was chosen was vinyl, but any material can be used. The basic principles are the same.
New re-covered door panel


![0610_4wd_01z+suzuki_samurai+group_of_suzukis[1274].jpg](/images/gallery/favourites/0610_4wd_01z+suzuki_samurai+group_of_suzukis[1274].jpg)


![fenderfrt6_SJ-1[376].jpg](/images/gallery/favourites/fenderfrt6_SJ-1[376].jpg)