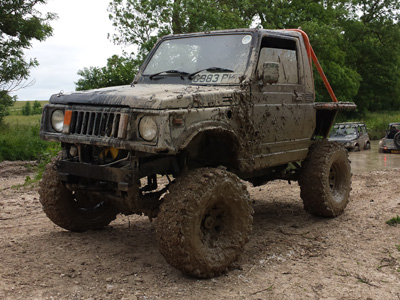
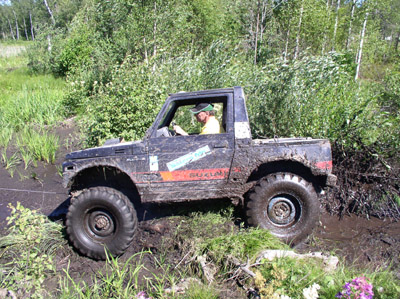
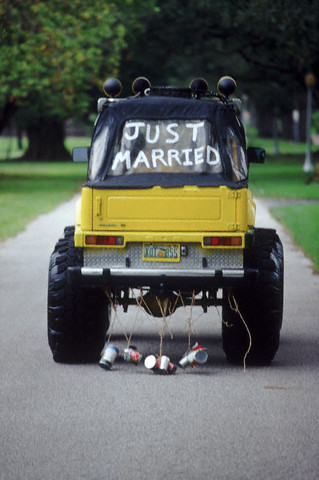
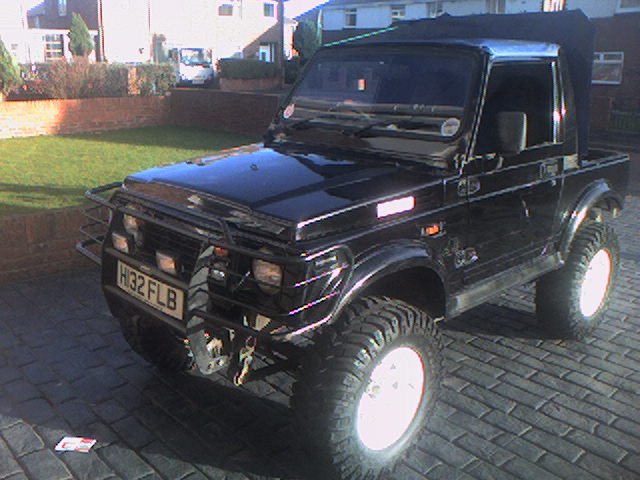
Here is a write up of the first mod I have done to my LWB Samurai, I chose this mod first so as to be able to get a set of 31/10.50/15 tyres on. From what I thought, I would of needed a set of shackle lifts and wheel spacers to do this, but to my suprise, they went on with just a shortening of the front bumpers

Making the Bodylift
Bits and pieces needed for the modification:-
· 36" of 2"-2.5" mild steel tube (get this much in case of mistakes).
· Minimum of 24 washers with a 10mm hole.
· 4 off 4" 10mm bolts, nuts, and washers.
· 4 off 3" 10mm bots, and washers.
Cut the required lenghts of tube to 2", taking the washer thickness into account (I did 12 in total) to make the captive nut lifts. Take a washer and weld one of the 3" bolts in place. These will go through the rubbur mounts and chassis. Take another washer, and weld on the nuts (which need to be taken off the chassis mount studs on the outriggers - 4 off)
Depending on how you want to fit these you will need to rethread the studs as they are not fully threaded or you can pack out the captive nut before you weld the captive nut in place. Myself I packed it out and cut the studs down by ¾" so as to clear the captive bolt on the bottom (the studs will need cutting down either way). When you have done this for 4 of the washers, they need to be welded to the lifts that were cut earlier (the bolt pointing down so head inside and the top with nut inside). For the front and rear mounts, weld the washers on either end (4 off).


There are 10 bolts in all. Two on the front under the head lights. The best way to get to these is to remove the grill and lights themselves. The 2 on the rear are under the tailgate.


These four bolts all go through both the body and the chassis.
The captive mounts are:- 2 either side on outriggers on the chassis roughly in line with door hinges. Then there are 4 in line just behind the front out riggers. Don't forget to keep the nuts. These need to be welded on the new lifts (unless you can find new ones).
Removing the body...
Things to be removed or loosend
Fuel filler pipe, should have enough length to be put back on later.
Gear stick surrounds, to get 4L you will need to cut a slot to get this gear when replacing.
Brake pipe splitter, which is on the drivers side inner wing just under the steering rack. Loosen and hang loose. Later drill new holes and bolt back on.
you may need to keep a check on the cab heater hoses which go into the bulkhead, they may be ok.
Last of all and dont do what I did and forget to loosen the splined end of the steering colum where it goes into the block.
Body Removal
The best place I found to start is the sides. Carefully jack up the body at a good solid point with a piece of 3x2 to spread the load. Do it 1" at a time, checking nothing is catching. When there is plenty of room for the blocks to go under, support the body so that if it drops, it's not on you. Now, first cut back the studs (I did it ¾") so the captive lifts can be put on as tight as possible. I used the original rubbers, putting the lifts directly against the body, and the rubbers under the lifts.


II only used 4 captive lifts on the outriggers. I left the inner 2 and just put in plain lifts, tack welding them in place just to support the body a bit more.
Next put the front and rear lifts in place and then slowly lower the body, checking all the time they are in line. When fully lowered it should be possible to get the front and rear bolts through the body and chassis (it will take a bit of adjusting, but it's not hard though). Tighten fully when you have done the same to the other side. Put some plain lifts in place to support the body (I tack welded 6 in place). This is advised as the body can bend the outriggers in time with the weight resting only on them.
The Final bits...
After I had all this done, it was time to put things back together, steering pipes etc.

Before & after Body lift

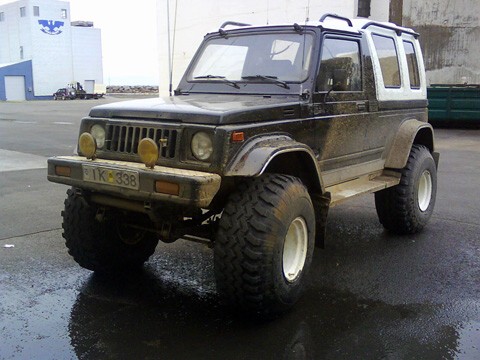
With larger tyres
I had to do alterations to the bumper to get the tyres under, which was only cutting off 4" either side and trimmig the crner bumpers and then welding it back on. Only for the ime being as soon I will be making a winch bumper to replace it.
Also thanks to club members who have helped me out.
THANKS
Credits...
This article was written by Wayne Ollerenshaw, also known as "Wolly"

![0610_4wd_01z+suzuki_samurai+group_of_suzukis[1274].jpg](/images/gallery/favourites/0610_4wd_01z+suzuki_samurai+group_of_suzukis[1274].jpg)
![fenderfrt6_SJ-1[376].jpg](/images/gallery/favourites/fenderfrt6_SJ-1[376].jpg)
