This rebuild is based on the AISIN brake caliper from Japanese vehicles, which differ from Girling calipers on Spanish vehicles.
Brake calipers take a lot of abuse, and can often start to bind either on locking the wheel, or off where there is no braking force. Which is an MOT fail. This can usualy be solved by stripping and rebuilding the calipers. This is a relativly wasy job but being an integral part of the brake system if you have any doubts get them done by a professional.
Tools and parts...
Only basic tools are needed for this job:
- Hammer
- Block of wood
- Flat and phillips screwdrivers
- Various spanners or sockets and ratchet
- G-clamp
- Fine emery cloth
- Optional but un essential tools:
- Vice
- Hose clamp
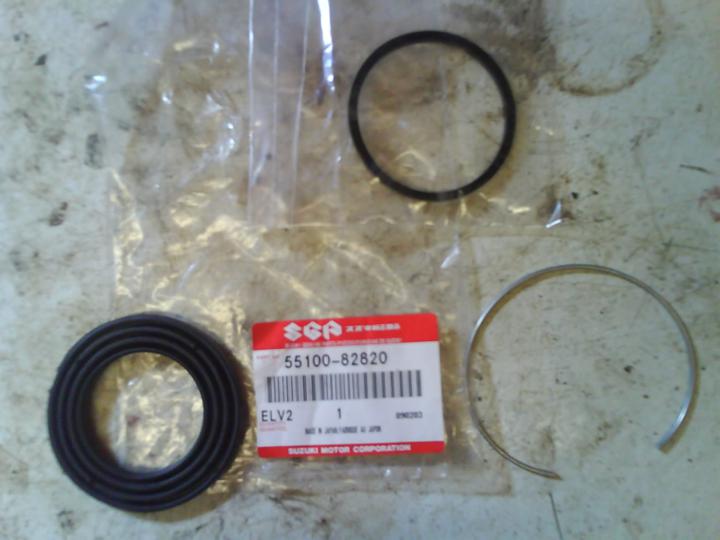
You will also require new seals from suzuki, part no. 55100-82820
If you require a new piston you need part no. 55100-82810 which includes the seal kit above.
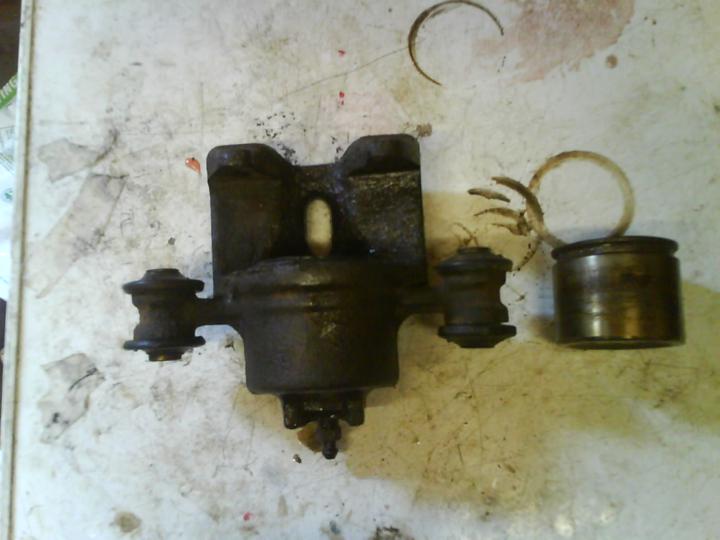
Stripping the calipers...
First the calipers need to be removed from the axle this is done by clamping the brake line and undoing the 15mm banjo in the back of the caliper then undoing the two 12mm bolts on the back of the caliper.
Now to remove the piston from the caliper you have three options:
- Use compressed air and a suitable sized attachment that will fit inplace of the banjo bolt
- Use an empty grease gun, some with a screw end fit in the banjo
- Before removing the brake line from the caliper use the brake pedal
Whichever method you use place a peice of wood in the caliper to prevent damage to the piston or the caliper.
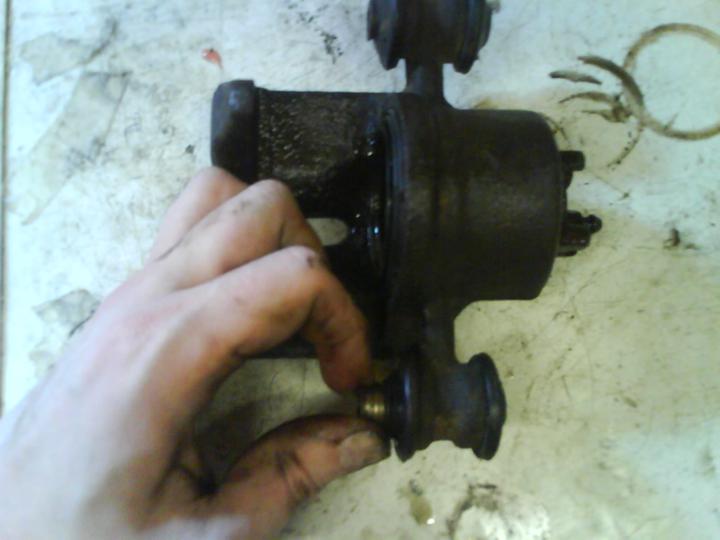
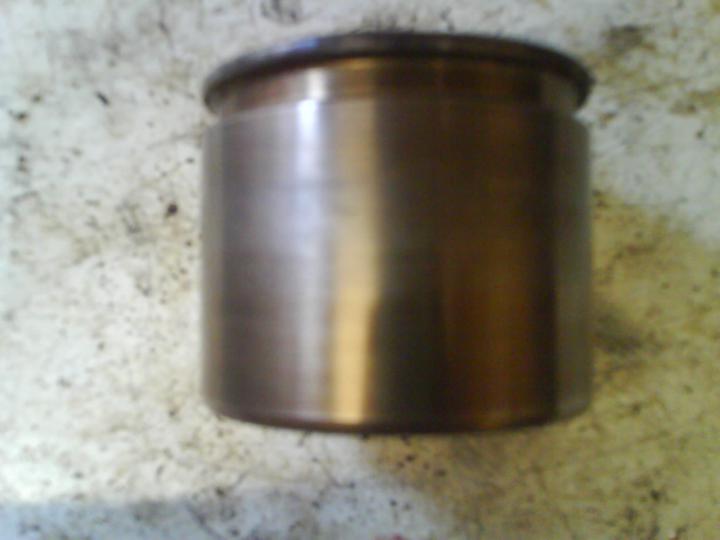
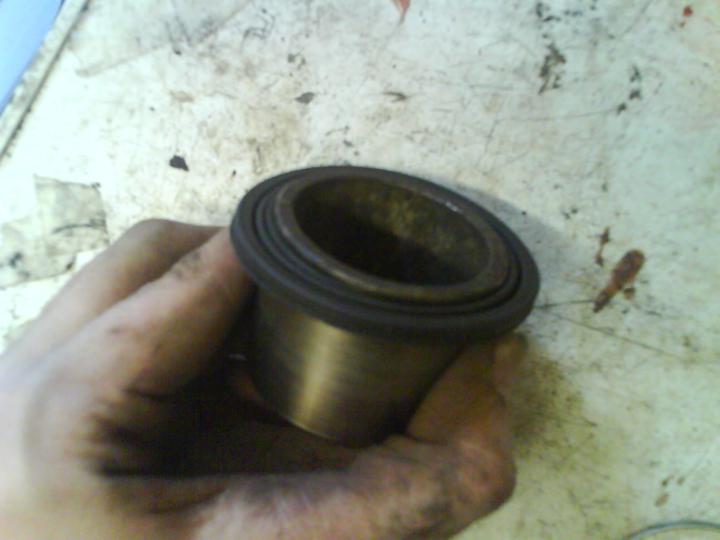
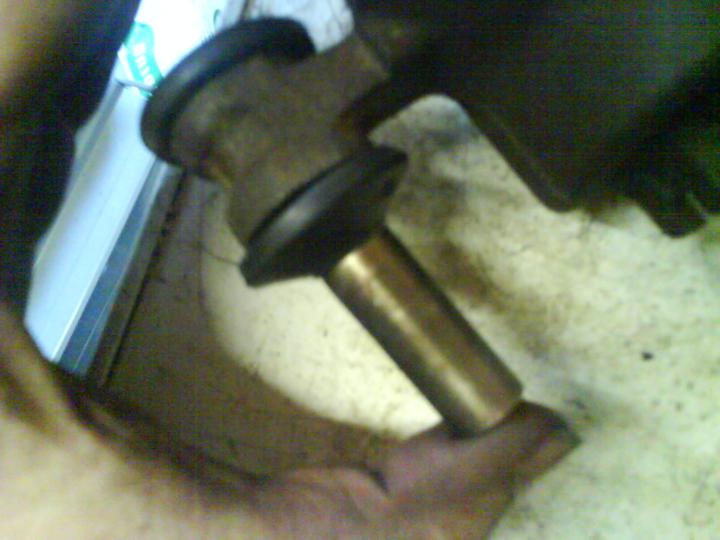
You should be left with something that looks like this:
Next you need to remove the sliders, this is simply done by pulling the sliders forwards, then the rubber dust boots just pull out.
Now its time to remove the piston dust boot, again this just pulls out but is a little more resistant than the slider boots. Then you need to remove the spring metal retainer, this is where a flat blade screwdriver comes in usefull, hook it round the back of one end of the retainer and use that to get it out of the reces.
Below the dust boot is the brake fluid seal, this also needs removing. I found it easier to run a small flat blade screwdriver round the top and bottom of the seal before trying to hook it out using the screwdriver.
Cleaning the components...
It is time to clean and inspect the components. Use kitchen roll to clean the components. On any light corrosion use a fine grade of emery cloth to carefully remove it. If the piston or caliper bore are excessively coroded or pitted they will need to be replaced.
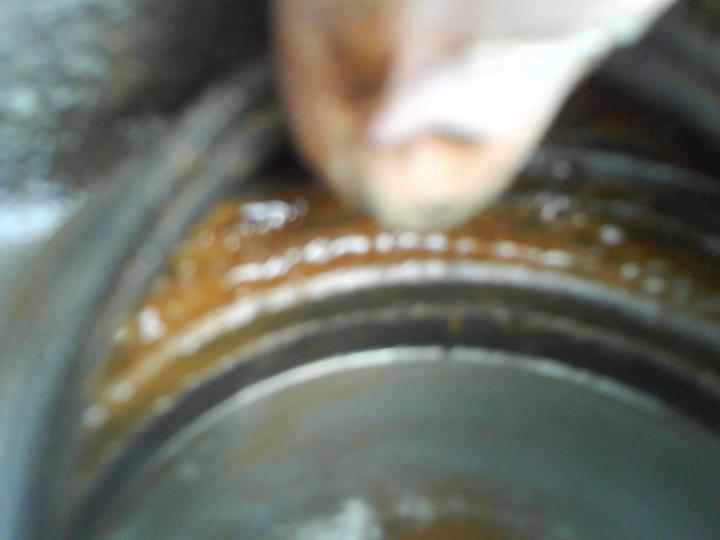
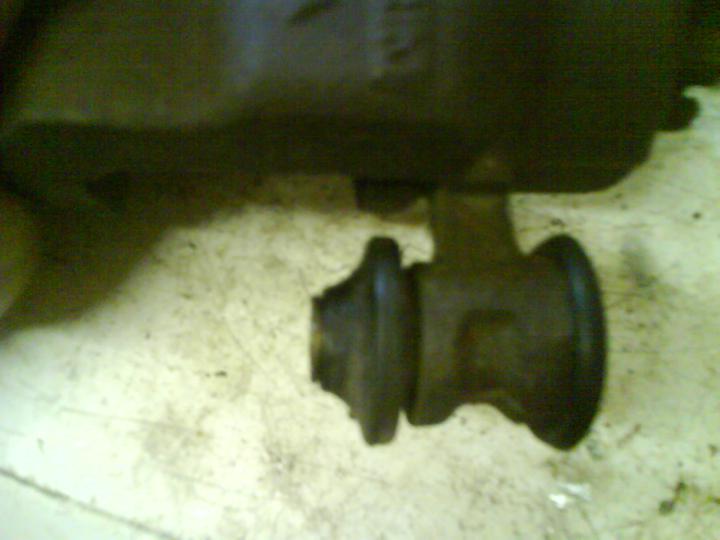
Before
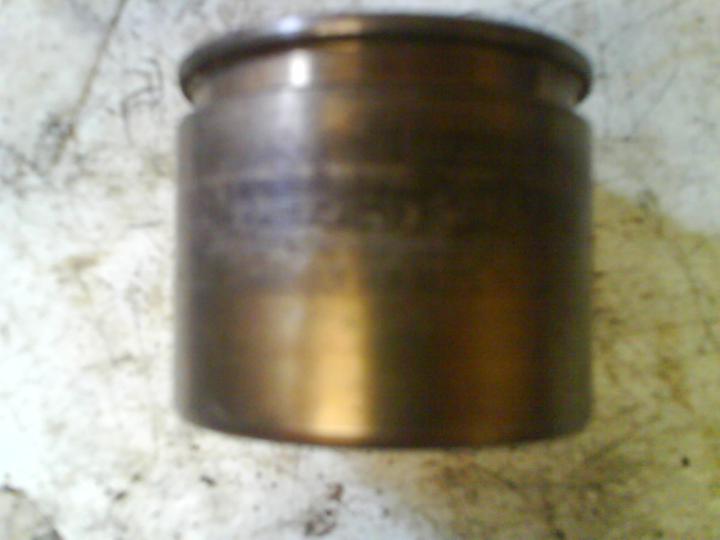
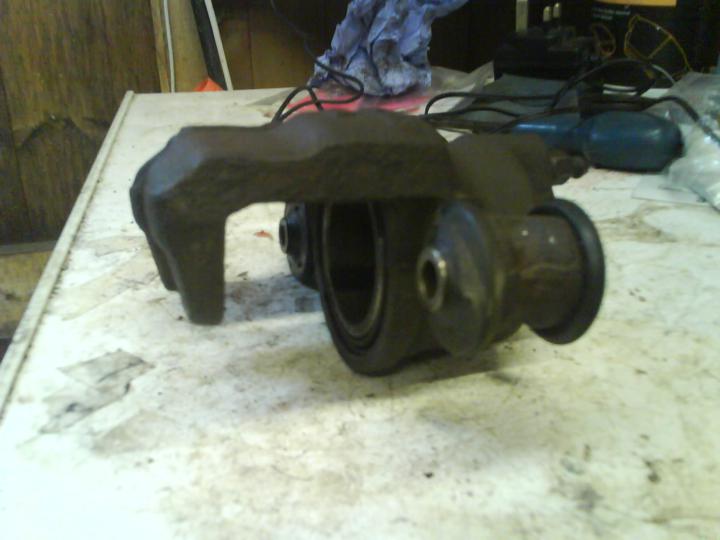
After
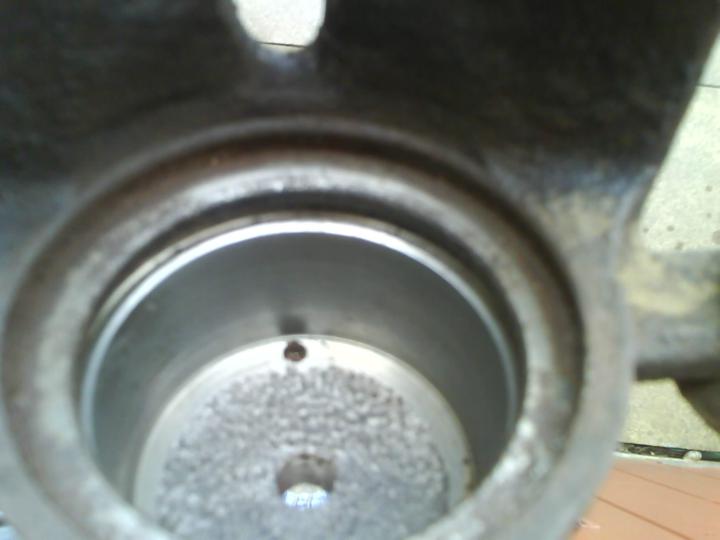
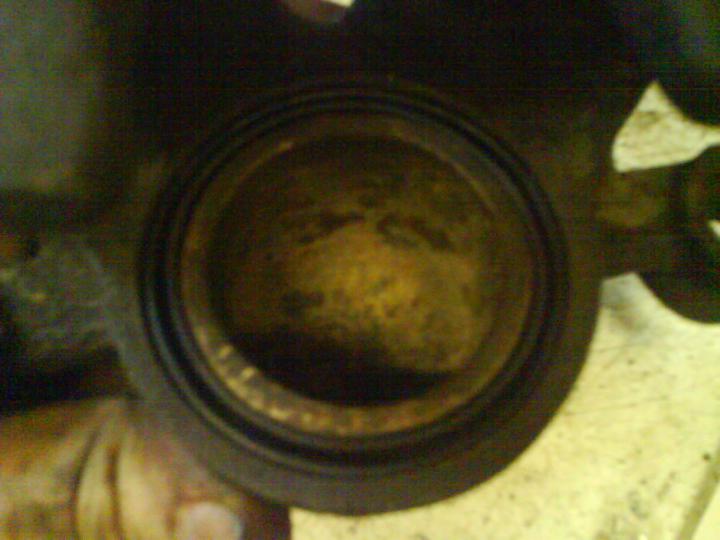
Don't forget to clean the reseses on the inside of the caliper bore. The base of the caliper bore may be pitted, provided it is not corroded so excessively that the structual integrity of the caliper is compromised it is acceptable.
The sliders will also need inspecting and cleaning, once again if they are excessively corroded they will require replacement. Dont forget to clean where the dust boots fit and where the sliders go.
If you were painting your calipers, now is the time to do so.
Reassembly...
This is the kit from Suzuki containing the new brake fluid seal, dust boot and spring metal retainer. Missing from this picture is a small packet of pink lubricant.
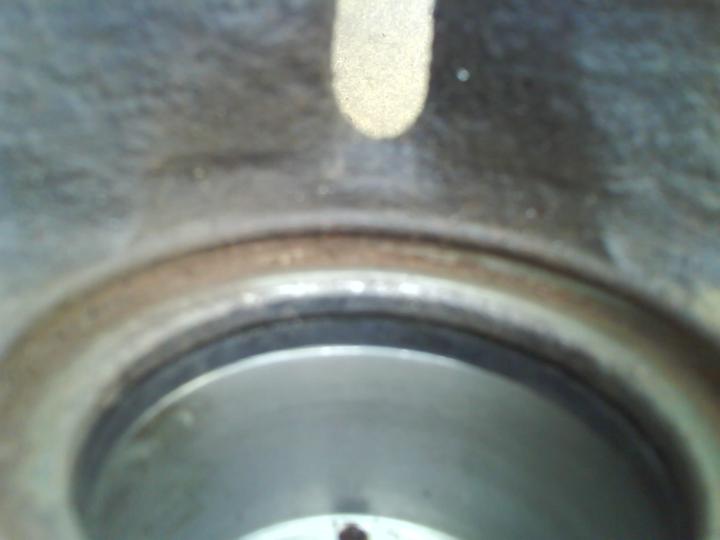
Seat the new seal in the lower recess
A lot of trial and error went into fitting the new dust boot, but this is the easiest method I came up with. Seat the new dust boot on the piston. Use the lubricant provided apply a small amount to the piston.
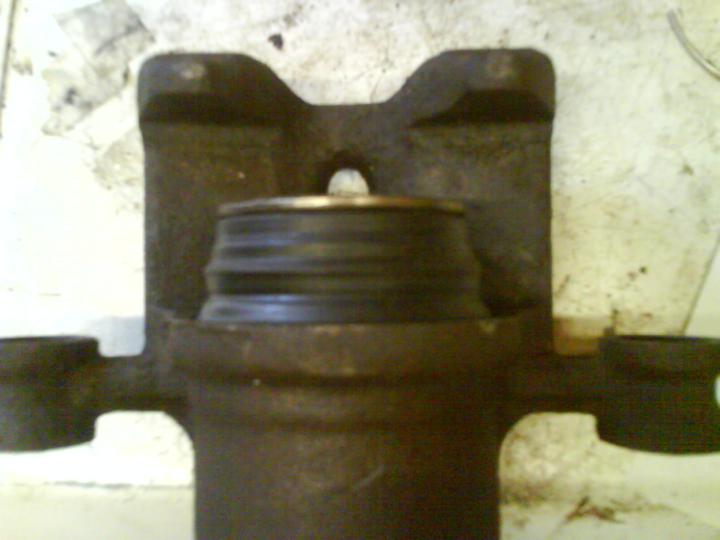
Line up the piston with the caliper making sure it is square, then using a piece of wood so not to damage the piston carefully tap the piston into the caliper with a hammer.

Make sure the dust boot is seated correctly in the recess of the caliper bore.
Then push out the piston about 1/2 an inch using a phillips screwdriver through the banjo bolt hole.
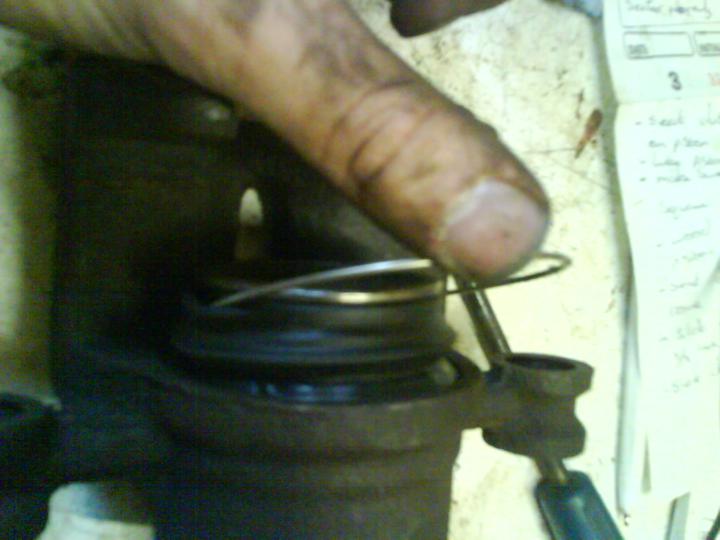
The rubber boot now needs to be unseated from the piston recess. This is the difficult bit, with the rubber boot unseated carefully slide one end of the new retainer spring round to the back of the piston at an angle so that it goes into the recess. With one end of the retainer seated carefully push the rest of the retainer into the recess working round the piston, a small screwdriver may help.
Once the retainer is seated reseat the boot on the piston, press out the piston a little further from behind again checking that the boot is not caught on the retainer, once you are sure it is not caught press the piston back fully into the caliper.
The slider dust boots need to be refitted into thier recesses, and the sliders then need to be re inserted. I found it easier to push the sliders in from the back of the caliper, ensuring the recess on the slider is on the outward side of the caliper. if the boots are not seated properly the slider will either not go through or force the boot out of its seat.
Push the slider so the boot can become seated on the outward side of the caliper.
This needs to be repeated on the other slider
The caliper is now complete and rebuilt.
Now it is time to refit the caliper to the vehicle and bleed the brakes.
Remember: If you are not confident working on such a vital part of your Suzuki have it done by a professional.
Credits...
This article was writen by Daniel Bourne a.k.a bourneyo on the forum

![0610_4wd_01z+suzuki_samurai+group_of_suzukis[1274].jpg](/images/gallery/favourites/0610_4wd_01z+suzuki_samurai+group_of_suzukis[1274].jpg)

![fenderfrt6_SJ-1[376].jpg](/images/gallery/favourites/fenderfrt6_SJ-1[376].jpg)