There are two types of free-wheeling hubs that are fitted to the SJ series. Manual and Automatic. The only purpose of the free-wheeling hubs is to allow the front wheels to rotate freely without the drag of the driveshaft, thus saving petrol, and wear and tear on the front drive components. These free-wheeling hubs are not too difficult to find, and are quite easy for you to fit yourself. Here we look at fitting the manual type.
A free-wheeling hub should be fitted to each of the right and left front wheels hubs. They are marked "FREE" and "LOCK". When the hub cover is set to the "FREE" position, the axle shaft and wheel are disconnected from each other and the front wheels rotate freely.
Caution:-
When using the free-wheeling hubs, both hubs must be set to the same position, either "FREE" or "LOCK".
Hub housing removal ...
Raise the front of the vehicle and place securely on jack stands. Remove the front wheels, and the plastic hub covers. Now you will see 6 nuts holding the hub assembly in place, and a metal "cap" covering the end of the axle. Remove these nuts, and using the claw of a claw hammer, or large flat screwdriver, pry off the metal cap. It does not matter if this is damaged or destroyed, as you will not need it again for the free wheel hubs. Next, remove the circlip holding the hub housing against the axle. Now slide off the old hub housing.
Hub installation ...
Once the old hub assembly has been removed, it is time to fit the new Free wheel hubs. Align the triangular mark on the knob of the free-wheeling hub cover with the "FREE" marking. Separate the free-wheeling hub cover and the body assembly.
Install the large gasket and free-wheeling hub assembly onto the front wheel hub. Put a bolt into the hole in the axle shaft, and pull the shaft out until the circlip can be fitted into the groove in the axle shaft.
Now remove the bolt from the axle shaft.
Now install the cover assembly to the hub assembly making sure that the two stopper rails fit freely into the wide slots in the hub body.
Tighten the hub body bolts to a torque of 15 - 22 ft-lbs, and the hub cover to a torque of 72 - 109 ft-lbs.
Re-fit the wheels, and tighten all nuts correctly.
When fitting any new gadgets to your vehicle, remember that safety comes first.

Loosen the wheel nuts and remove the wheels

Remove existing standard hubs

Large gasket held in place with thin layer of grease.

Fitting free-wheeling hub assembly body.

Tighten bolts to a torque of 20-30N.m

Using a bolt to pull the axle shaft out.

Fitting circlip to axle shaft.

Fit the free-wheeling hub cover.

Replace the wheels and tighten all nuts.

Exploded view of Free-wheeling hub.
Note on installation ...
Before installing the cover assembly make sure of the following points.
-The triangular mark on knob is at "FREE" position.
-Clutch is fitted to the cover side.
-Gasket is set flush with the hub.
-The hub should not be packed with grease.
-Make sure that the hub cover and base are marked for alignment
Checking operation ...
Jack up the front end of the vehicle. Move the knob of the free-wheeling hub between "FREE" and "LOCK" and check for smoothness. Also check if the wheel operates correctly with the knob at "FREE" and "LOCK" positions by rotating the wheel by hand.

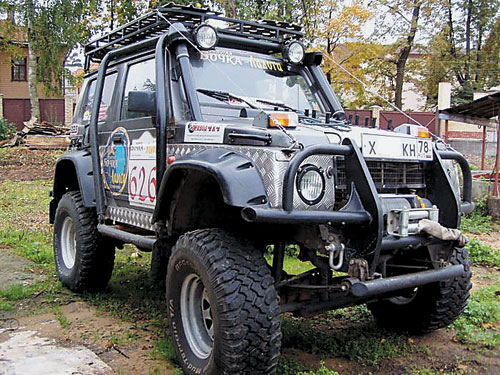
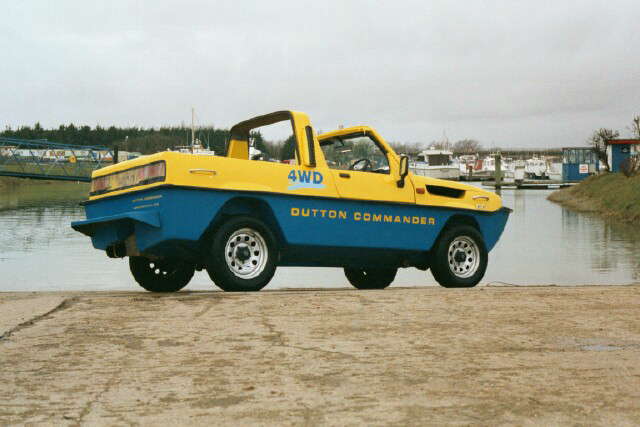
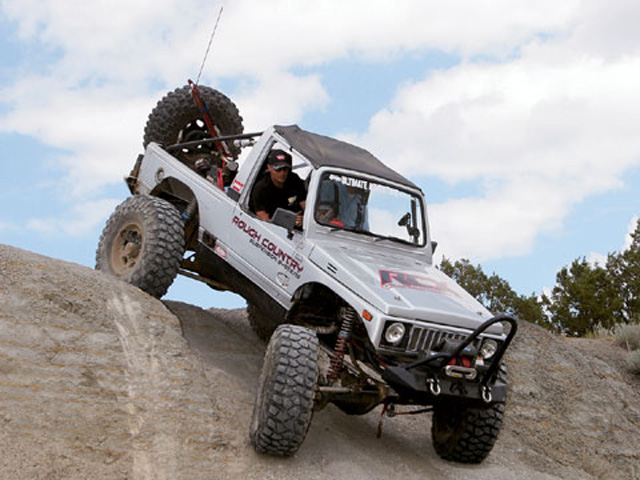
![0610_4wd_01z+suzuki_samurai+group_of_suzukis[1274].jpg](/images/gallery/favourites/0610_4wd_01z+suzuki_samurai+group_of_suzukis[1274].jpg)
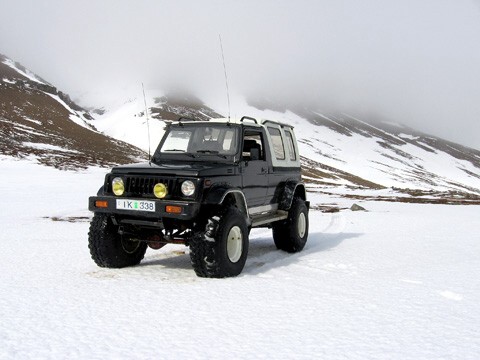
![fenderfrt6_SJ-1[376].jpg](/images/gallery/favourites/fenderfrt6_SJ-1[376].jpg)
