This Modification is very easy to do with very few tools, it gives you the same effect as a Difflock but for free but it cannot be disengaged, you will lose turning circle have different handling and may be more prone to breaking driveline components, I am in no way responsible for your actions! And it is most definately for OFFROAD USE ONLY!
Tools Used...
Tools I used:

Stripping the diff...
Start with a removed SJ DiffI fastened it in the Vice to make it easier to work on.

Undo and remove the 12mm headed bolt holding the preload spring clip, and then LOOSEN the 14mm nuts holding the bearing caps on, repeat on the other side.

Then with a suitable tool (I used long nose pliers, they're not tight) unscrew the bearing preload cups until they come all the way out.

Now completley remove the 14mm nuts and remove the Bearing caps.(You may need to Carefully and gently tap them upwards with a small hammer.

Now lift the Differential assembly out of the carrier, there will be a bit of suction on the bearing from the oil but it just lifts out.Place onto your pre arranged clean work area.

Remove the bearing carrier from the vice and carefully place to one side.To make it easier to acess the bolts to open the spool/spidergears/sun and planet gears I removed the bearing by CAREFULLY prying off with 2 screwdrivers.

To make bolt removal easier I fastened the spool in the vice by gripping the bolt heads on the Ring gear.

Remove bolts and tap with small hammer to open the spool.

Lift out the Spider/Sun gear and carefully place to 1 side.

Now turn the spool over in the vise and grip the casing tightly! (Don't worry, it is VERY strong)The bolts holding the crownwheel/ring gear on will be very tight and will also have threadlock on them, it is possible to remove them with a ratchet but to make life easier I opted to use the air impact wrench.

Then remove the spool from the vice, turn it over 180degrees and place it on the bench.

Then lift the ring gear off.

This will allow you to remove the shafts holding the spider/planet gears in.

Simply push and pull them with your fingers, being careful not to lose the little thrust washers.


Now you can lift out the bottom side/sun gear.

Welding the Diff...
Weld 2 teeth then miss 2 teeth and so on and so forth


Reasembling the diff...
"Reassembly is the Reverse of Disassembly". Now we have welded side gears we simply wait for them to cool , fit one back into the bottom of the spool and refit the spider gears.

Not forgetting the thrust washers.

Place the crown wheel back over the spool, and put it back in the vicePut every bolt in by hand for a few turns and then tighten very hard, I chose to use the air impact gun to retighten them, you may want to use threadlock too.

Turn it back over in the vice and refit the other side gear.

And close the spool, the bolts don't need to be overly tight but make sure they won't come undone!

VERY CAREFULLY, Using a copper hammer if possible and only hitting the centre ring tap the bearing back onto the shaft.

Put the Diff carrier back in the vice.

And refit the outer races onto the bearings before refitting the spool into the carrier.

Refit the bearing caps and put the nuts on finger tight only.Now take the big round bearing retainers and screw them into the sides of the carrier, being very careful not to Cross thread or misalign them, wind them in as far as you can with your fingers.Now is the Tricky bit. (This part is crucal to the operation of your diff) you need to wind the bearing retainers in so the bearings that they control are neither too tight or too slack, the best way of doing this is to rock the ring gear back and forth on its turning axis and listen for the little "click click" it makes on the pinion as you rock it.Continue rocking it and listening whilst you tighten the rings, when it stops making a noise, wind the rings out a fraction at at time until the noise is just back. Refit the locking spring clips now.And tighten the 14mm retainer nuts as much as possible with your spanner.

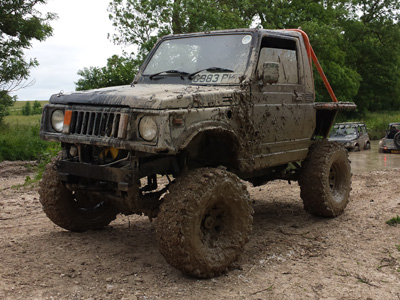
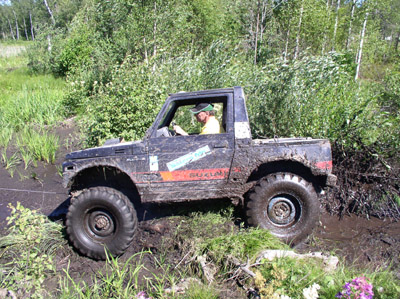
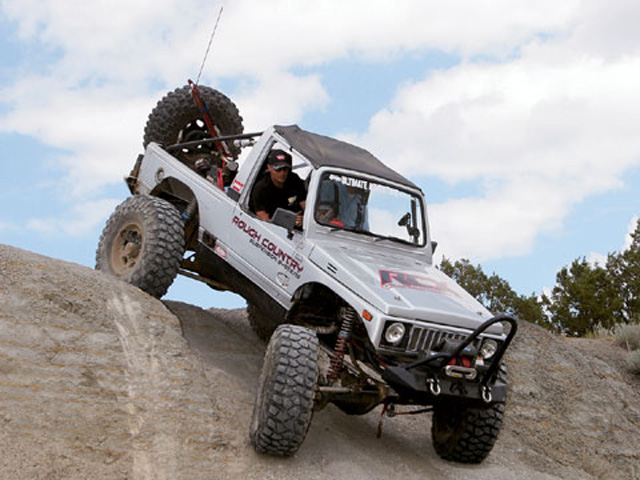
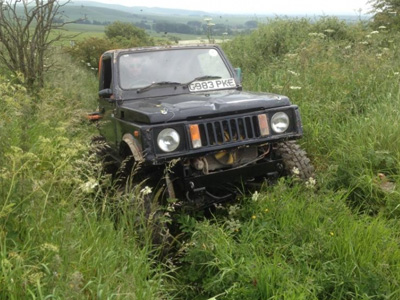
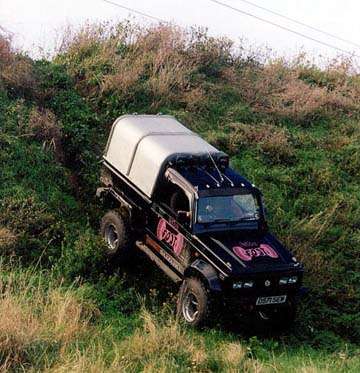
Then thats it! The diff should turn freely by hand, just like it did when you started but you won't be able to turn the side gears separately. Refit to your SJ and then laugh as you overtake all your mates through the axle twisters and hillclimbs. Like so, with a welded diff it drove through this with barely any wheel spin.

Credits...
Words and Pictures Copyright - Nathaniel Ham - 2006 - This email address is being protected from spambots. You need JavaScript enabled to view it. original of this can be found at http://forum.difflock.com. In Difflock

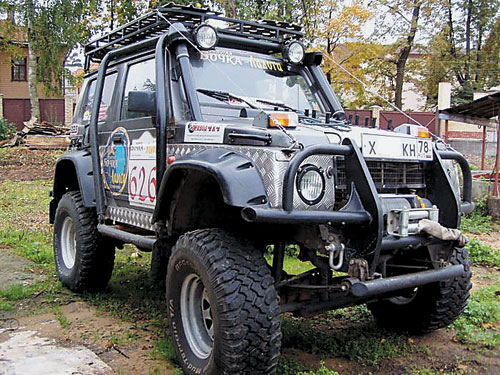
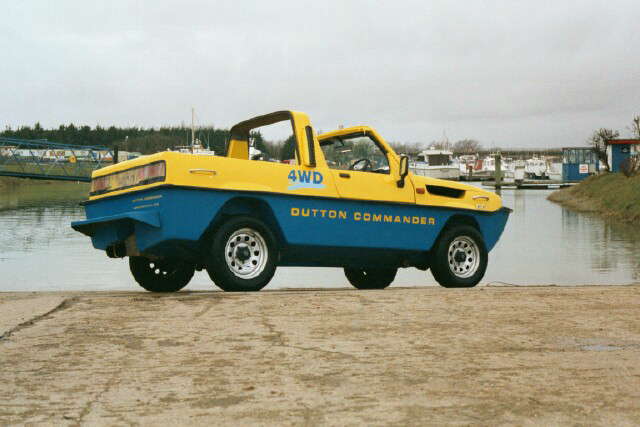
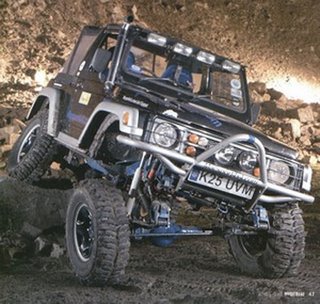
![0610_4wd_01z+suzuki_samurai+group_of_suzukis[1274].jpg](/images/gallery/favourites/0610_4wd_01z+suzuki_samurai+group_of_suzukis[1274].jpg)
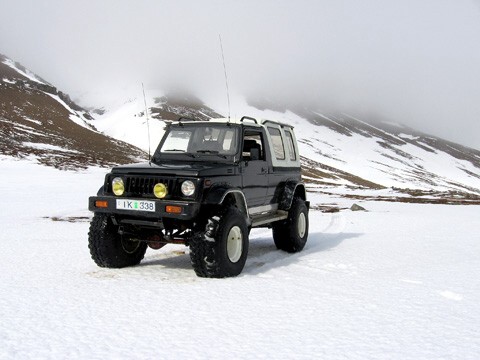
![fenderfrt6_SJ-1[376].jpg](/images/gallery/favourites/fenderfrt6_SJ-1[376].jpg)
