
1989 Suzuki SJ Samurai
Background
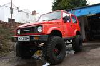
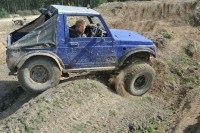
After watching a few SJ's on Ebay I purchased this from Derbyshire on the 24th November 2010 for the total of £800. The mileage at the time was 51253. It was the best one on there at the time and exactly fitted my requirements for what i was looking for. It had obviously spent a bit of time on farms and has been used off road and on green lanes. As far as i know all the modifiactions it has is a 2" lift on shackles and Runway AT tyres. Plus the bottom part of the carpet has been removed.
My intentions were to use it exclusively over the winter and during the summer i can use it alongside my other car, having them both insured on limited mileage i can use the anus for off road weekends and use it as a van if need be.
The day i bought it sat in its last owners farmyard


Project aim
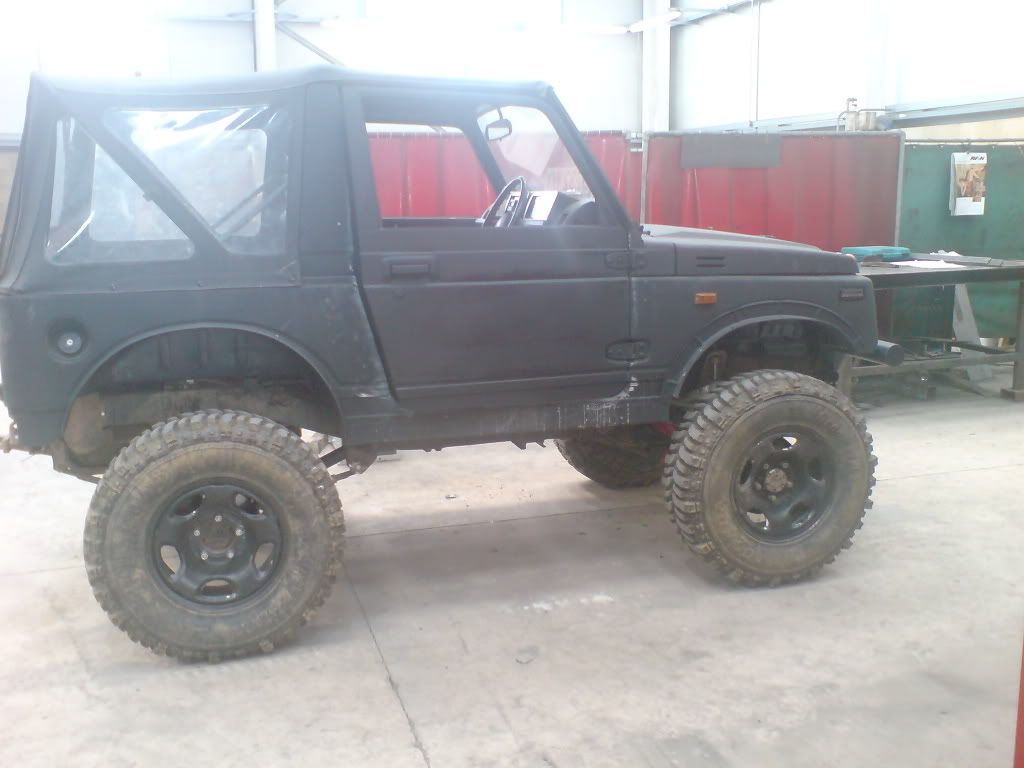
I realised that if it were to stay on the road for the next coming winter and next years test it would need some work doing, mainly welding up the usual parts of the bodywork and floorpan. For some reason iv left it a little late as the test is in a few weeks and i havnt started work properly until this afternoon
So intentions are;
- to remove and replace all the metal arch flares with plastic ones. Including any repair work needed to the fixing brackets that come off the body.


Drilled out the original screw heads off for the front arch flare


Accidently grinded off this bracket sorry

- Cut out the sills and replace with box section steel to double up as rock sliders, or another option would be to replace the sill with something standard looking and try and find a way of reusing the original plastic sill trim so it looks more original


As you can see somebody has imaginatively used a piece of bathroom type aparatus to fix the sill trims on and hide this rot
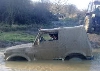
- Cutting out the rear inner arches where it joins to the body around the wheel well and rewelding to make solid once more, it has already had some work done to the NSR but i think it will all have to be cut out and done again more neatly. Thinking about a virtual lift type route

- Repair hole in floor pan at both sides behind the seats around the seatbelt and body mounts

This is the front part of the OSR arch

- Repair OSR section of floor pan aroud fuel filler neck where a rather large hole had appeared

I have only taken pictures of the OFFside so far but the otherside is basically the same, the sills arnt as bad and the rear arch has already been repaired but not very well. I realise that the repair work doesnt have to be spot on because i will continue to use it on lanes and off road sites. I dont do welding myself so im stripping it down as much as possible for a friend of mine to carry out the welding work. This way it minimises the amount of time he spends on it and hance money i have to spend
Thanks for looking so far any comments and suggestions are welcome, i could do with some clever ideas if anyone has any