when i took mine apart, i wondered how the cab didnt blow away in the wind while bringing back on the trailer, there was so much rot round the mounts. never mind done now.
Ian
trotters sammy... updated finally
-
ianedwards

- SCUK Addict

- Posts: 878
- Joined: Thu Sep 15, 2011 8:23 pm
- Location: Brecon Powys
Re: trotters new sammy
Cheers
Ian.")
1987 Suzuki SJ413 KJA - Fixed + Modified in my own way
Ian.
1987 Suzuki SJ413 KJA - Fixed + Modified in my own way
-
dazerede
- Suzuki, will you marry me?

- Posts: 2141
- Joined: Fri Sep 30, 2011 10:23 pm
- Location: cornwall callington
Re: trotters new sammy
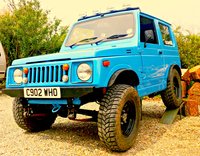
by the way is this sammy japanese
Suzuki Sj 410 Jap Built
Recaro Seats Fitted
Landini Blue Colour
Full rollcage and winch bumper
1.6 8v vitara lump with su carb
4” calmini lift kit
235/75/15 insa turbo special tracks
99.9% Rust Free
BUILT NOT BOUGHT
Recaro Seats Fitted
Landini Blue Colour
Full rollcage and winch bumper
1.6 8v vitara lump with su carb
4” calmini lift kit
235/75/15 insa turbo special tracks
99.9% Rust Free
BUILT NOT BOUGHT
-
dan_2k_uk
- I spend far too much time on here

- Posts: 4924
- Joined: Tue May 06, 2008 5:19 pm
- Location: Swindon, Wiltshire
Re: trotters new sammy
yeah 1990 Jap Samurai jx

Janspeed manifold, LWB Vit vented discs and calipers
Build thread -- Build photos -- HLA-Artwork
Coming soon: YJs, Trussed axles, Full float rear.
-
dazerede
- Suzuki, will you marry me?
- Posts: 2141
- Joined: Fri Sep 30, 2011 10:23 pm
- Location: cornwall callington
Re: trotters new sammy
just thinking becouse ive just noticed that the front looks a bit diffrent where the front shackles are.
Suzuki Sj 410 Jap Built
Recaro Seats Fitted
Landini Blue Colour
Full rollcage and winch bumper
1.6 8v vitara lump with su carb
4” calmini lift kit
235/75/15 insa turbo special tracks
99.9% Rust Free
BUILT NOT BOUGHT
Recaro Seats Fitted
Landini Blue Colour
Full rollcage and winch bumper
1.6 8v vitara lump with su carb
4” calmini lift kit
235/75/15 insa turbo special tracks
99.9% Rust Free
BUILT NOT BOUGHT

Re: trotters new sammy
That's the calmini shackle reversal kit (not standard shackles)
Last edited by trotter on Tue Feb 21, 2012 11:19 pm, edited 1 time in total.
if in doubt, FLAT OUT!
mans tool kit > duct tape, wd40 and a bfh is all you ever need
mans tool kit > duct tape, wd40 and a bfh is all you ever need
-
dan_2k_uk
- I spend far too much time on here
- Posts: 4924
- Joined: Tue May 06, 2008 5:19 pm
- Location: Swindon, Wiltshire
Re: trotters new sammy
Its got a calmini shackle reversal kit fitted.
Dan
Dan
Janspeed manifold, LWB Vit vented discs and calipers
Build thread -- Build photos -- HLA-Artwork
Coming soon: YJs, Trussed axles, Full float rear.
Re: trotters new sammy
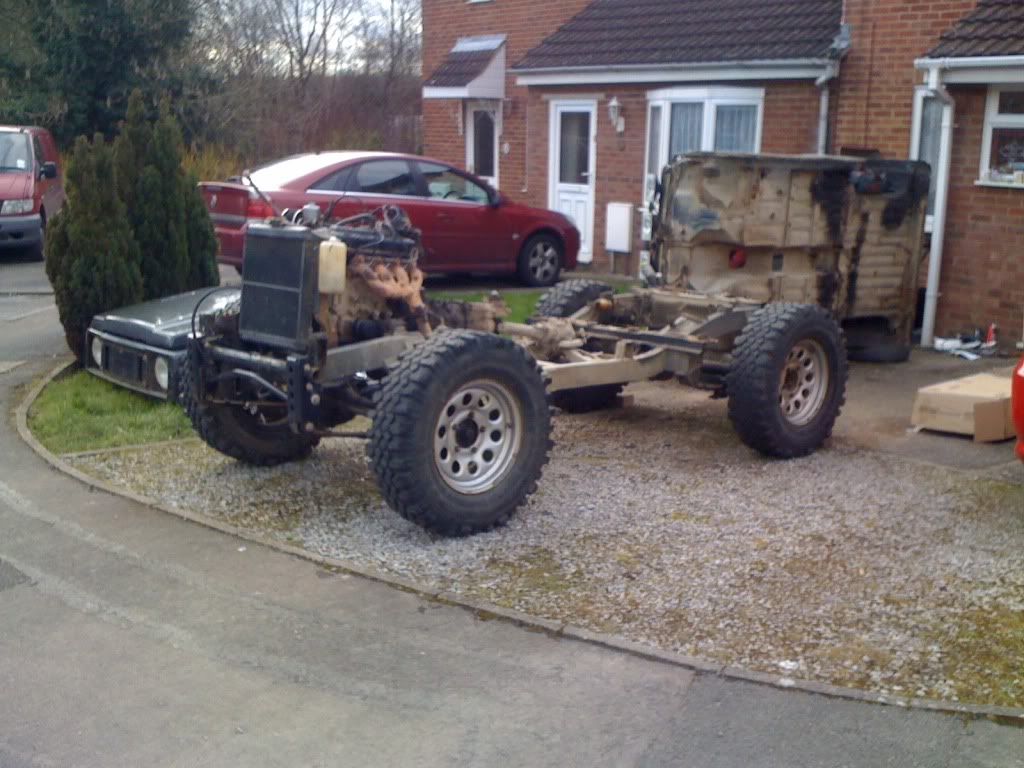
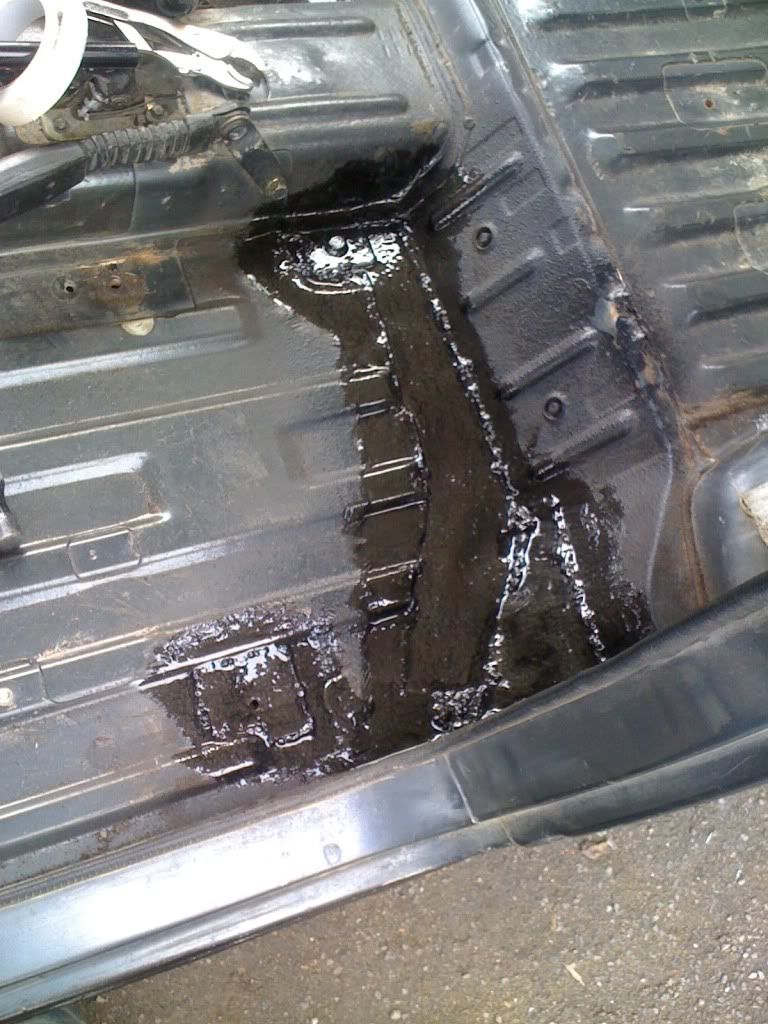
Right quick update had a busy weekend cutting big holes in the floorpan behind the rear seats and in the passenger footwell.
When I lifted the body off 2 of the body mount studs had rotted through and weren't attached to the body anymore, so I've had to plate the floorpan up and drill through and re insert the studs then tack them in place before plating over the top on the inside.
Only got a couple of pictures (i'l take some more tomorrow and post up) as I've been cracking on making the best of the nice weather this weekend.
Thanks to dan_2k for his help/piss taking
if in doubt, FLAT OUT!
mans tool kit > duct tape, wd40 and a bfh is all you ever need
mans tool kit > duct tape, wd40 and a bfh is all you ever need
-
ianedwards
- SCUK Addict
- Posts: 878
- Joined: Thu Sep 15, 2011 8:23 pm
- Location: Brecon Powys
Re: trotters new sammy
Same here, it's been to nice not do do any work on the sj, I had to do all the mounts on mine, rotted away, all of them
Ian
Ian
Cheers
Ian.
1987 Suzuki SJ413 KJA - Fixed + Modified in my own way
Ian.
1987 Suzuki SJ413 KJA - Fixed + Modified in my own way
Re: trotters new sammy
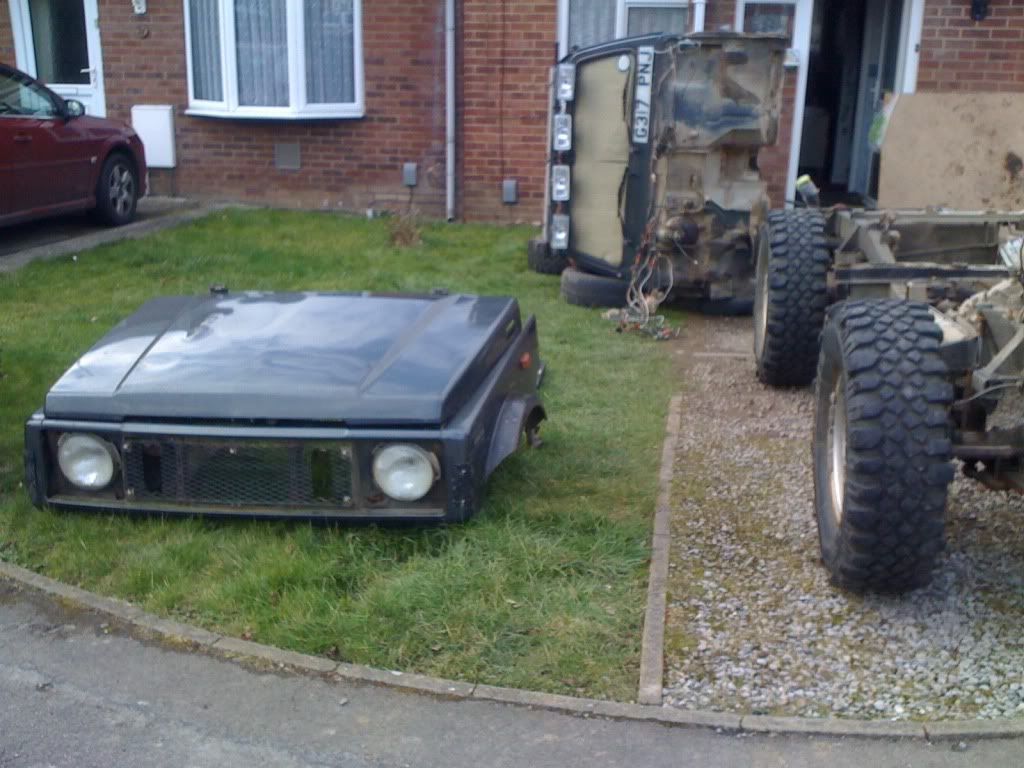
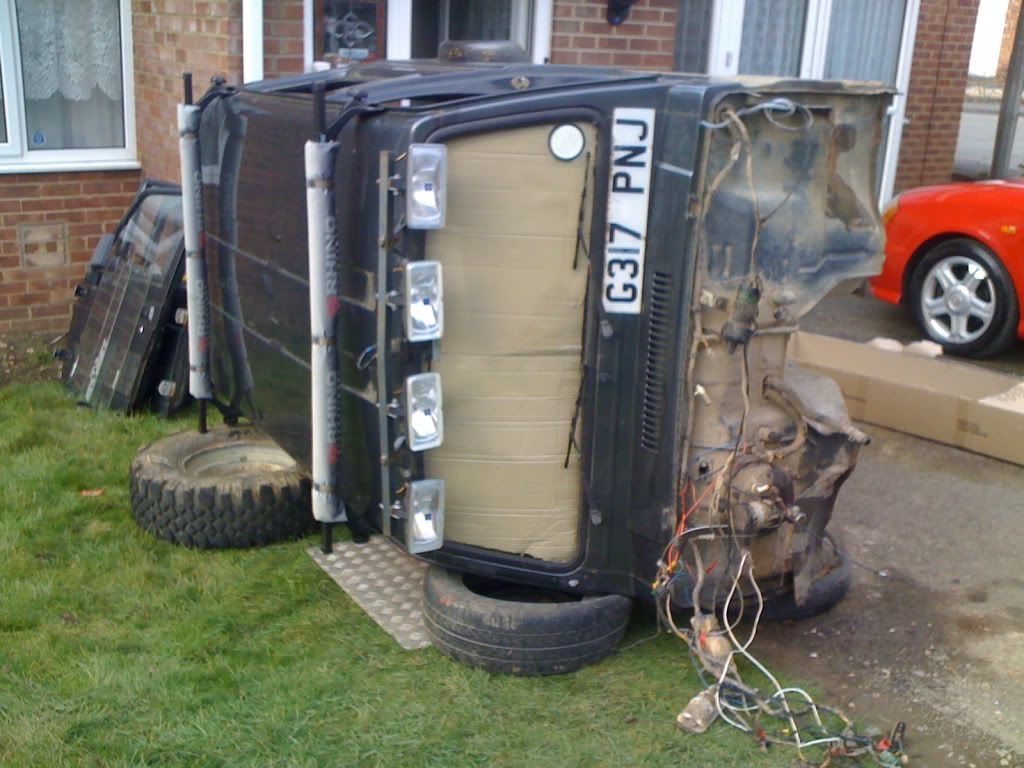
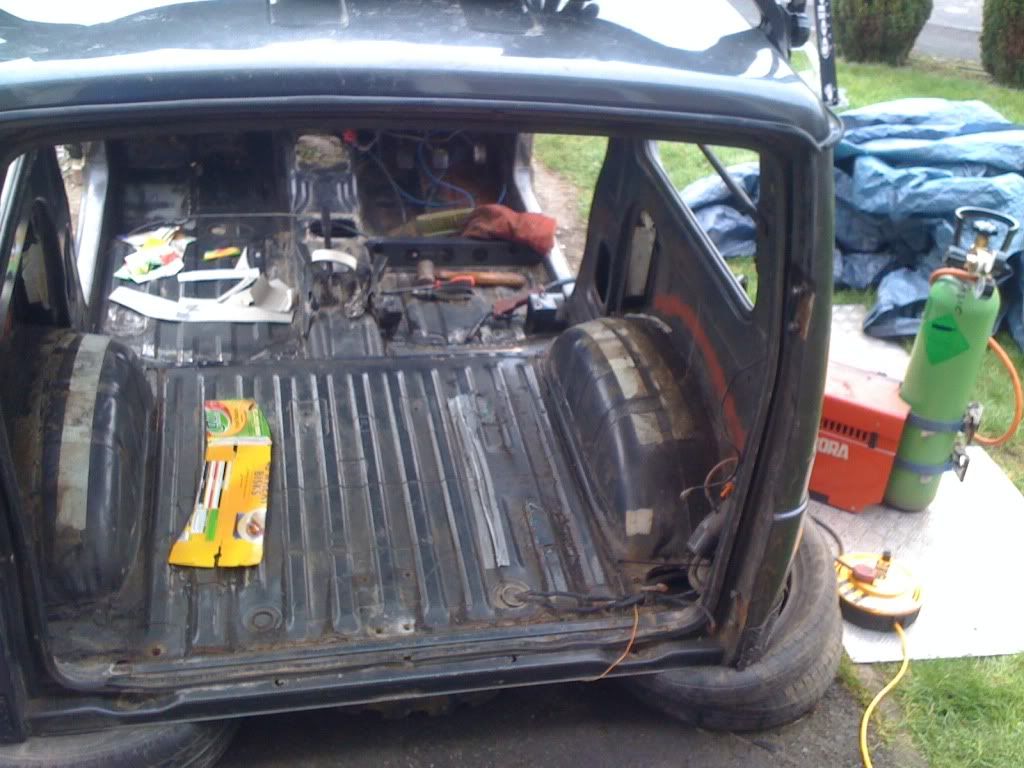
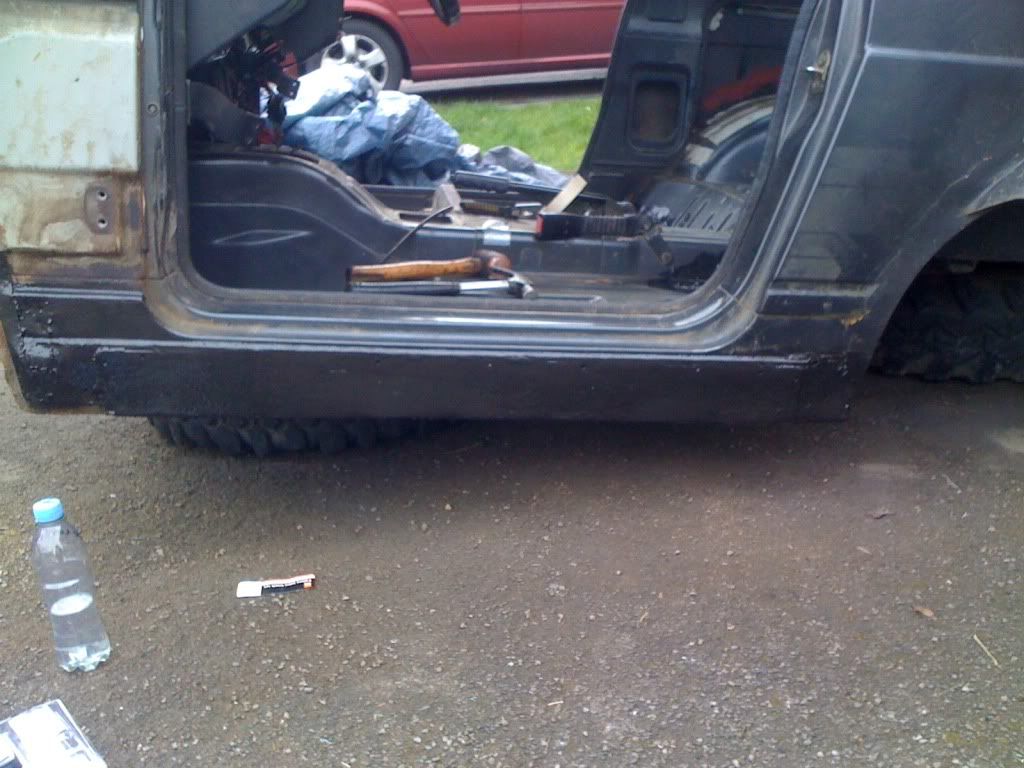
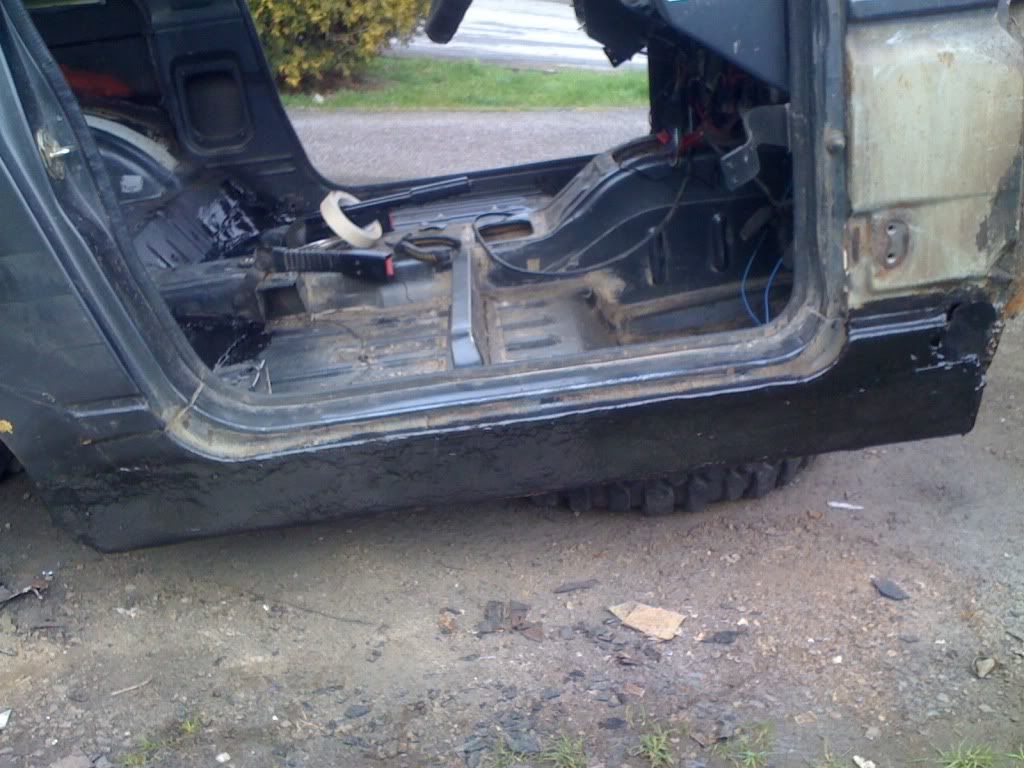
so a few pics of of body off ready for cutting and welding
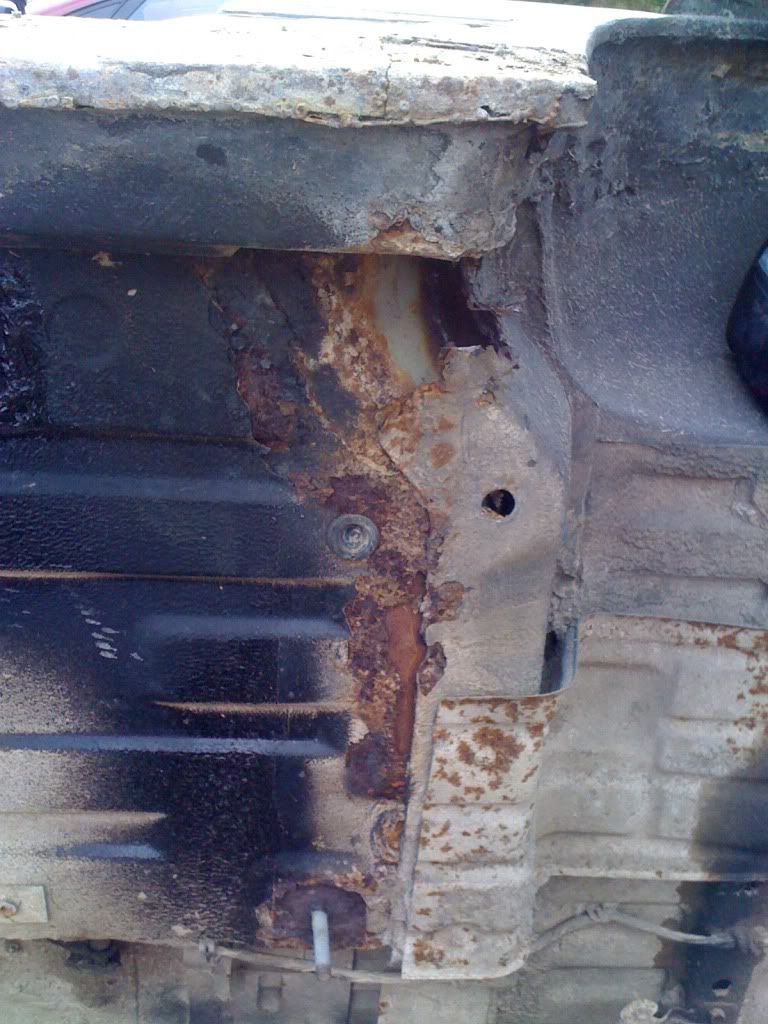
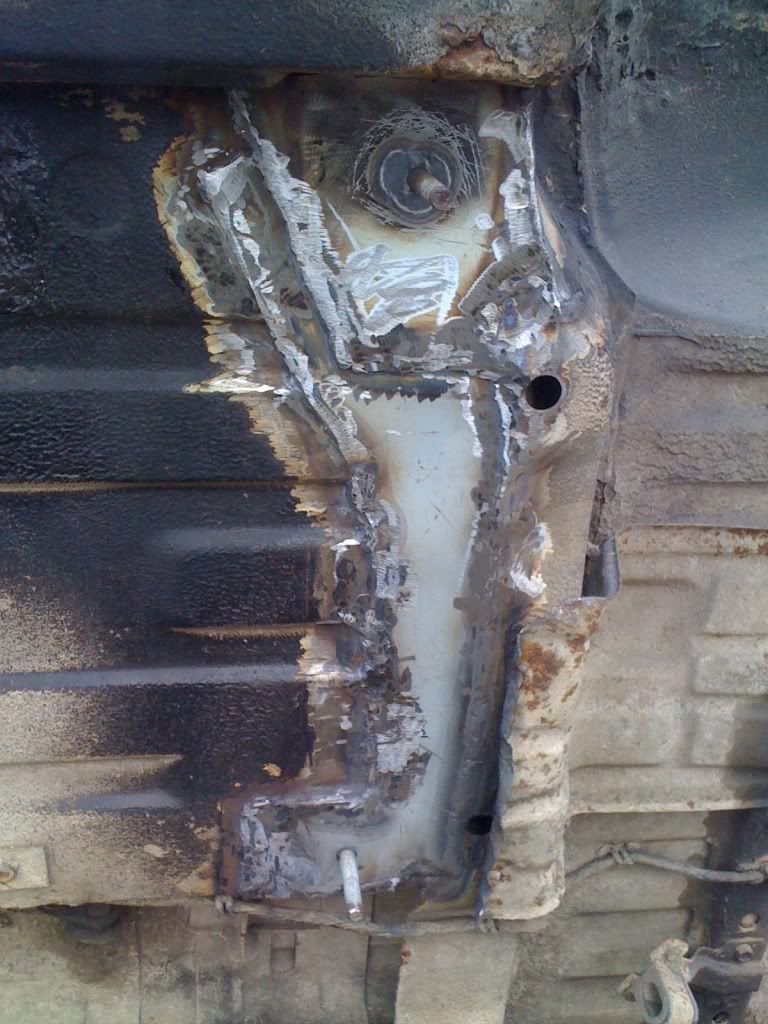
close ups of the rusty tin, it had been plated over from the inside.. but without doing anything about the rot underneath the previous owner had receipts from a garage for welding repairs over the last 3 years... whoever did them is a
  if your gonna do a job and charge someone £500 at least do it properly ffs! my welding isn't the best but talk about pigeon shit
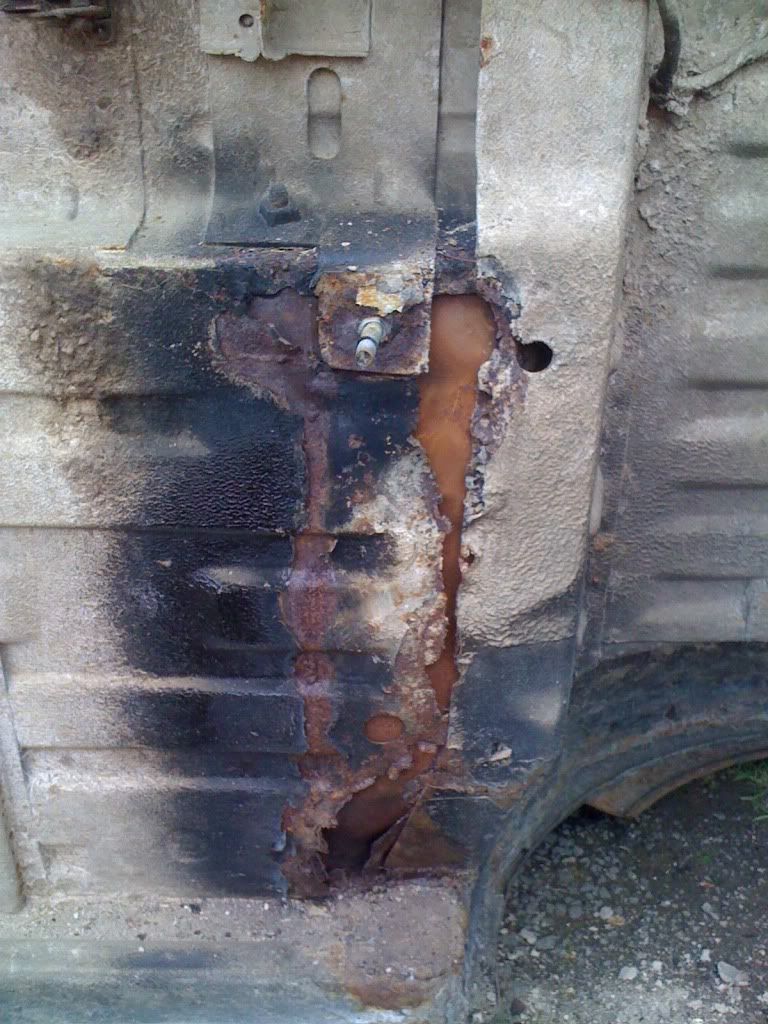
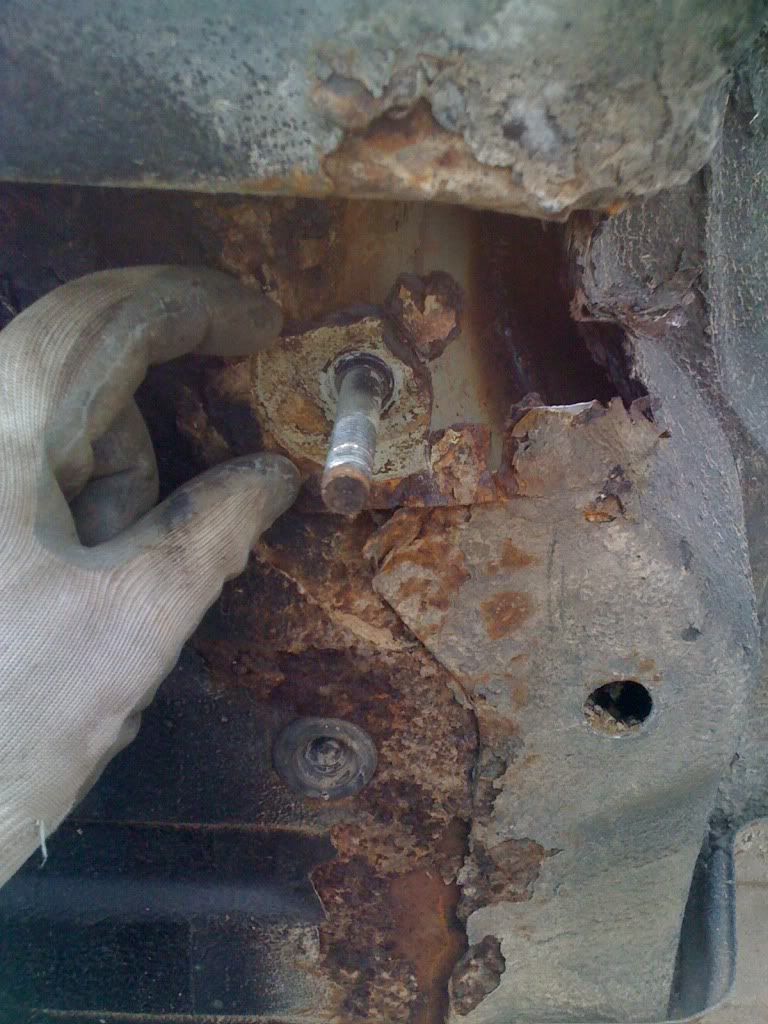
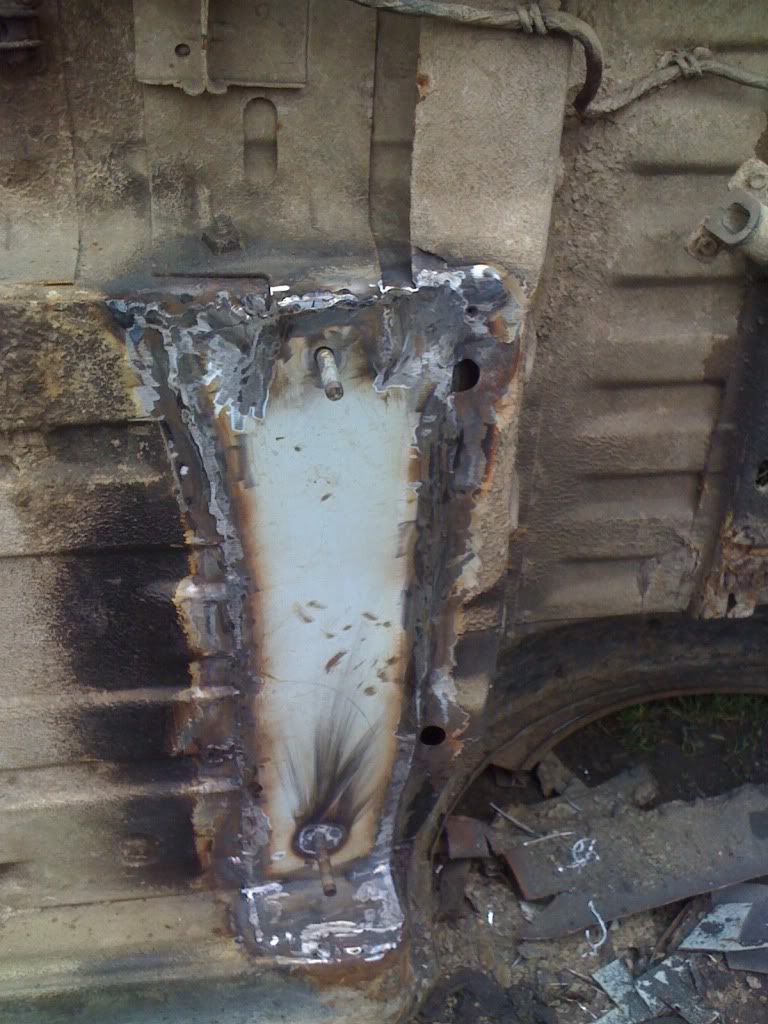
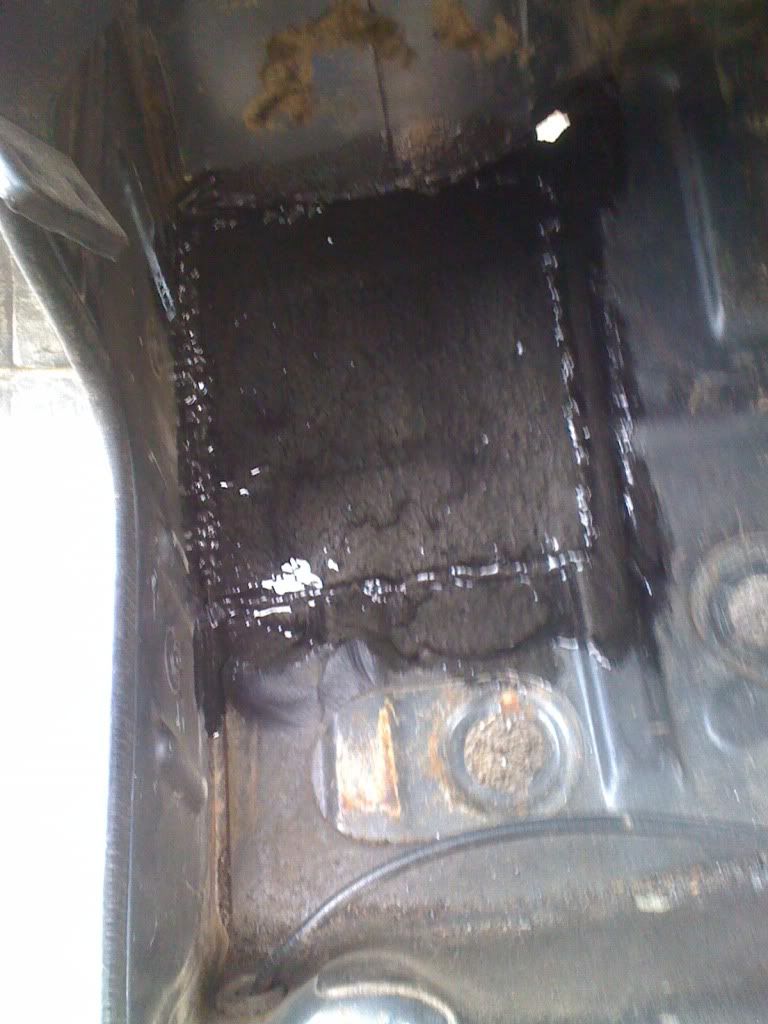
this is one of 2 body mounts that should be attached to the body not still on the chassis after the body has come off
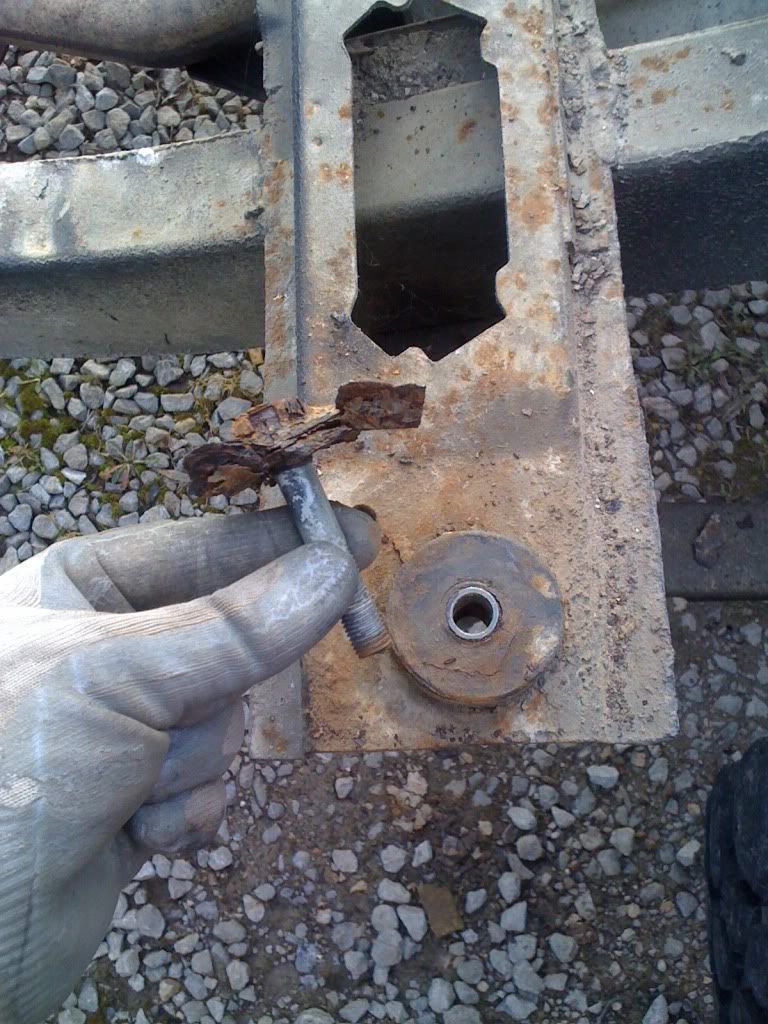
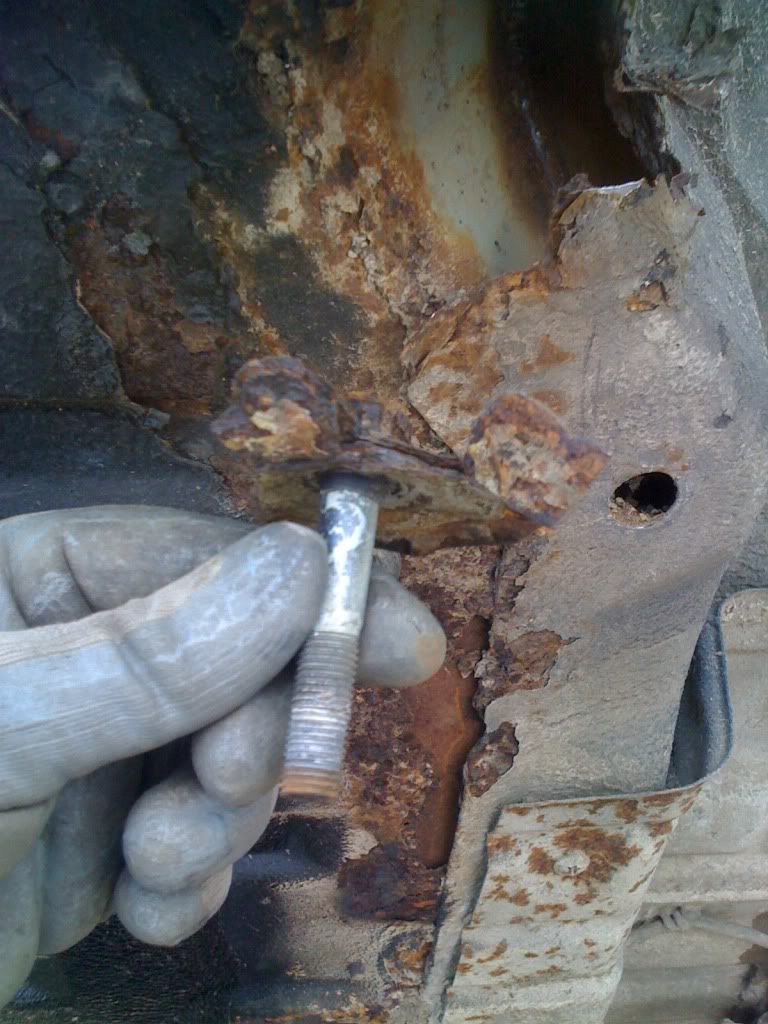
it should be in place here somewhere..
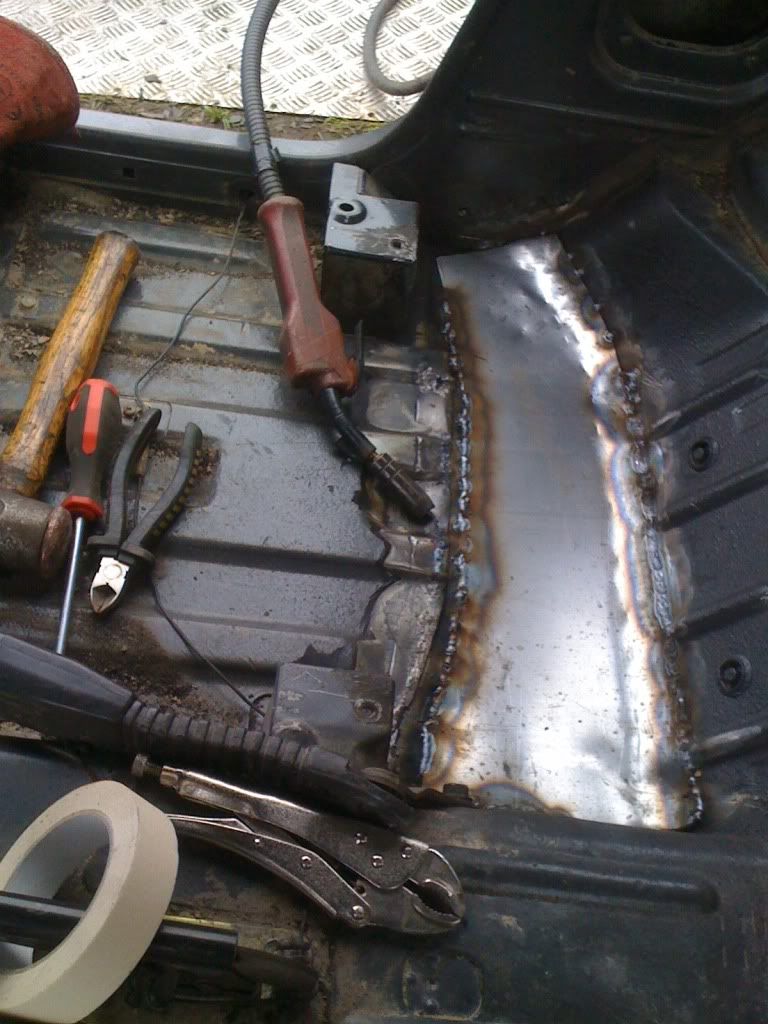
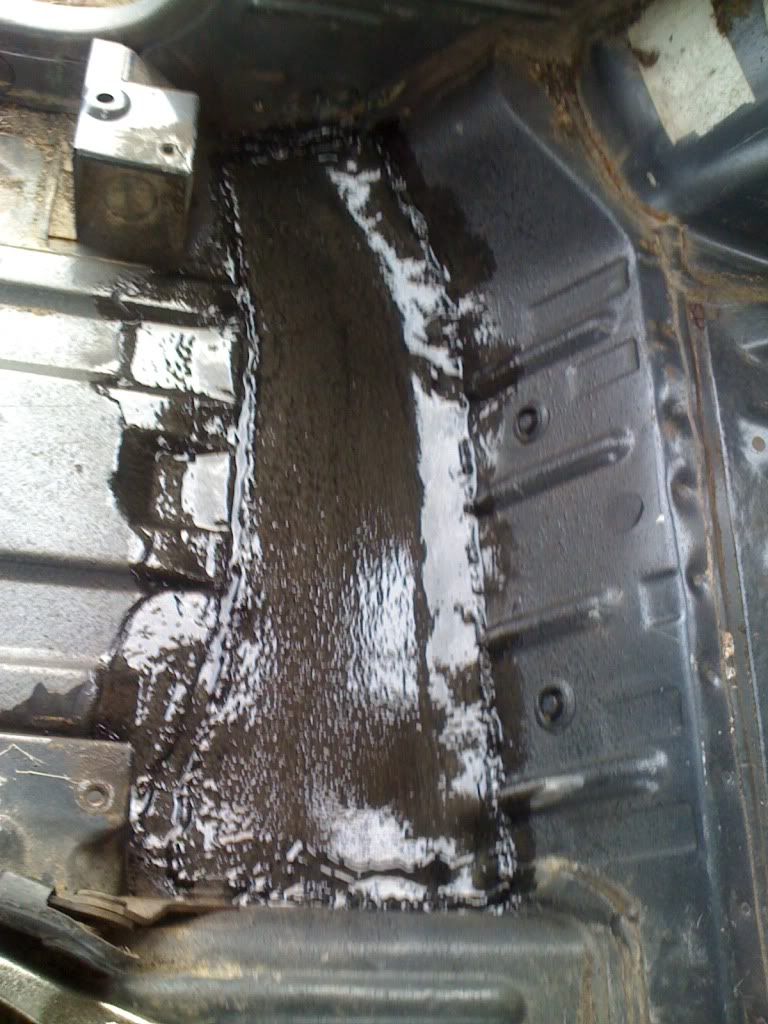
ok i forgot to take pics off it all cut out doh! but never mind i was on a roll and got this welded up in passenger footwell then plated over the outside of where the mount is on underneath of truck
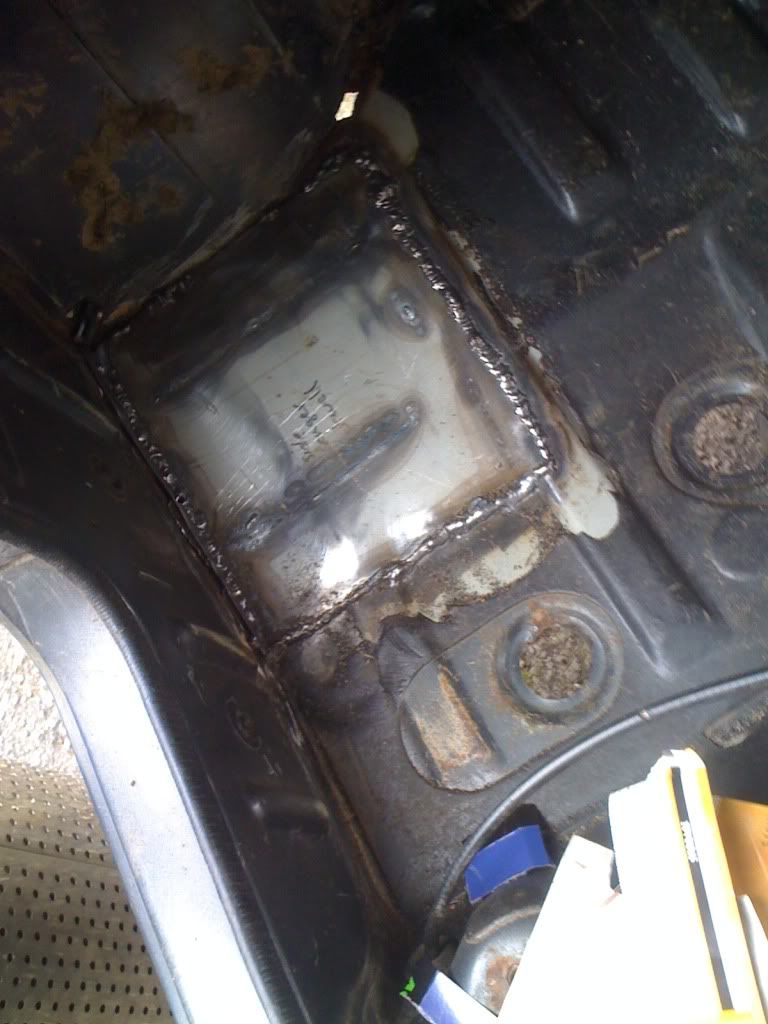

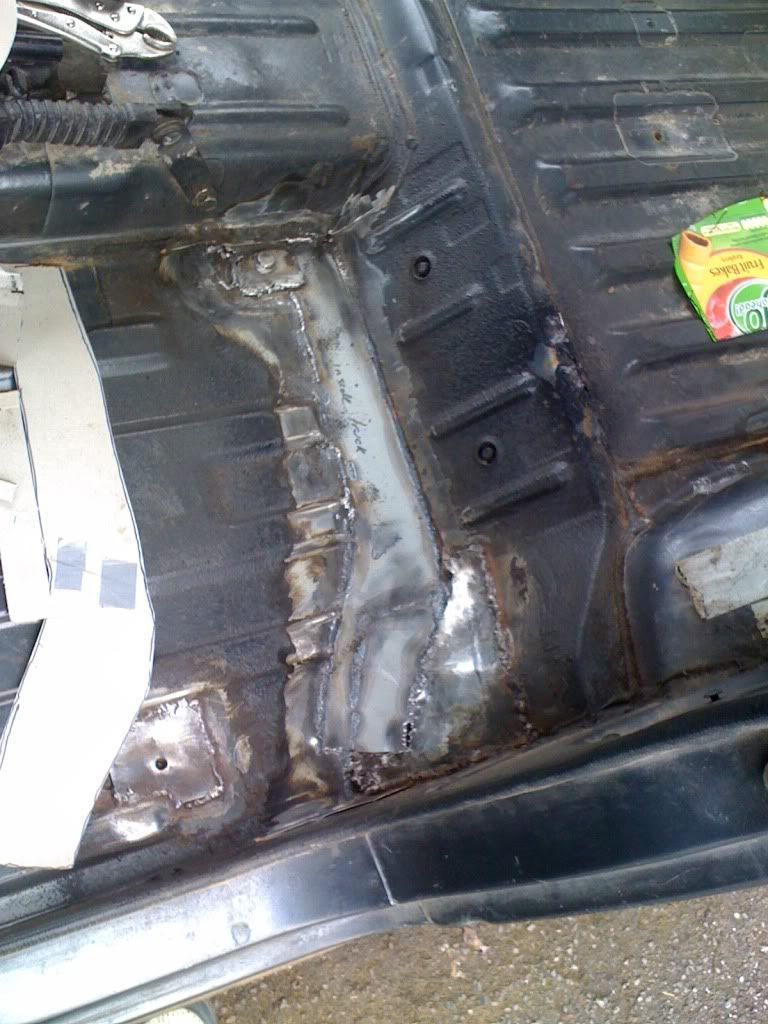
and these are the finished plates with body studs re-drilled through and tacked in place
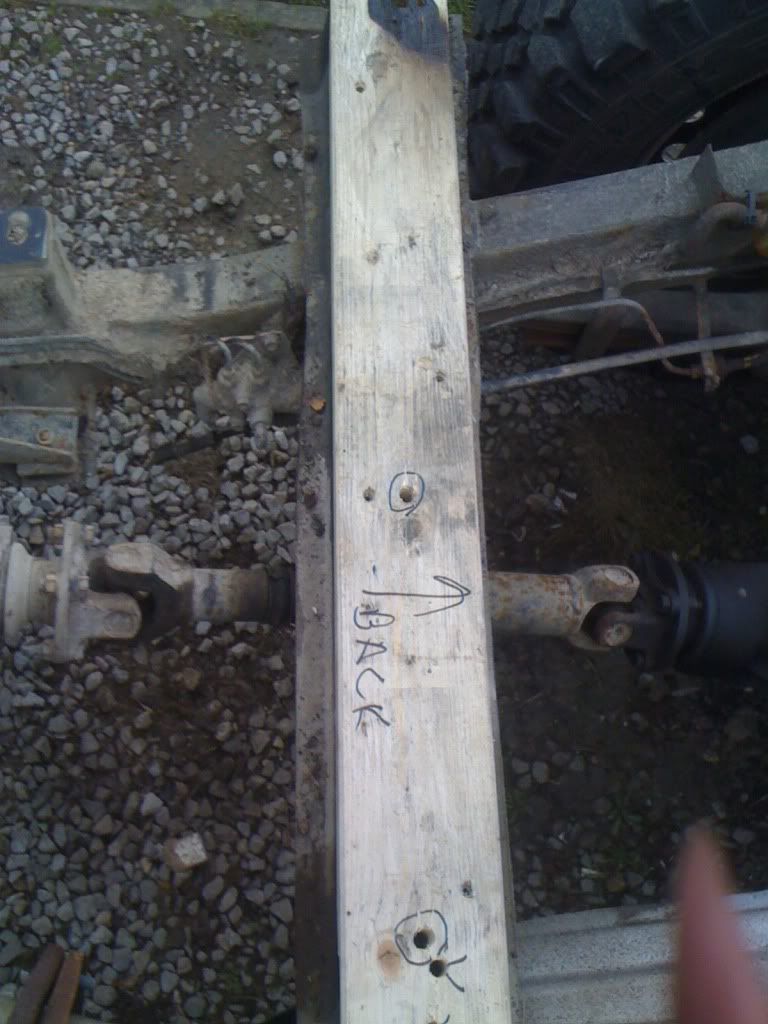
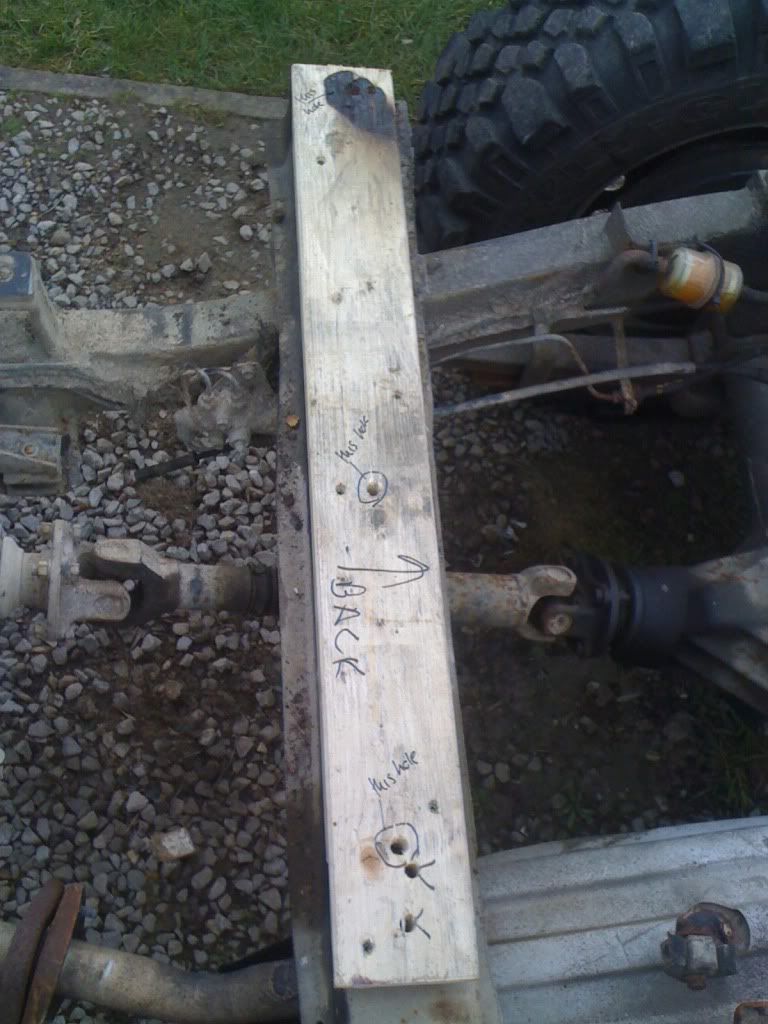
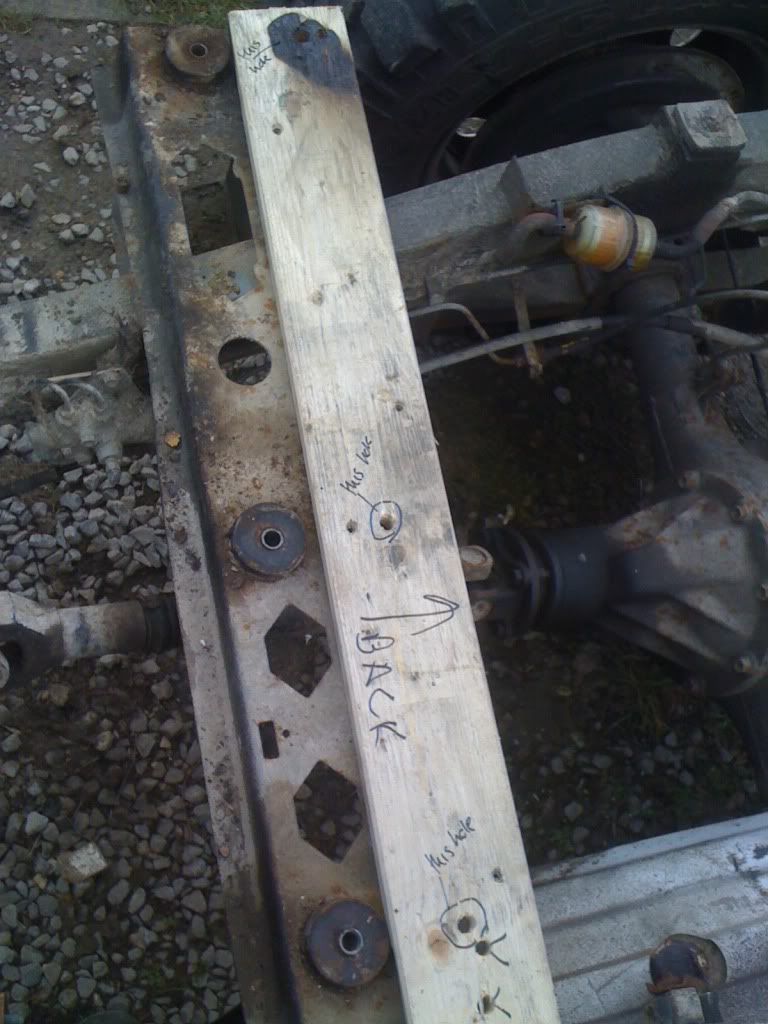
to make sure i drilled the holes for the studs in the right place i used a piece off wood as a template, placing it on the chassis and drilling through the chassis into the wood from underneath and voila i have a template with the exact bolt positions
the rest are of plates finished inside and then painted with hammerite
these are after i've taken the checquer plate off the sills brushed all the crap off and covered in a liberal dose of hammerite.
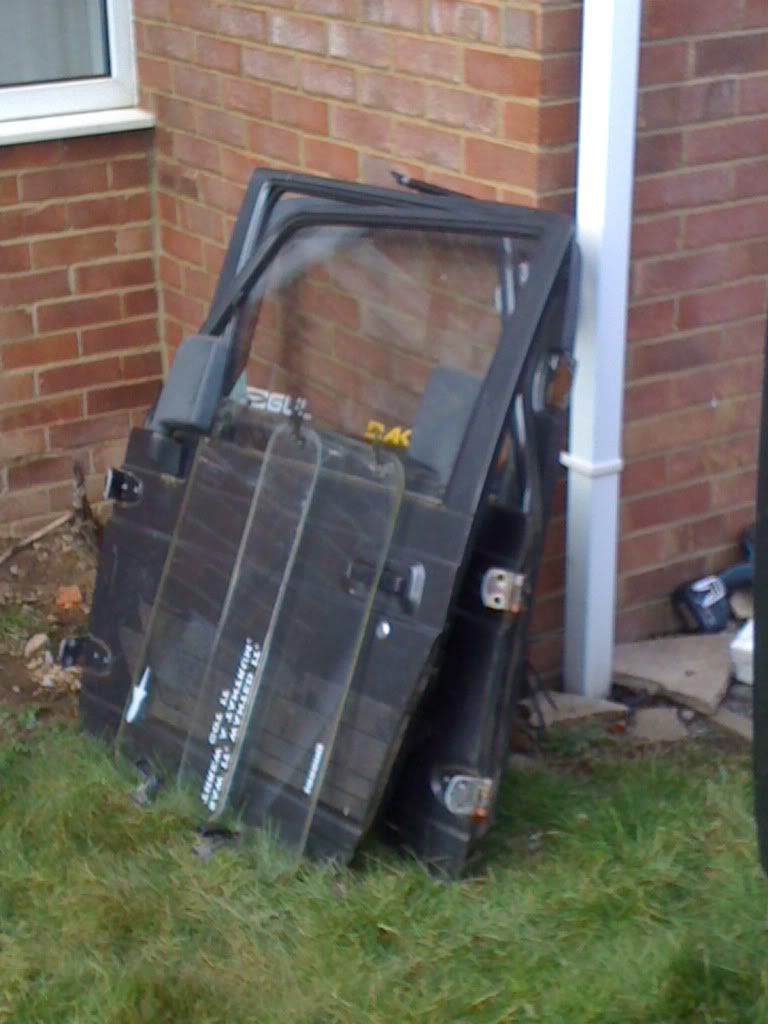
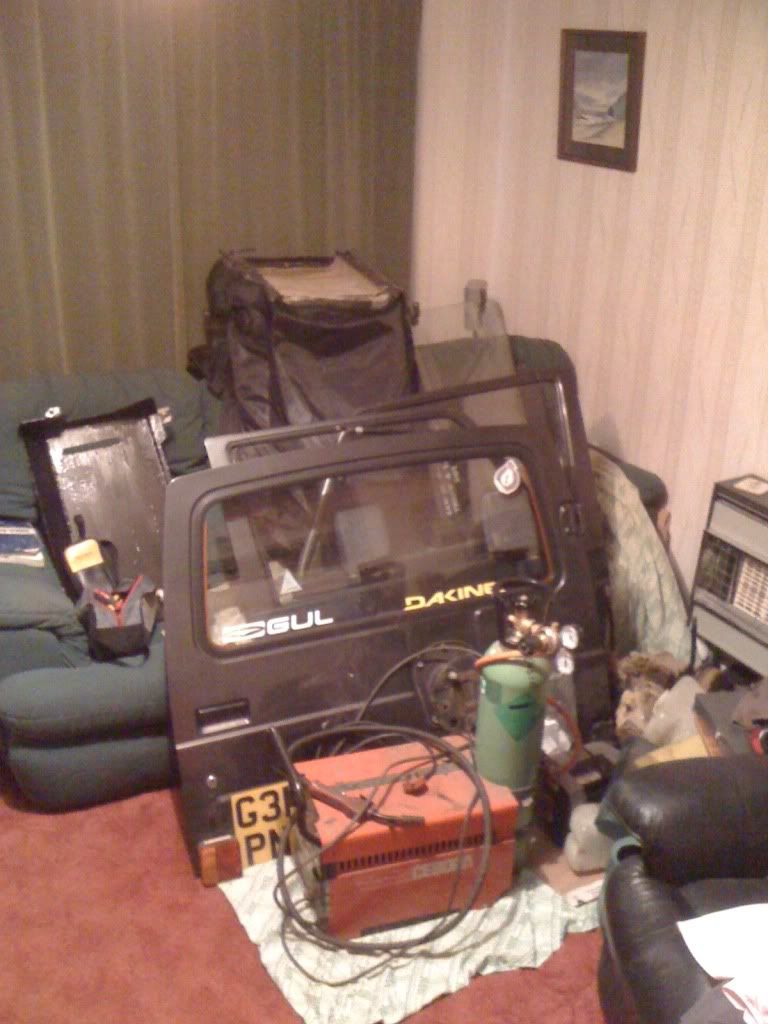
and lastly a pic of what my front room looks like currently
close ups of the rusty tin, it had been plated over from the inside.. but without doing anything about the rot underneath
this is one of 2 body mounts that should be attached to the body not still on the chassis after the body has come off
it should be in place here somewhere..
ok i forgot to take pics off it all cut out doh! but never mind i was on a roll and got this welded up in passenger footwell then plated over the outside of where the mount is on underneath of truck
and these are the finished plates with body studs re-drilled through and tacked in place
to make sure i drilled the holes for the studs in the right place i used a piece off wood as a template, placing it on the chassis and drilling through the chassis into the wood from underneath and voila i have a template with the exact bolt positions
the rest are of plates finished inside and then painted with hammerite
these are after i've taken the checquer plate off the sills brushed all the crap off and covered in a liberal dose of hammerite.
and lastly a pic of what my front room looks like currently
Last edited by trotter on Wed Feb 27, 2013 10:50 pm, edited 2 times in total.
if in doubt, FLAT OUT!
mans tool kit > duct tape, wd40 and a bfh is all you ever need
mans tool kit > duct tape, wd40 and a bfh is all you ever need
Re: trotters new sammy
almost forgot, I've also made a petrol tank guard that will be bolted on to stop me denting it. As usual the standard tank guard was made of chocolate and battered beyond any real use so in the bin it went and after finding this
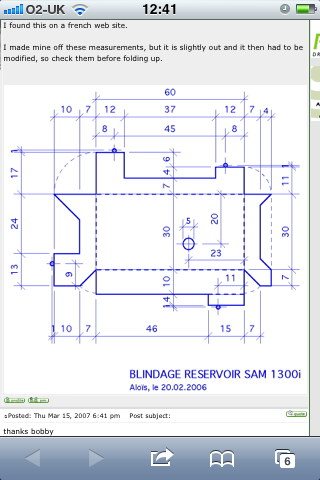
it was on difflock that i came across it.
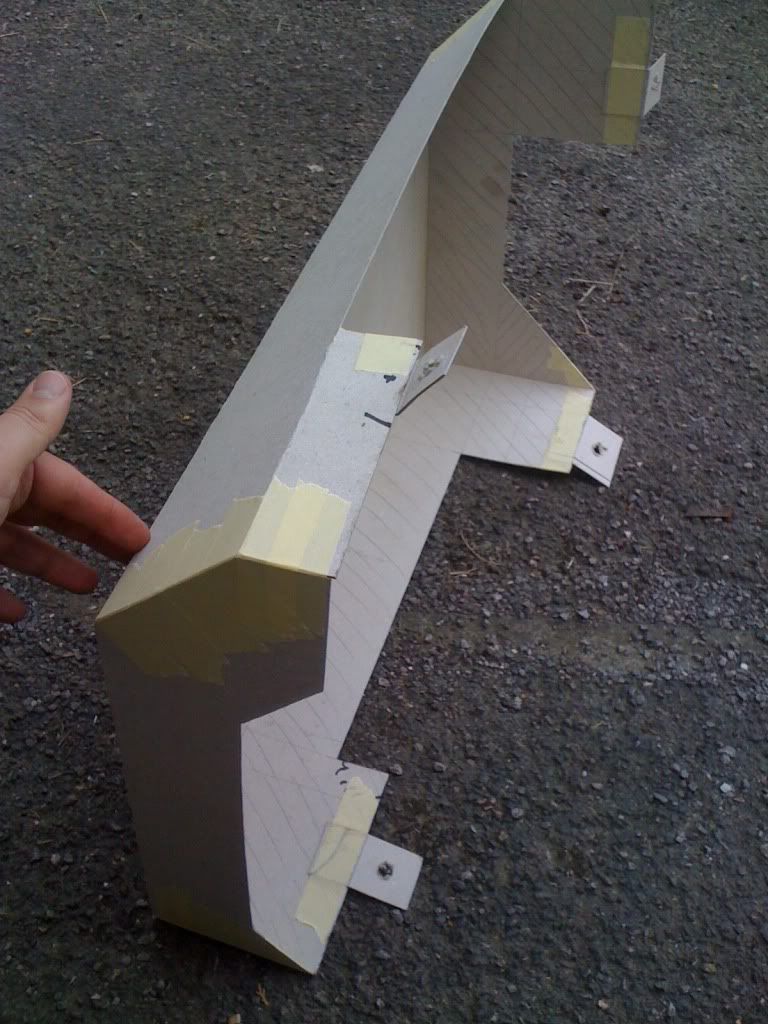
anyway i made a cardboard version to see how it would fit under the truck
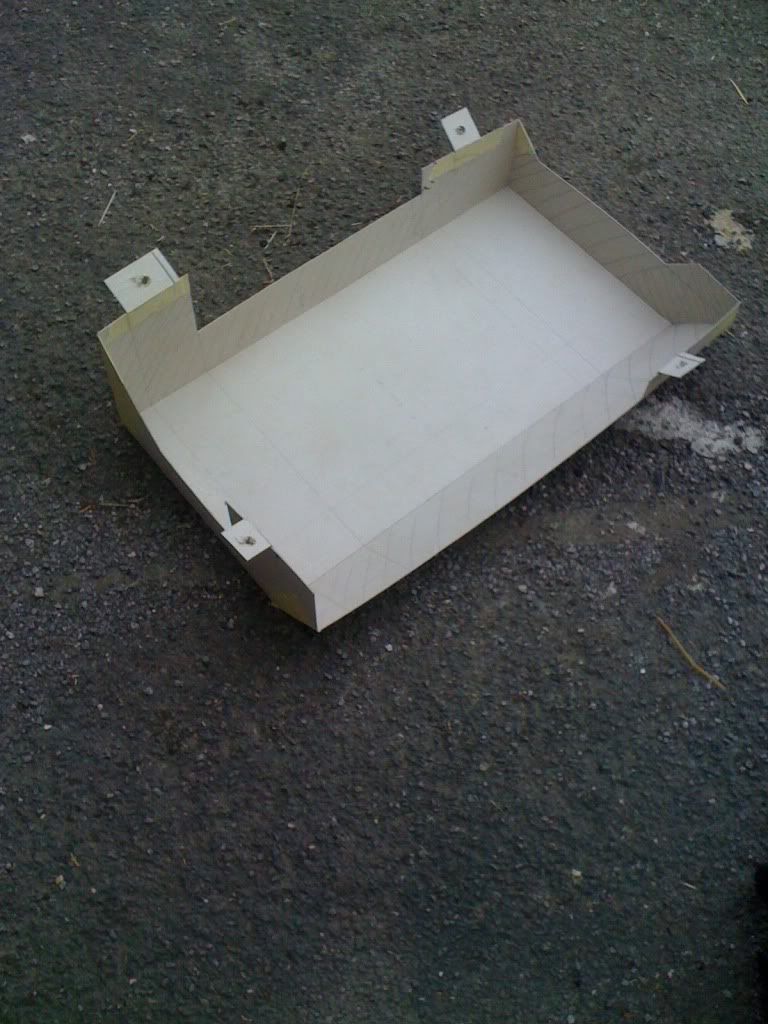
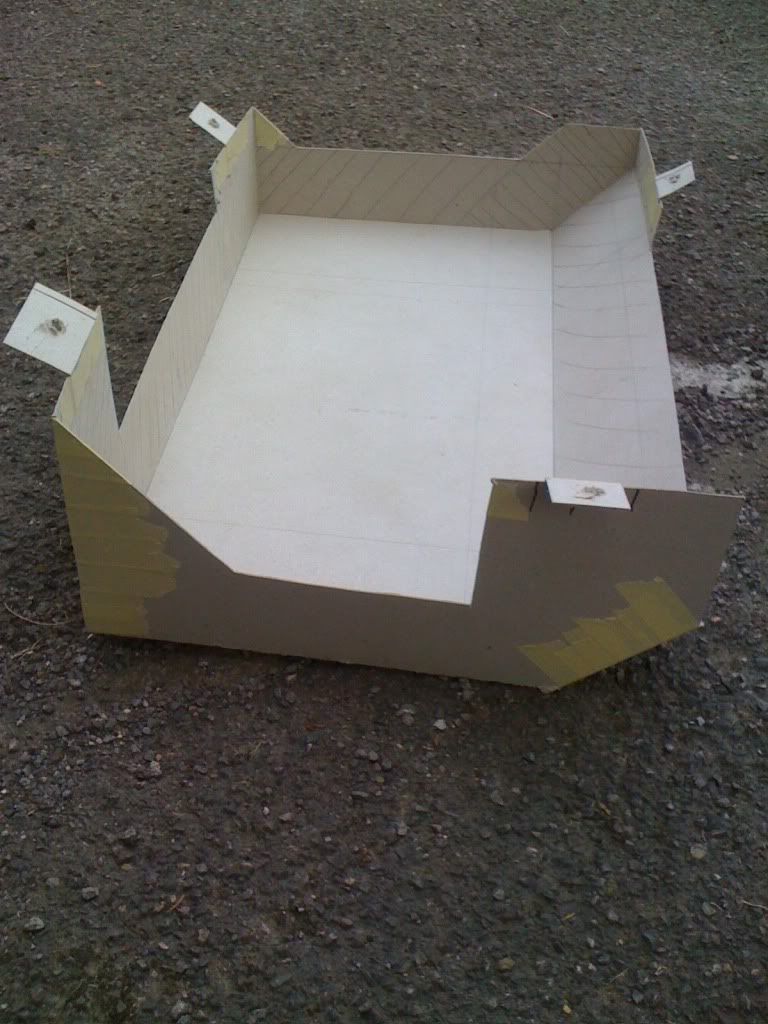
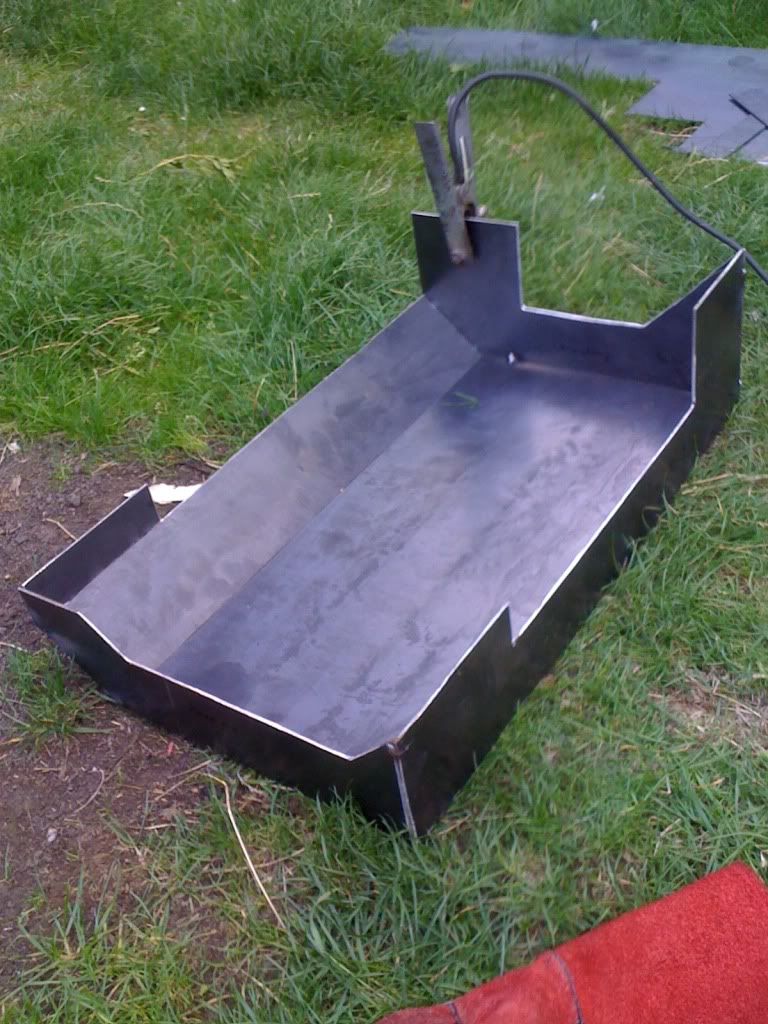
it seemed to fit ok so i went ahead and made on from 3mm steel plate (bit thicker than i wanted but was all i could find at the time)
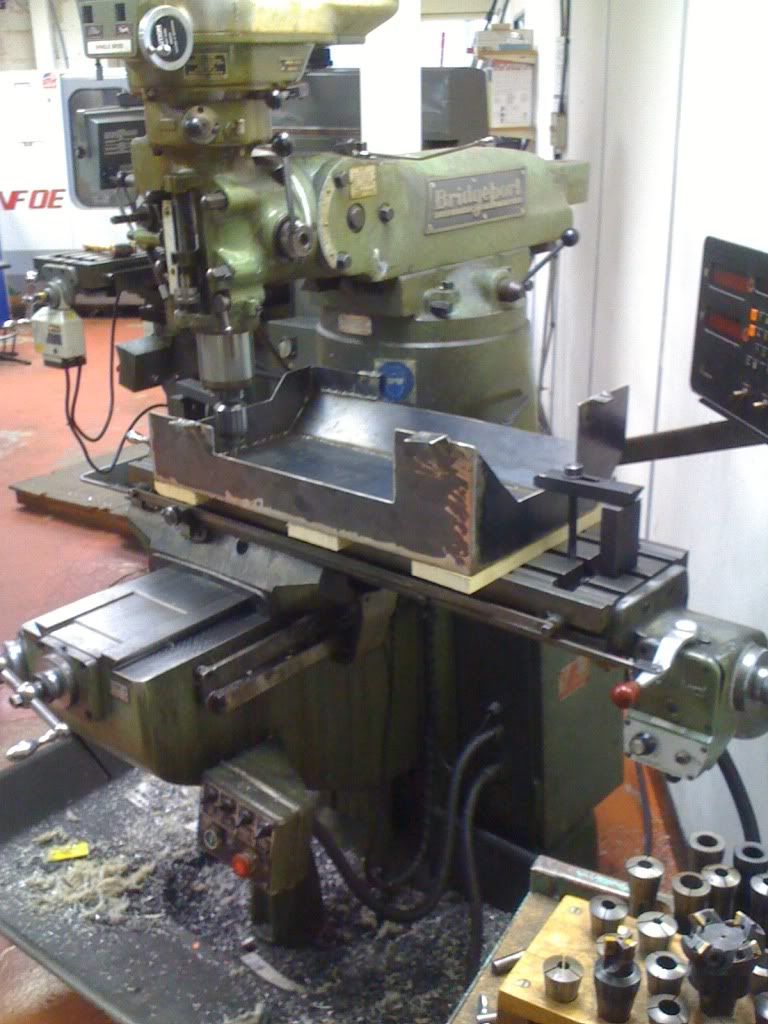
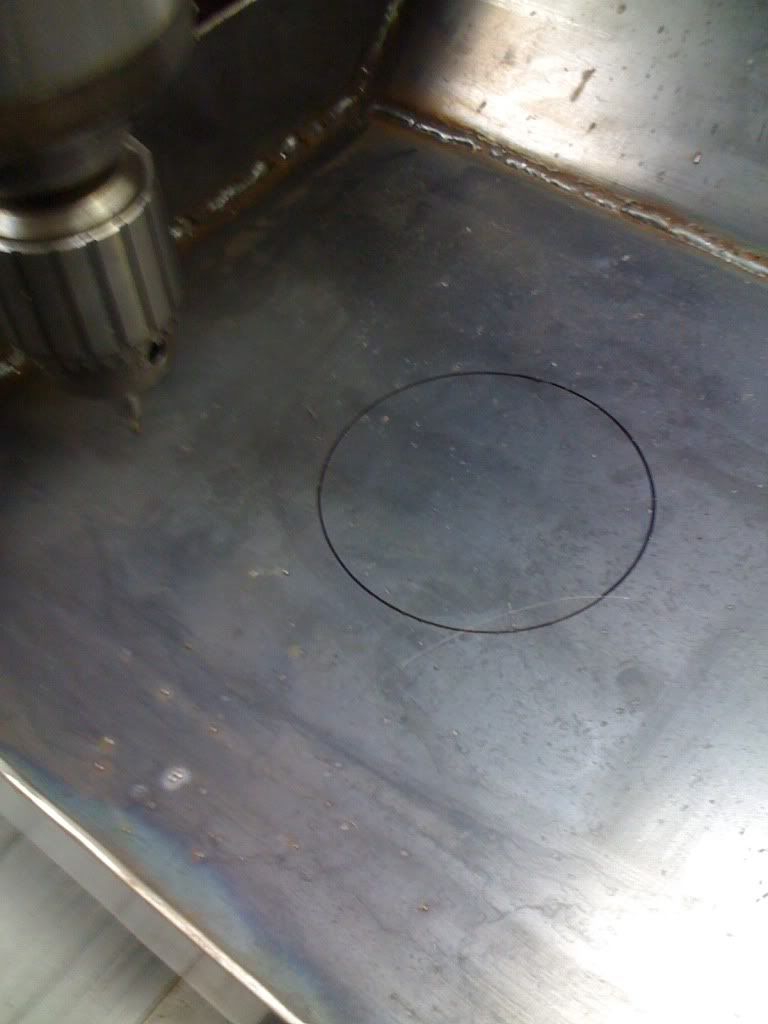
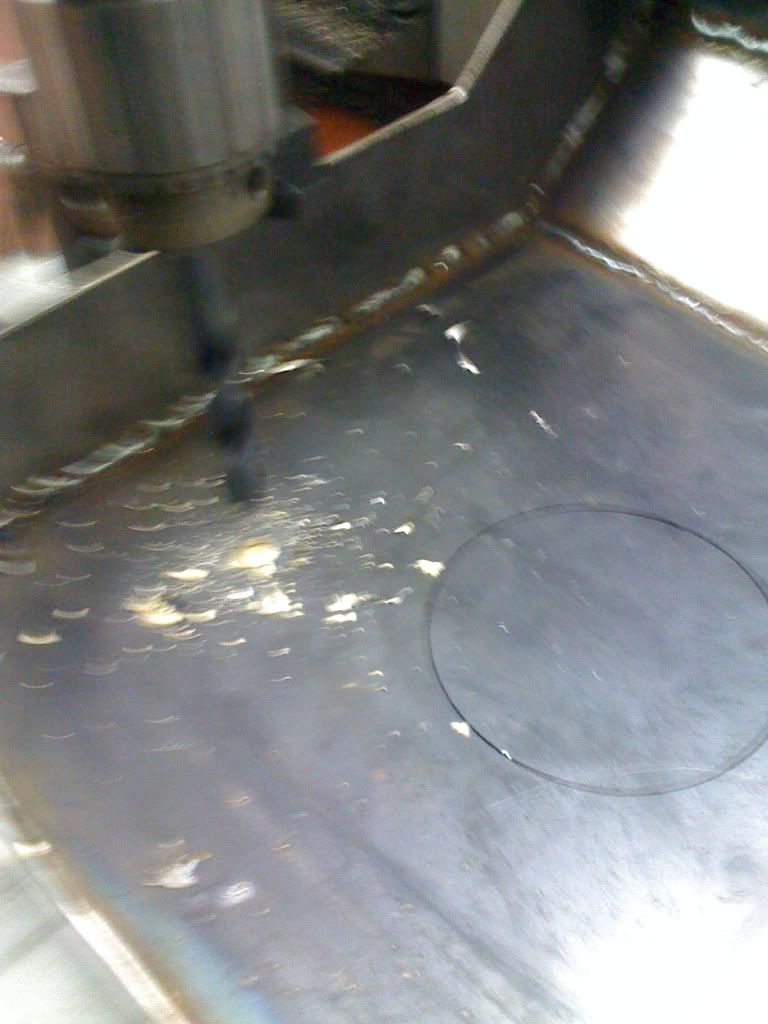
then decided i should of put some drain holes in the bottom panel before i welded it all up so after a bit of
  i bolted it down to the bed of a mill and changed my mind from the circles i was originally going to cut out to just drilling 2 holes then milling a slot between them
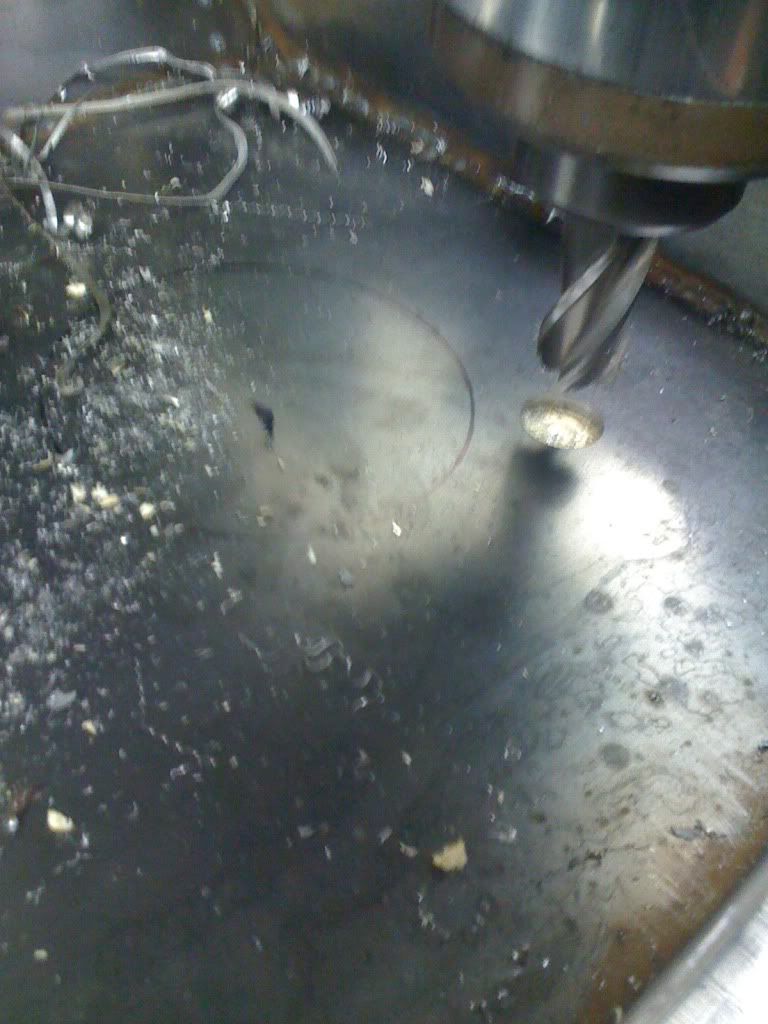

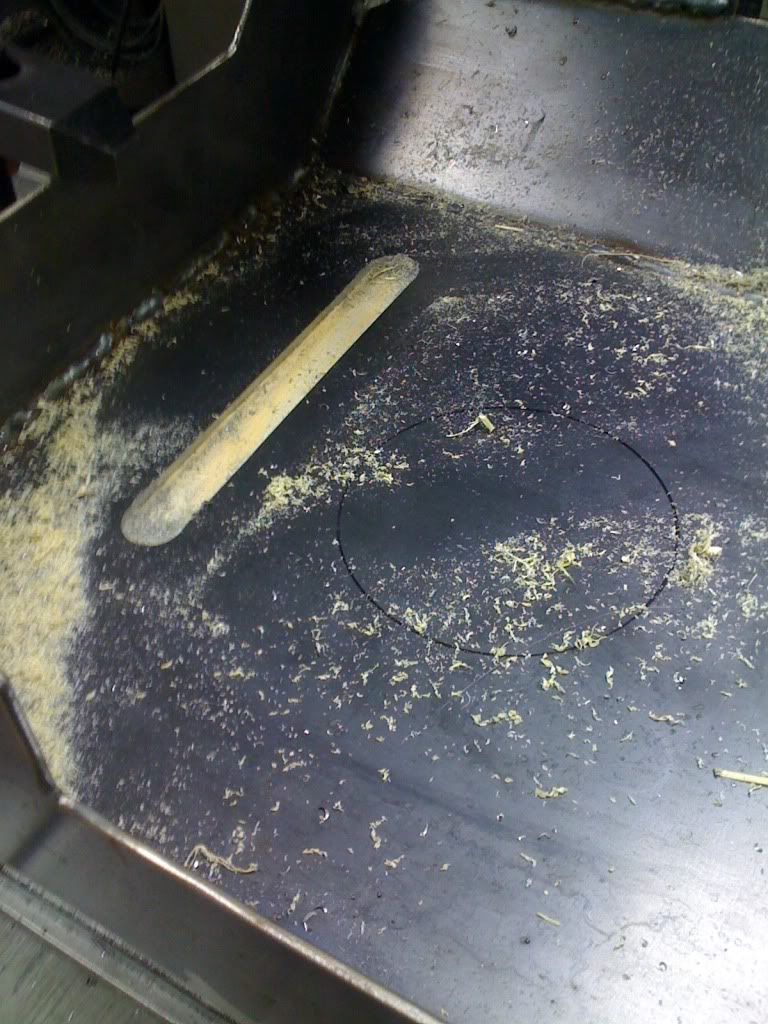
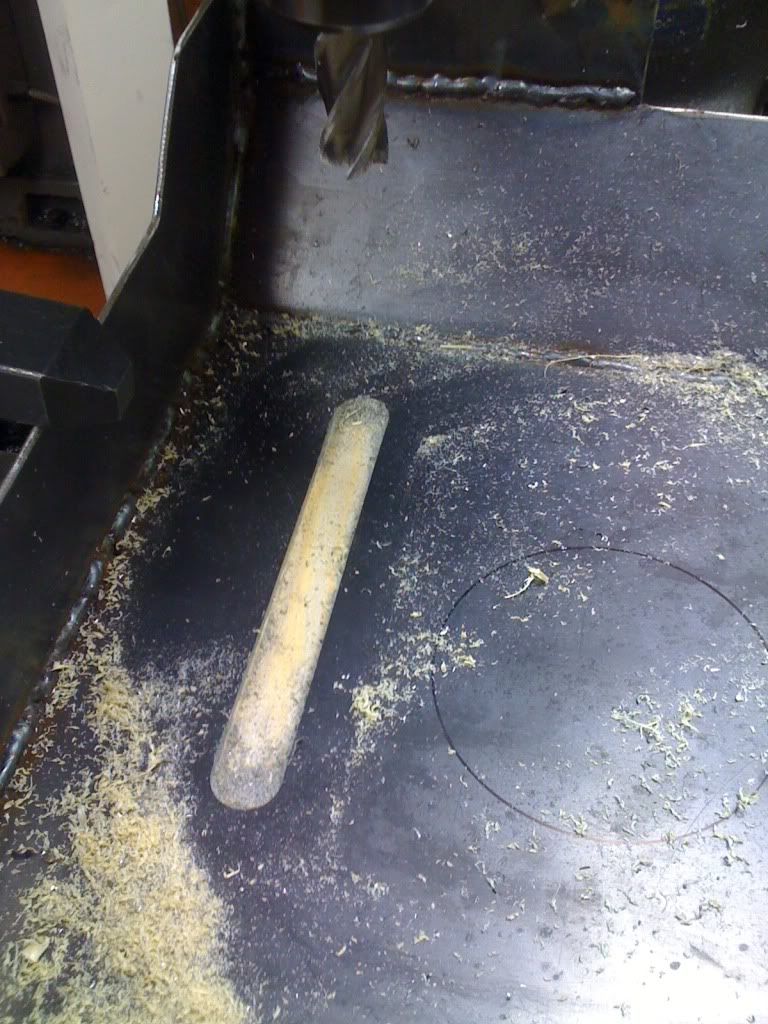
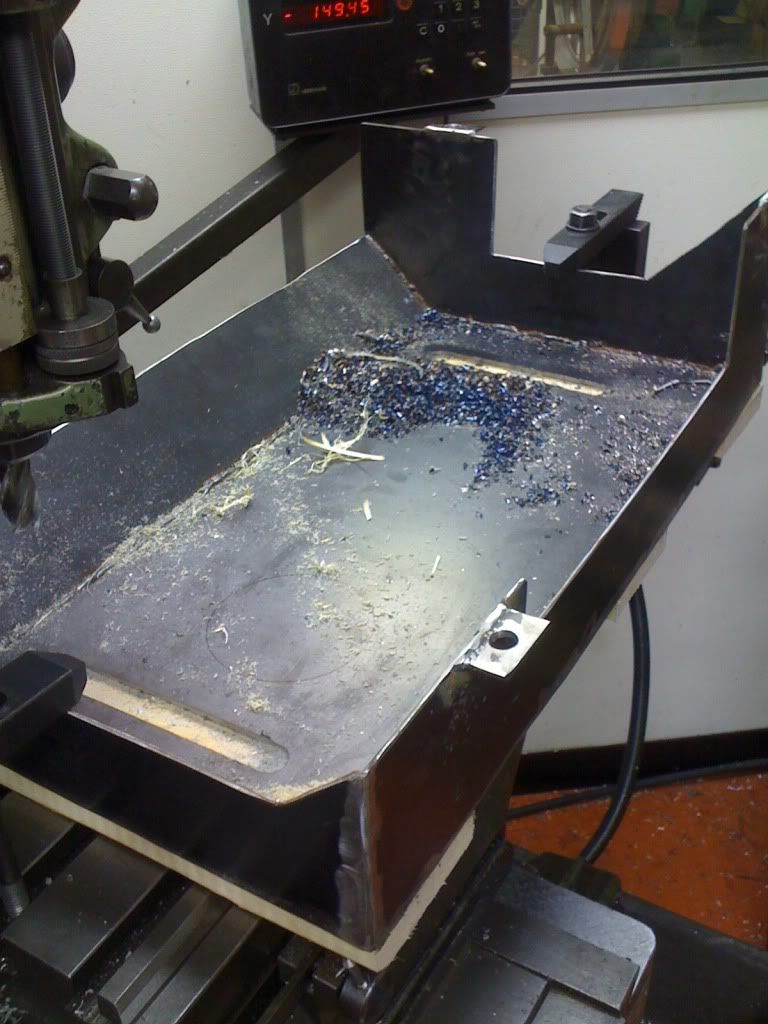
fingers crossed it should work a treat if a little overkill in the weight/strength department
it was on difflock that i came across it.
anyway i made a cardboard version to see how it would fit under the truck
it seemed to fit ok so i went ahead and made on from 3mm steel plate (bit thicker than i wanted but was all i could find at the time)
then decided i should of put some drain holes in the bottom panel before i welded it all up
fingers crossed it should work a treat if a little overkill in the weight/strength department
Last edited by trotter on Wed Feb 27, 2013 11:03 pm, edited 2 times in total.
if in doubt, FLAT OUT!
mans tool kit > duct tape, wd40 and a bfh is all you ever need
mans tool kit > duct tape, wd40 and a bfh is all you ever need