joe's restoration!

Got an vehicle build underway? post up pictures and tell us all how its going!

Builds threads only please.
Post Reply
User avatar
mk1joe
Winching along now
Winching along now
Posts: 707
Joined: Tue Mar 16, 2010 8:34 pm
Location: gosport

joe's restoration!

Post by mk1joe » Fri Dec 24, 2010 11:13 pm

hi,
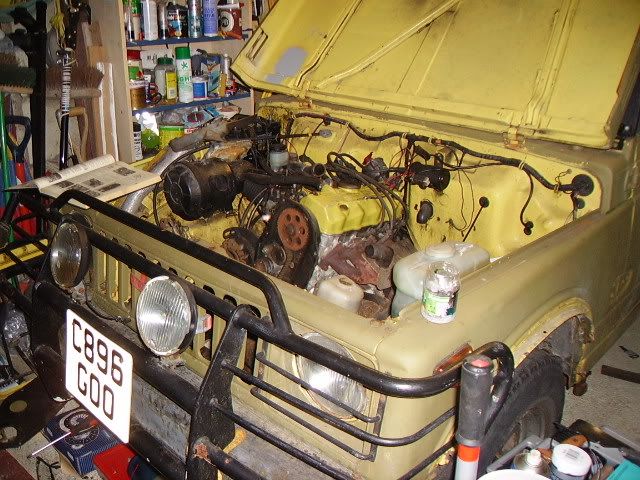
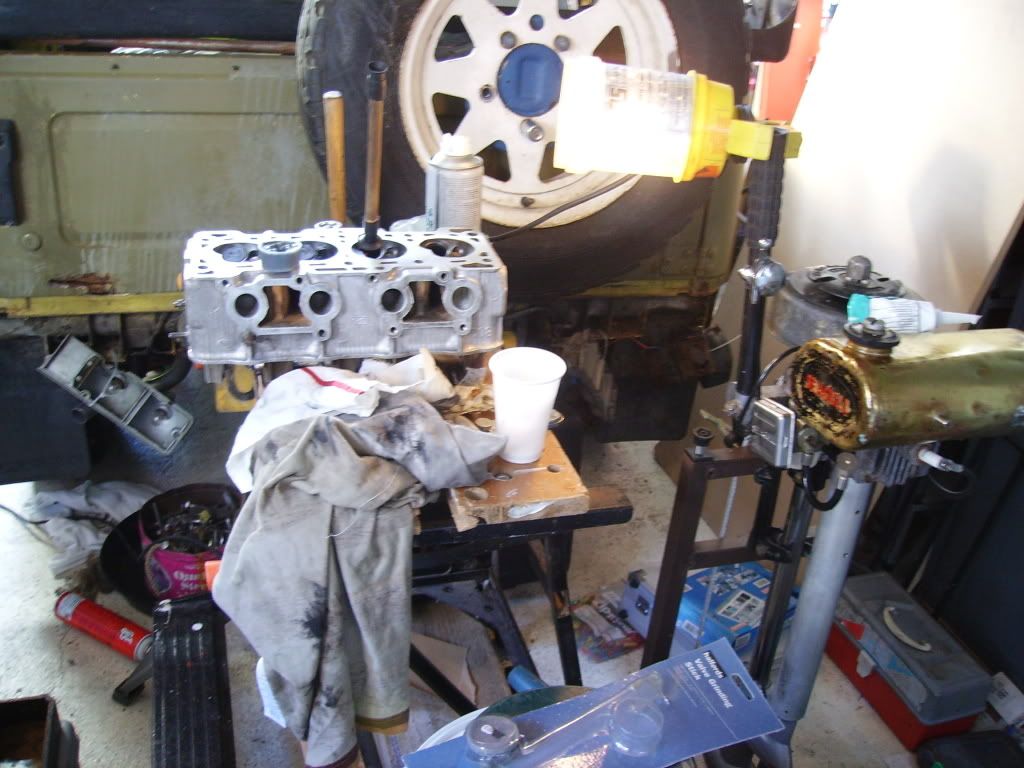
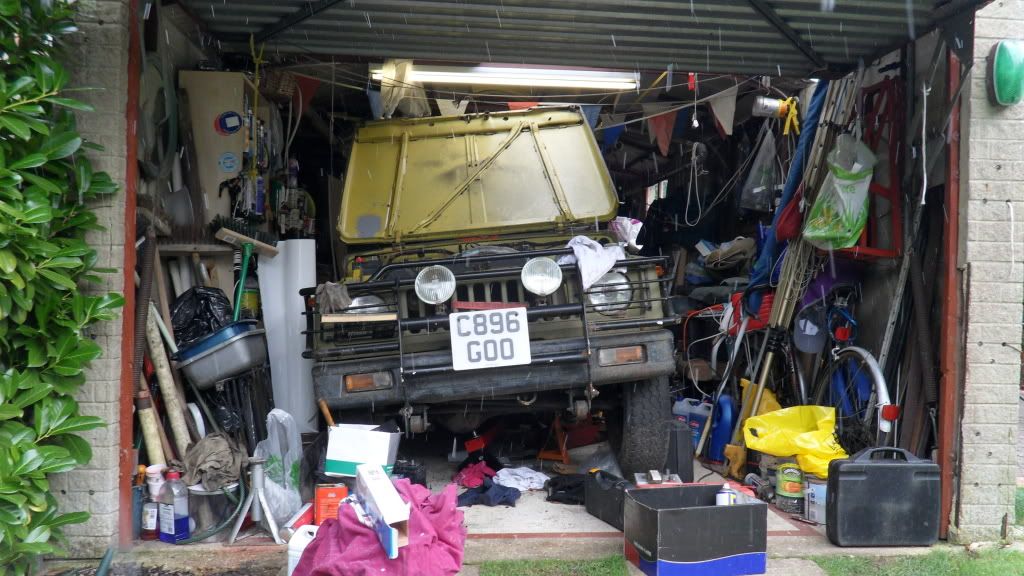
i thought it was time post my progress, my last majour post was when i bought the car so dont think ive lost intrest. ive just finished the top end rebuild on the engine and had the head skimmed. it always did run sweet but there was water in the oil, anyway i prefer pictures to words so here we go!

Image

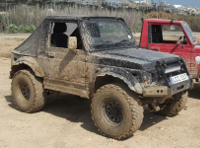
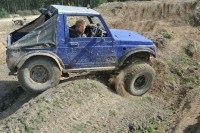
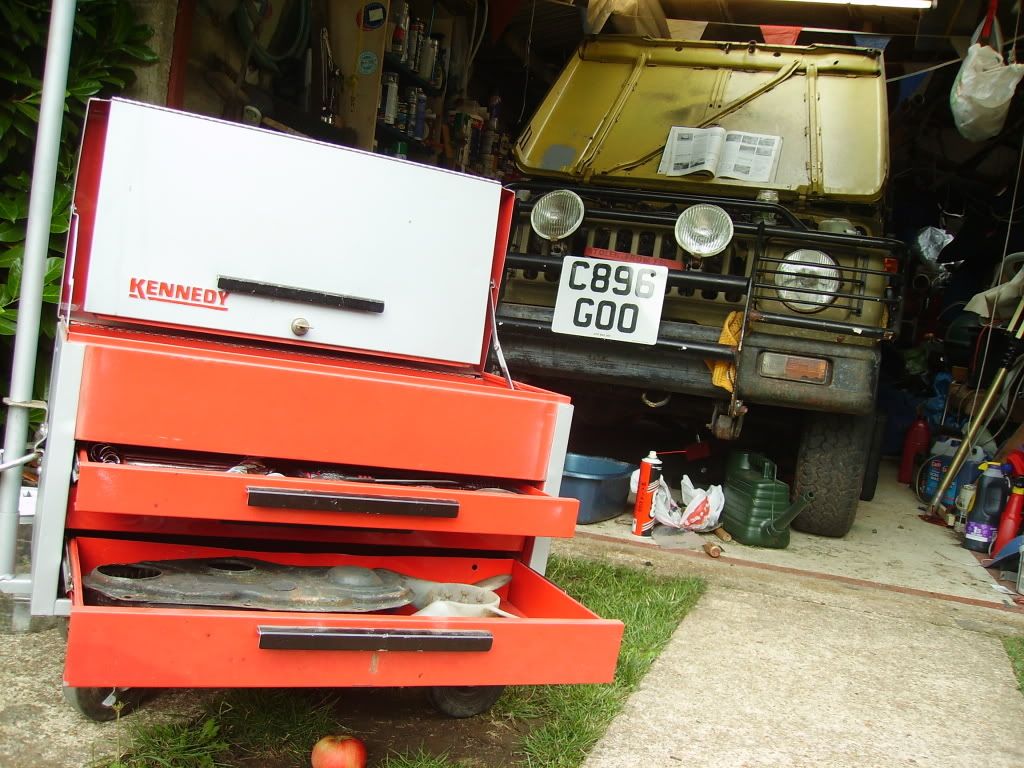
it was warm in this picture, hard to remember at the moment.
Image

Image

Image

Image

Image

Image

Image

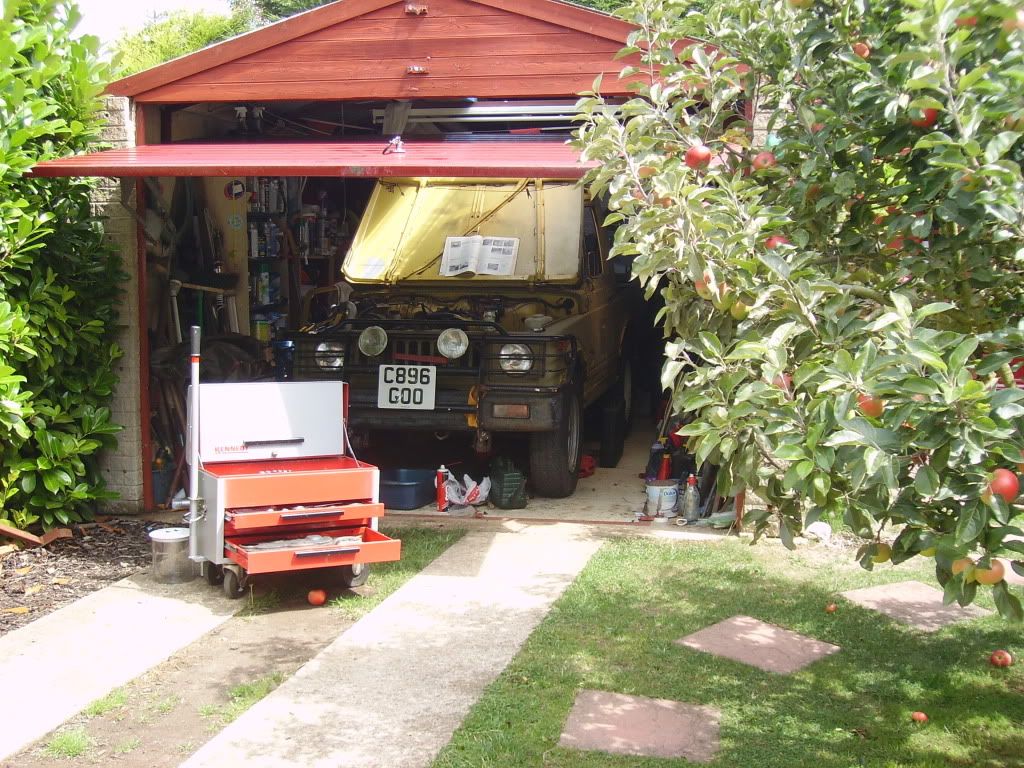
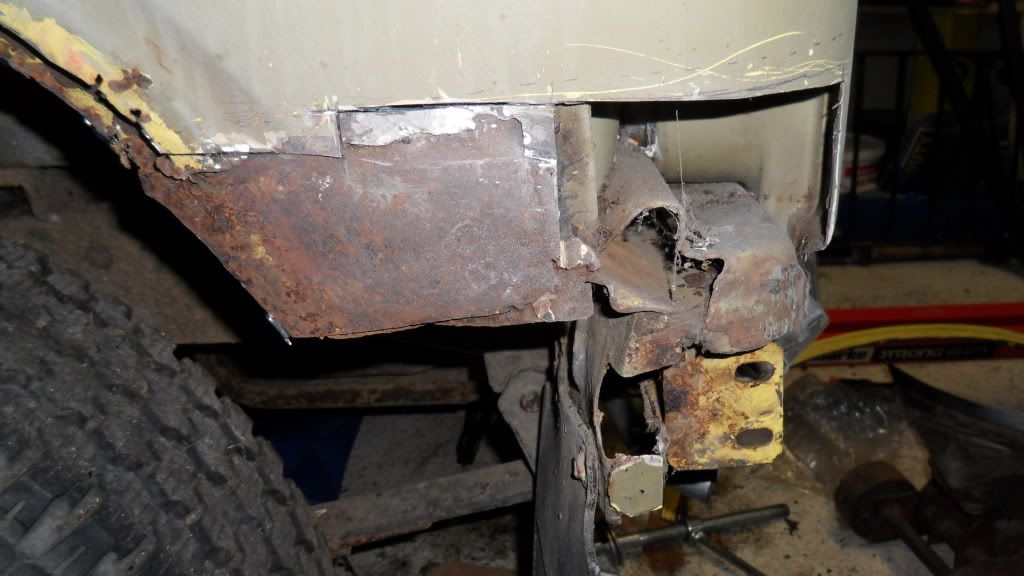
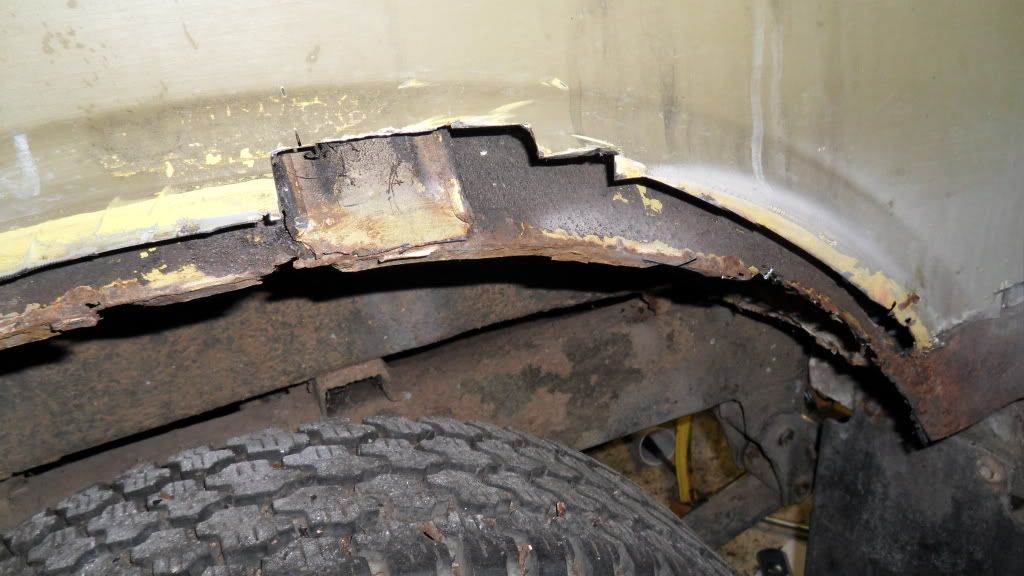
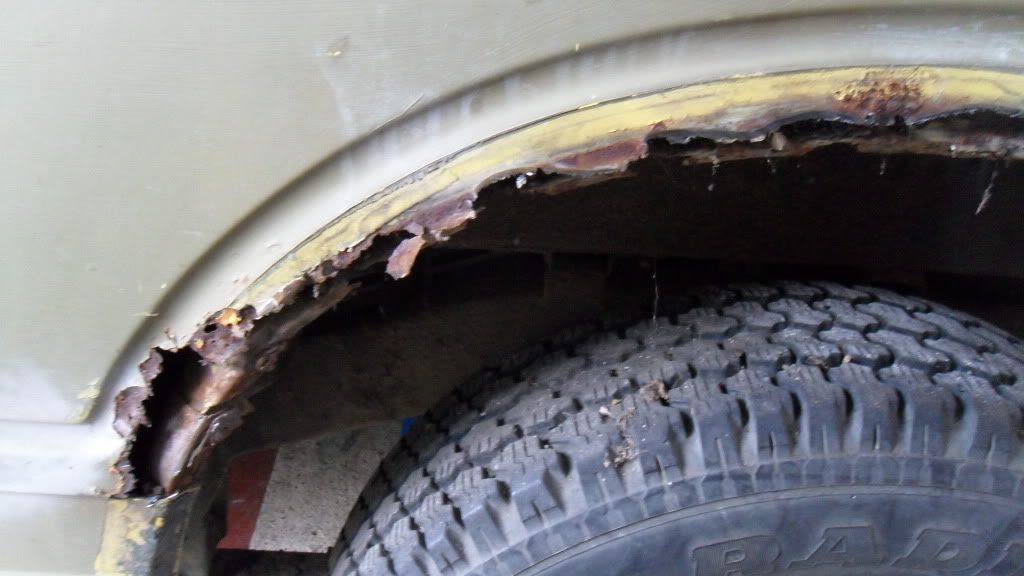
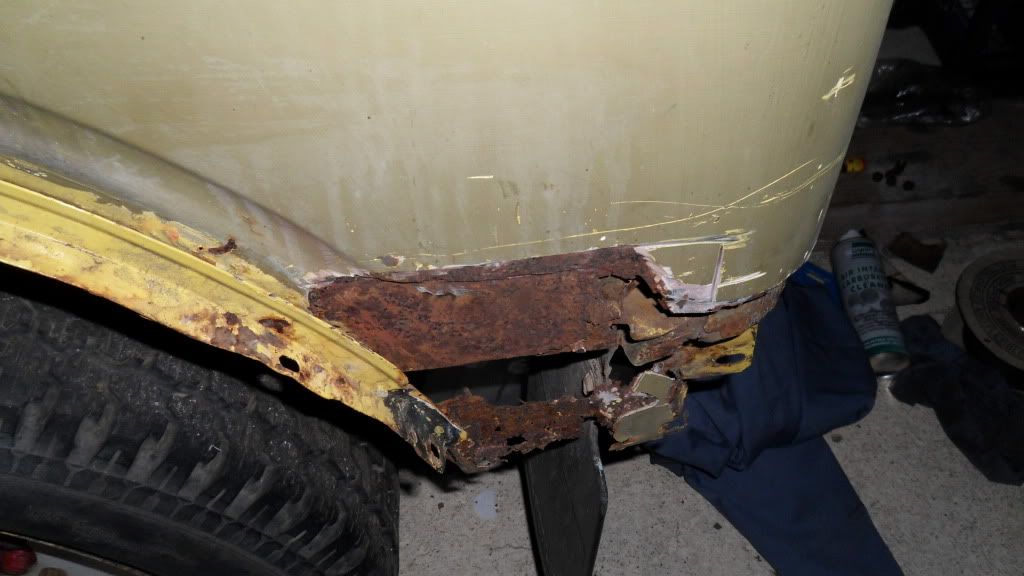
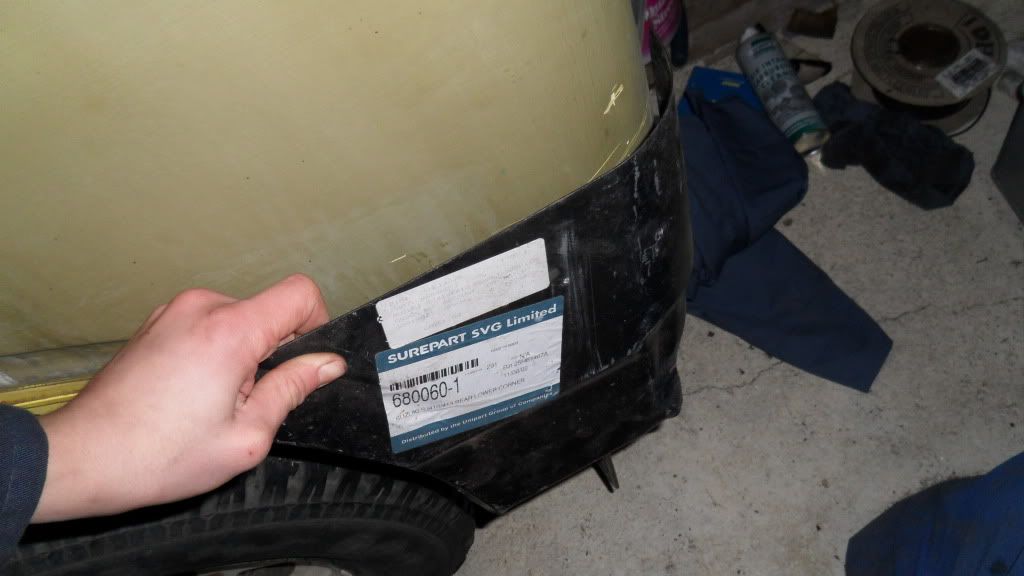
now shes running as sweet as ever, i love it! but its not the end of course i still have to repair the rear quarter panels but should be easy now i have propper panels from pistonheads. im thinking of painting it beige like the old landcruisers.

Image

Image

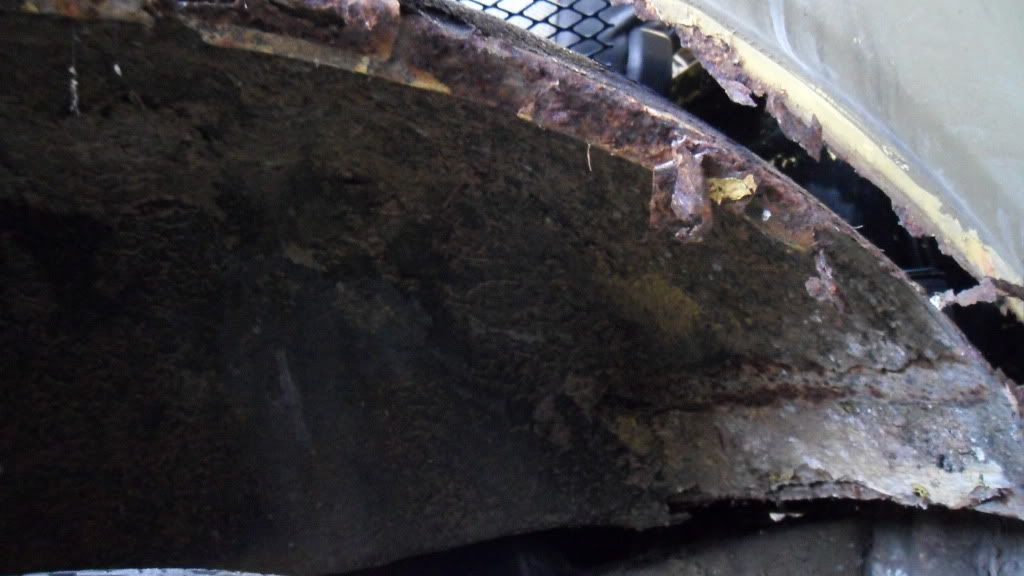
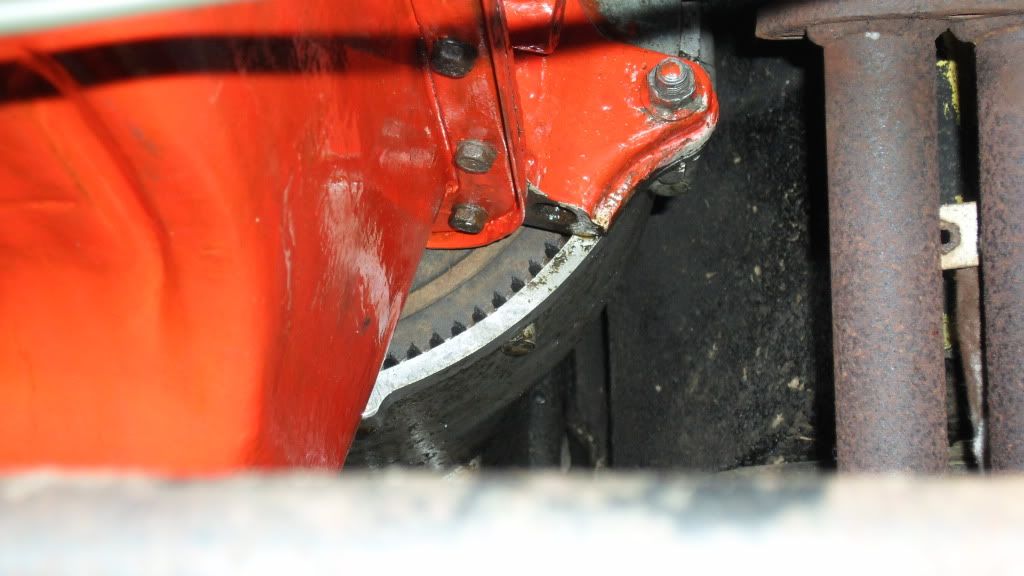
when i was underneeth i noticed the bottom of the fly-wheel was exposed, this isnt right is it? so dose anyone have a cover they could sell me?

Image

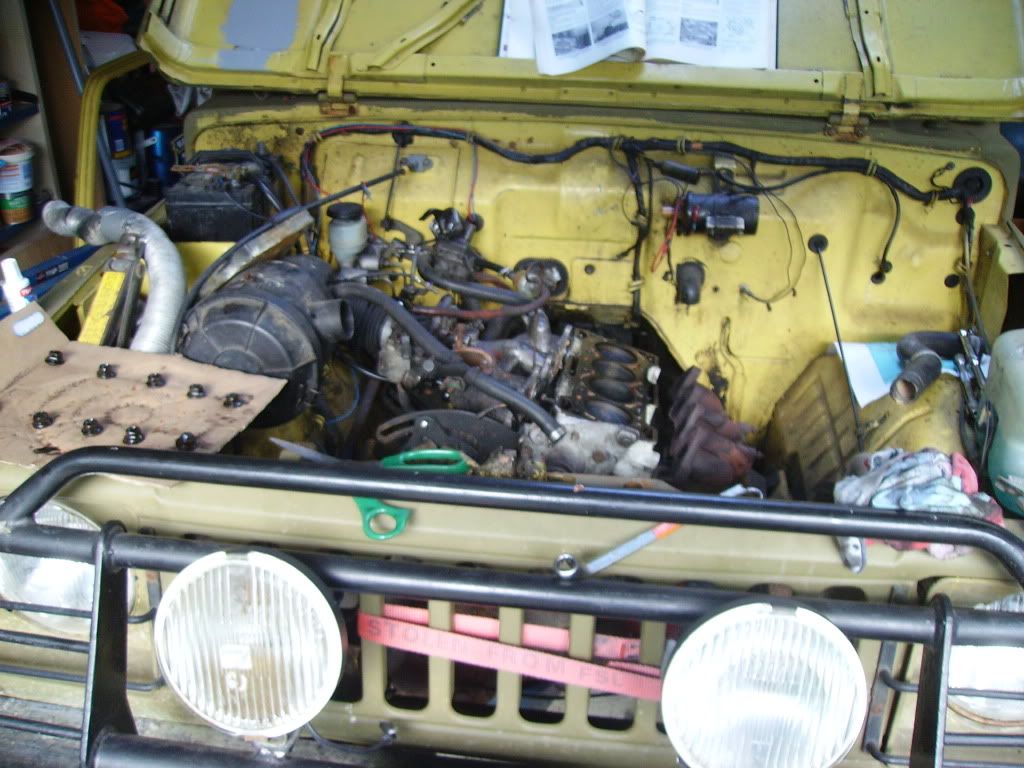
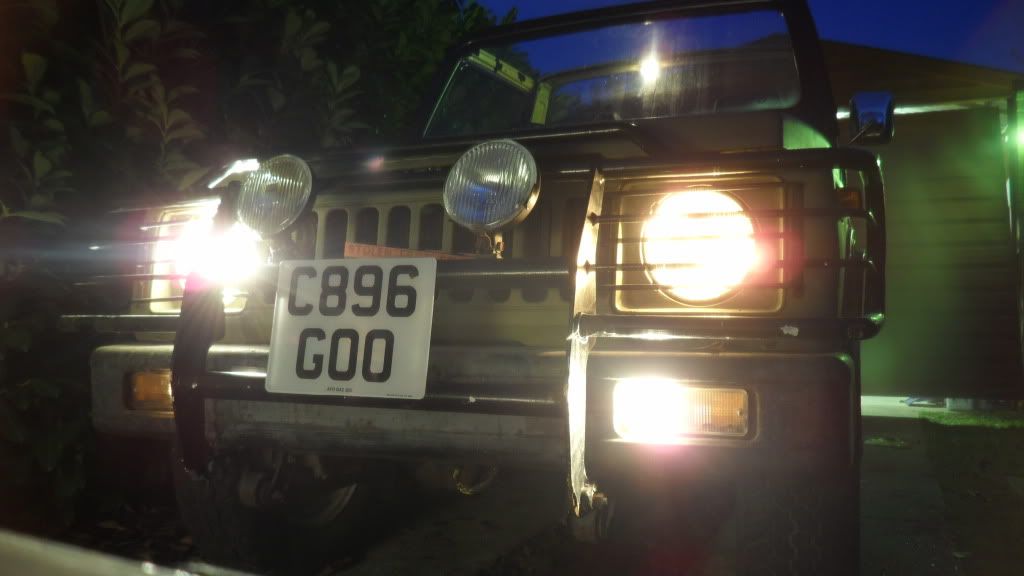
here is my favorite picture though, this was taken with it running.

Image

thanks for reading my post though heres some light trails to finish it off.

Image

Image

Image

Image

User avatar
albertross74
Can I have a tow
Can I have a tow
Posts: 322
Joined: Tue Jan 05, 2010 5:53 pm
Location: Guernsey/Brighton
Contact:

Re: joe's restoration!

Post by albertross74 » Sat Dec 25, 2010 2:39 am

looking smart bro!

keep it up!
1988 Suzuki SJ413 hard-top with 235/75/r15 General Grabber AT2s & AAL
http://www.flickr.com/photos/albertross74/
http://www.myspace.com/picturesbyalasdairround

Turb()
Got muddy boots
Got muddy boots
Posts: 88
Joined: Sun Dec 19, 2010 12:16 pm

Re: joe's restoration!

Post by Turb() » Sun Dec 26, 2010 8:40 am

With my last sammy when I changed the engine from the 1.3 to 1.6 the cover wouldnt fit on anymore so I ditched it.
The only iussue I had was that if you got a load of mud in there it would clog up the starter so I had to keep taking that off to clean it out or it would stick!
I would say it depends what you are intending to use the SJ for as to wether you need to bother finding something to cover it, but if you do I would make it a nice seal to stop anything getting in :)

User avatar
zacspeed
Got muddy boots
Got muddy boots
Posts: 8
Joined: Fri Nov 26, 2010 10:37 pm
Location: Norwich

Re: joe's restoration!

Post by zacspeed » Sun Dec 26, 2010 9:41 am

Looking good mate :) Like the long exposure doodling 8-)
If Jesus was Jewish, how come he had a Mexican name?

User avatar
dunk
Recommended Trader
Recommended Trader
Posts: 73
Joined: Thu Oct 28, 2010 3:24 pm
Location: Inkberrow nr Worcester

Re: joe's restoration!

Post by dunk » Thu Dec 30, 2010 6:33 pm

Just a little tip as you have had the head to bits. The little screws that hold the rockers on love to come undone on there own and fall into the valves. If you use a pin punch and drift it in the side of the screw when you have done them up they won't come undone on there own. ;)
Image

User avatar
twiss
SCUK Computer Wizard
Posts: 6110
Joined: Mon Nov 08, 2010 2:28 pm
Location: Birkirkara, Malta
Contact:

Re: joe's restoration!

Post by twiss » Thu Dec 30, 2010 6:58 pm

Like the reg number :)
Twiss

'93 Suzuki Samurai Sport 1.6 16v SU. Virtual lift, spring under, 31s
'93 Maruti Gypsy MG410

"If brute force doesn't fix your problem, you aren't using enough of it."

User avatar
mk1joe
Winching along now
Winching along now
Posts: 707
Joined: Tue Mar 16, 2010 8:34 pm
Location: gosport

Re: joe's restoration!

Post by mk1joe » Thu Dec 30, 2010 9:37 pm

dunk wrote:Just a little tip as you have had the head to bits. The little screws that hold the rockers on love to come undone on there own and fall into the valves. If you use a pin punch and drift it in the side of the screw when you have done them up they won't come undone on there own. ;)
thanks for a great tip, interesting you said that though because when i took the rocker cover off one of them had already fallen out. i was told that it might have been due to overheating at one point, also the head gasket was stuck to the head, and last the thermostat was missing. but i deffinately will take your advice and pin punch the screws.
thanks

Seth
Got muddy boots
Got muddy boots
Posts: 18
Joined: Tue May 25, 2010 11:03 am

Re: joe's restoration!

Post by Seth » Mon Jan 03, 2011 8:52 pm

Love that little strap wrapped around the grill, I guess you never bought it. :)

User avatar
mk1joe
Winching along now
Winching along now
Posts: 707
Joined: Tue Mar 16, 2010 8:34 pm
Location: gosport

Re: joe's restoration!

Post by mk1joe » Sun Jan 09, 2011 9:55 pm

made merry with the grinder today, ended up cutting away more then i thought though. i started cutting away the rear lower quater pannel and then it extended to the wheel arch, i was going to put a strip of fibreglass tape inside but now it seems more apropriate to weld new metal on there as it is quite a gap.

Image

Image

Image

Image

im out of my depth with bodywork really as im more into the mechanical side of motoring but it is a subject i really want to get into, i have bought a mig wealder and really i just need to get on with it but any tips would be great, books and the internet can tell you so much information but im sure someone on here has welded this spacific area before and might be able to help.
thanks
joe

User avatar
ScottieJ
The Boss
The Boss
Posts: 11607
Joined: Tue Apr 15, 2008 12:13 pm
Location: Chippenham, wiltshire

Re: joe's restoration!

Post by ScottieJ » Mon Jan 10, 2011 1:52 pm

Take it slow! sj panels are really thin so don't go running long beads of weld or you'll just blow holes through it and warp the pannels.

use as low a setting as you can get away with without loosing penetration and tack everything in place first. allow time for the metal to cool inbetween welds. weld an inch or so at a time, and alternate form one end of the arch to the other so while one side is cooling you are welding the other etc.

It might be worth you going down the virtual lift route if all your arches are as bad as that one? I think it will actually make your job easier and if you want to fit larger tyres you wont need to lift it :mrgreen: well unless you are going down the full restoration route and want it to look standard?
Zuki Build

Steady as she goes!

Post Reply