Page 41 of 66
Re: Scottie's Zuke
Posted: Sat Jul 28, 2012 12:16 am
by ianedwards
He he, looks interesting lol
Re: Scottie's Zuke
Posted: Sat Jul 28, 2012 7:49 pm
by sam16v
Nice! noticed that bad boy on Ebay, worth every penny, Should make your already capable truck almost un stoppable.
Re: Scottie's Zuke
Posted: Fri Aug 03, 2012 12:39 pm
by ScottieJ
Re: Scottie's Zuke
Posted: Fri Aug 03, 2012 1:27 pm
by TanZuk
Hey Scott,
Looks like you are getting very close!!

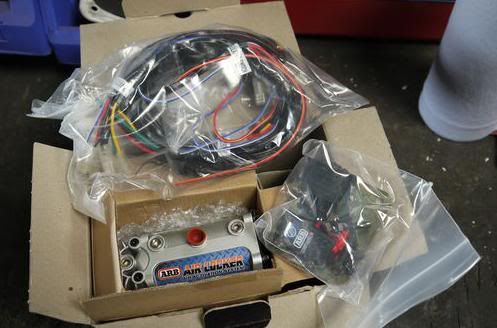
Like the new lockers

, believe that you said air locker. Have you decided on a place for a small compressor or do you have something else in mind?
That’s a shame that you over tweaked that 1 spring. This can easily happen if you over twist them when flexing even with brand new springs. Sounds like you may have to lower your bump stops a bit just incase.
I’m curious if you have fired the motor with the new SU setup yet?
Great work keep it going
Terry
Re: Scottie's Zuke
Posted: Fri Aug 03, 2012 2:06 pm
by ScottieJ
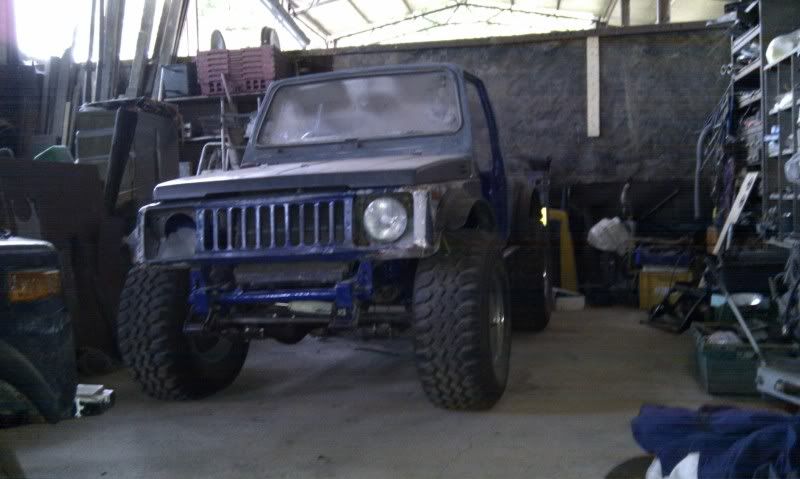
Cheers Terry, Yes I'm hoping I'll have it almost ready for the MOT by the end of this weekend. My Father's SJ is pretty much ready as well now!
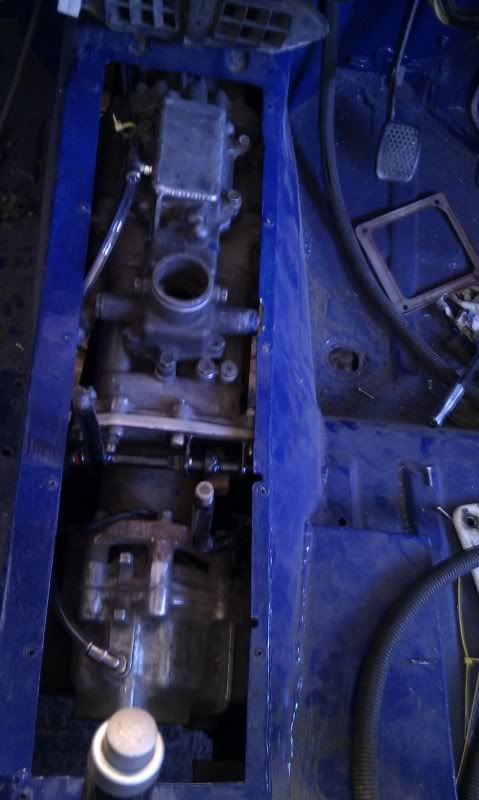
I was careful not to flex the spring past flat while flexing it up usually by putting a block of wood in place of where the bump stop was going to be, I'm hoping it's just because I was always flexing it up on the same side? It does also look a lot worse than it actually is because the tyre has lost a bit of air, there was only about 15mm difference between the two sides if I remember correctly when I measured it a few weeks ago. I'll have a bit of play over the weekend and see if I can get it to sit a bit more level, I think I'll be able to sort it out (fingers crossed). I've set the bump stops so that they stop up travel just before the springs go flat, I've heard YJs will handle going a little bit past flat but personally I didn't want to risk it.
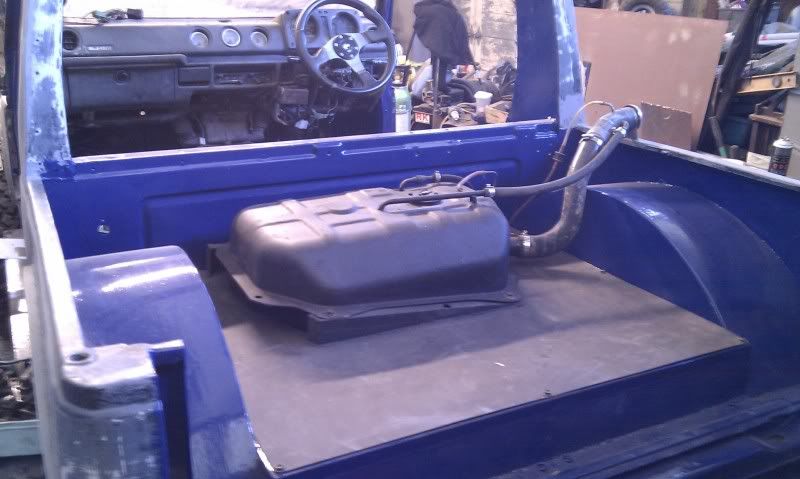
I got the compressor with the locker
I'm going to mount it centrally on the bulkhead behind the seats, should be a good spot, out of harms way and easily accessible to hook up the air line to pump up my tyres if needed
just below the pocket cut out
")
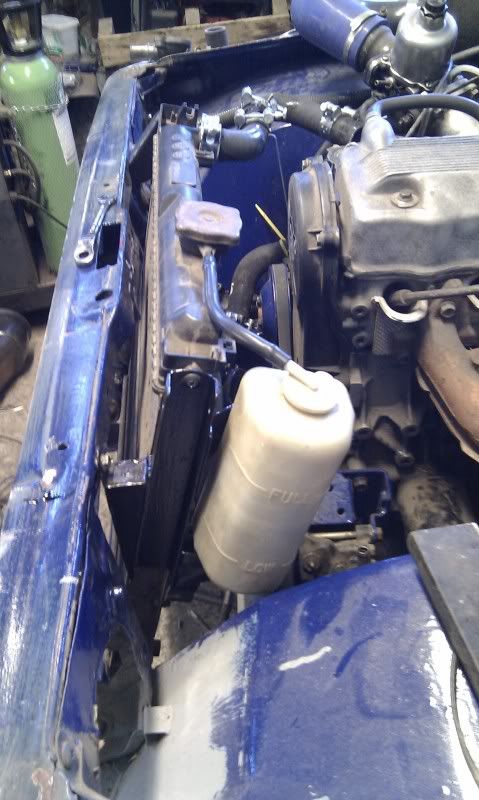
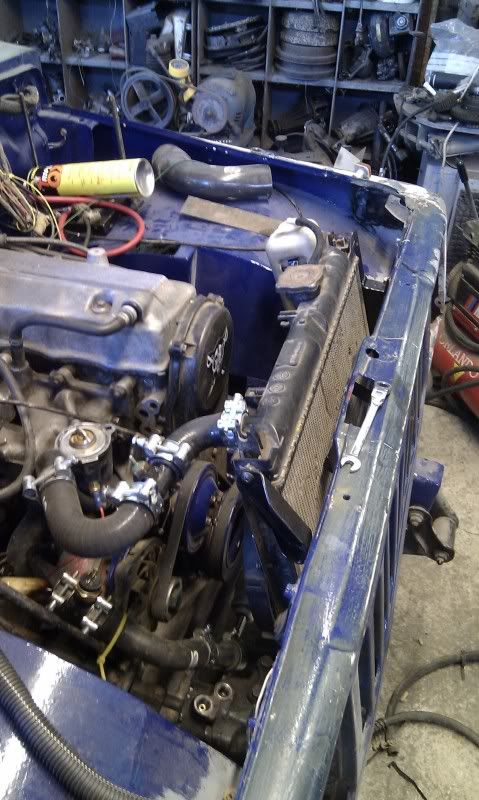
And yes the motor fired up straight away and seems to run very well, I still need to modify the Vac advance take off position on the SU as it's on the inlet side of the butterfly at the moment but apart from that it feels like it's going to be an improvement over the original carb. I'll get a video over the weekend of it running.
Cheers
Re: Scottie's Zuke
Posted: Fri Aug 03, 2012 3:58 pm
by dan_2k_uk
Looking good. Im feeling the pressure aswell (2 weeks!!!)
I need to get it in for a test asap so I have maximum time to sort any issues.
Terry, there is a video of mine running on the same SU setup in my build thread if you are interested.
Dan
Re: Scottie's Zuke
Posted: Fri Aug 03, 2012 5:15 pm
by TanZuk
Scott,
It sounds by the way you described on setting up the springs works for me. Perhaps that may just be a bit too much for those or that 1 spring. I have seen springs settle in about ½” or 13MM though after use.
Maybe the others will settle in to the same height after some ruff wheeling. I’m sure that you will sort it out.
Glad to here that the motor fired.

I know that we had talked about the Dizzy vacuum port that needs to be added. I also read that thread that you posted for me about the procedure.
I was curious how you were going to do this? Have you got acces to a drill press? That would probably be the easiest machine for the job. It’s a shame you guys aren’t closer I would not mind giving you a hand with these little projects.
Dan, thanks for letting me know about your video. Unfortunately I have dialup and it is too slow for me to take advantage of the video.

Terry
Re: Scottie's Zuke
Posted: Fri Aug 03, 2012 5:49 pm
by ScottieJ
We'll see how it goes over the weekend, hopefully i'll get it sitting level again.
And yes I have both a bench and floor mounted drill press and was going to use one of them for the job, don't think a hand drill would be precise enough

I'll probably whip it off over the weekend to do that as it shouldnt take long, i'll take some detailed pics of the process for others to use as a reference while I'm at it as that is one thing that thread didn't have.
Re: Scottie's Zuke
Posted: Fri Aug 03, 2012 7:40 pm
by dan_2k_uk
I just drilled it with a hand drill and pressed a little brass pipe from the old carb into it with some grips!

Then again I do spend half my time at work drilling containment on top of tool boxes, cable drums, or 20ft up in the air on a cherry picker so Im pretty confident with one.
Dan
Re: Scottie's Zuke
Posted: Mon Aug 06, 2012 9:32 am
by ScottieJ
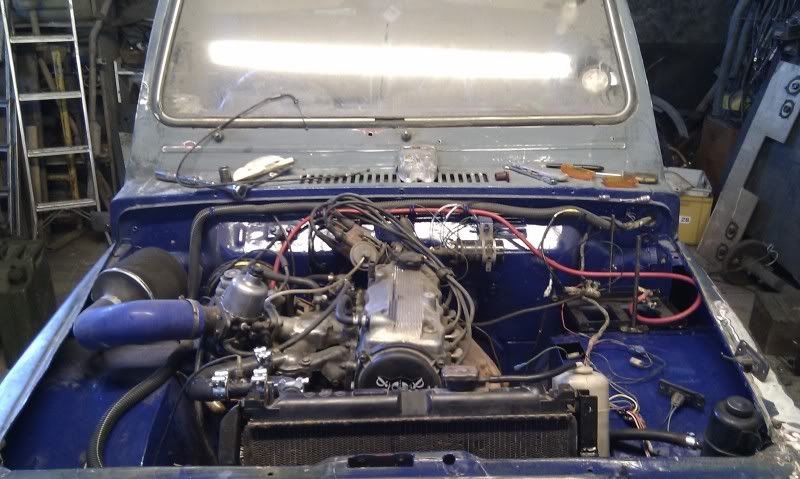
Got loads done over the weekend, should hopefully be ready for it's MOT by the end of next weekend as well

Drilled the new vac take off for the SU, but I forgot to take some pics, was so simple to do though
I had a spare vac take off on another carb so trimmed it down and welded up the end to plug the old vac take off, I Loctited both in to ensure a nice air tight seal.
Also swapped over the front springs, however I'm still getting a klean the same way, must just be an SJ thing
I'm not too bothered really as it's only a tiny lean.
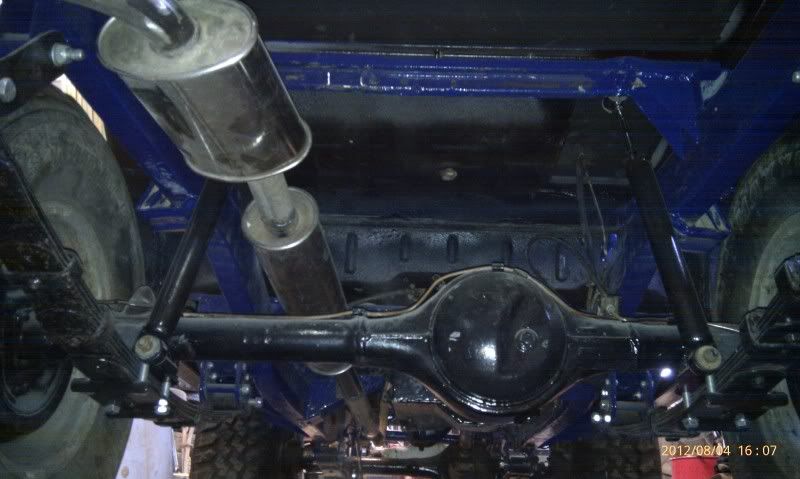

One more coat to go and then I can start bolting everything back together