Page 25 of 66
Re: Scottie's Zuke
Posted: Wed Sep 28, 2011 11:01 am
by dan_2k_uk
twiss wrote:I'll have you know I've spent the last 5 1/2 months trying to find someone to do my welding for free

Unsuccessfully I might add!
I did this for a year and a half
Its a very time consuming process in any build

Ended up bribing Scottie for a few lessons with Bacon Rolls, Pizza, and Beer tokens!
I did however get the welder for free.
Re: Scottie's Zuke
Posted: Wed Sep 28, 2011 12:06 pm
by twiss
Hahah i'm just gonna borrow my mates one!
I said he can come weld some bits for his vw camper in my garage if he keeps the welder at my house
")
Re: Scottie's Zuke
Posted: Sun Oct 02, 2011 8:45 pm
by CoronaSrad
Just gone through the whole thread, 48 hours later and alot of pics im here! Great thread mate, Makes me want to keep mine and do some work to it just wish i had the money/time and knowledge to do all that!
")
Re: Scottie's Zuke
Posted: Mon Oct 03, 2011 1:18 pm
by ScottieJ
Cheers It's been a lot of work over the years and a long learning process!
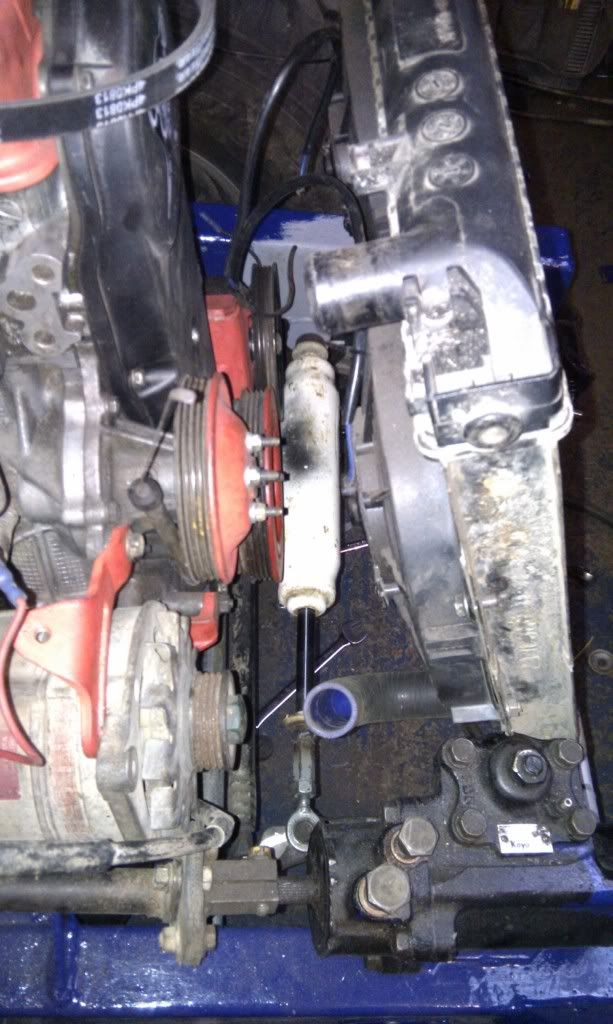
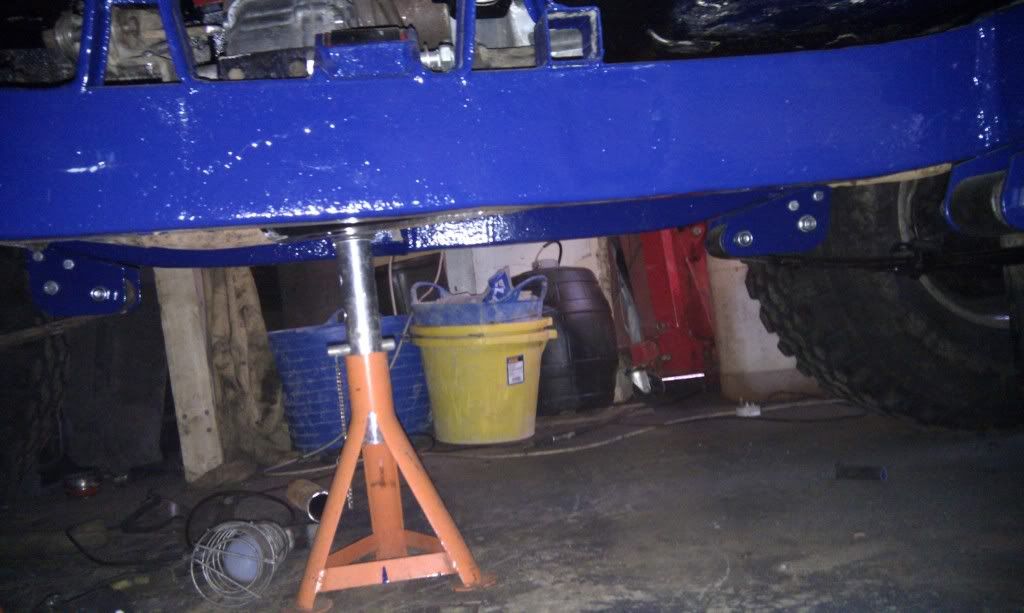
Bit more progress! it's all a case of making stuff fit now, the old radiator mounts didn't work with the power steering and the old steering damper mount also had to come off as it was in the way of the PS pump.
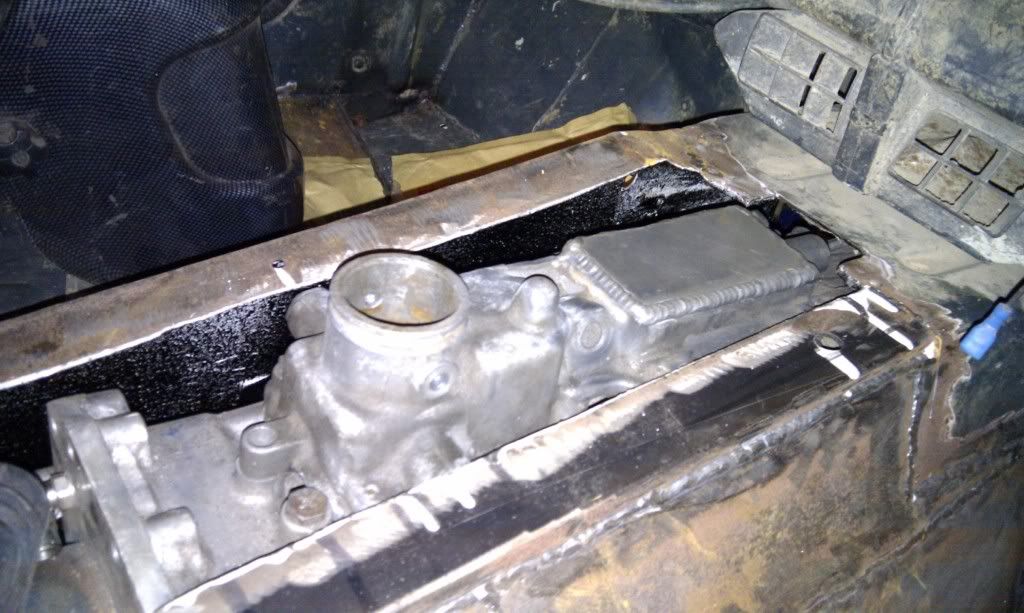
Clearer pic of how tucked up the transmission is.
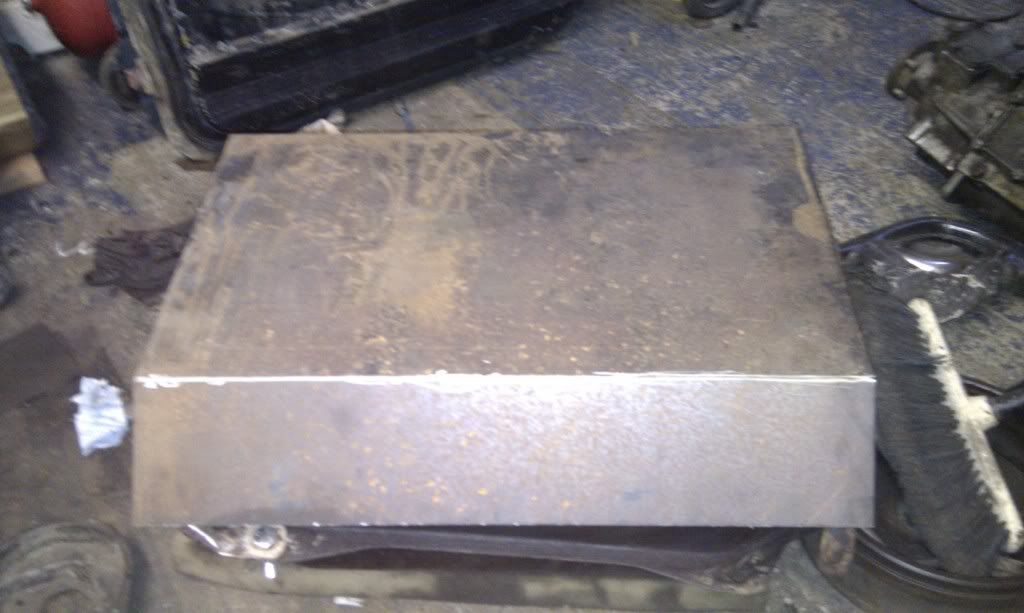
Started knocking up a new tank guard, I'm using the tube from the original one but adding some 3mm steel.
Re: Scottie's Zuke
Posted: Mon Oct 10, 2011 12:50 pm
by ScottieJ
Bit more progress
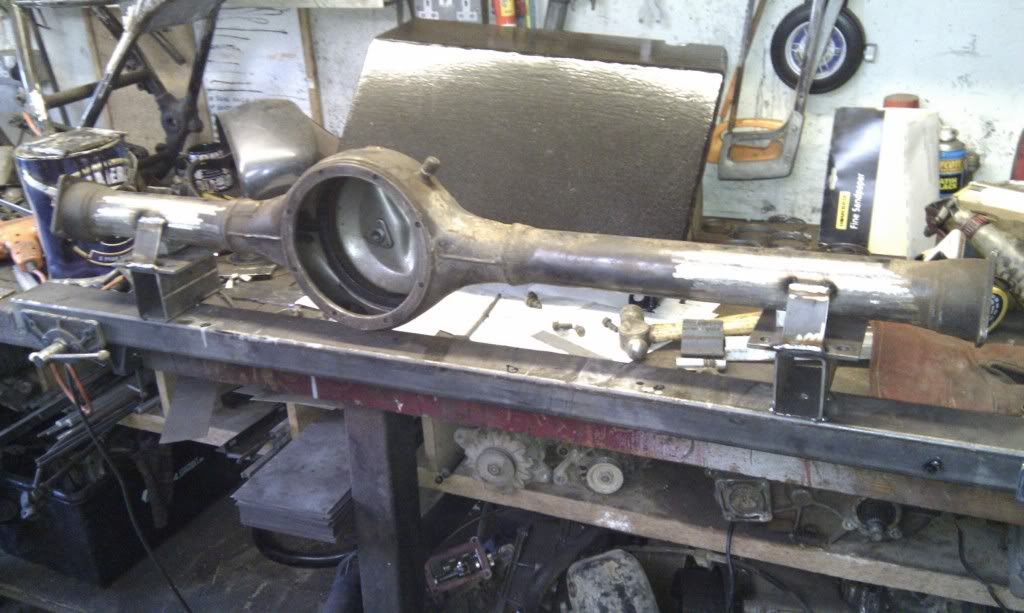
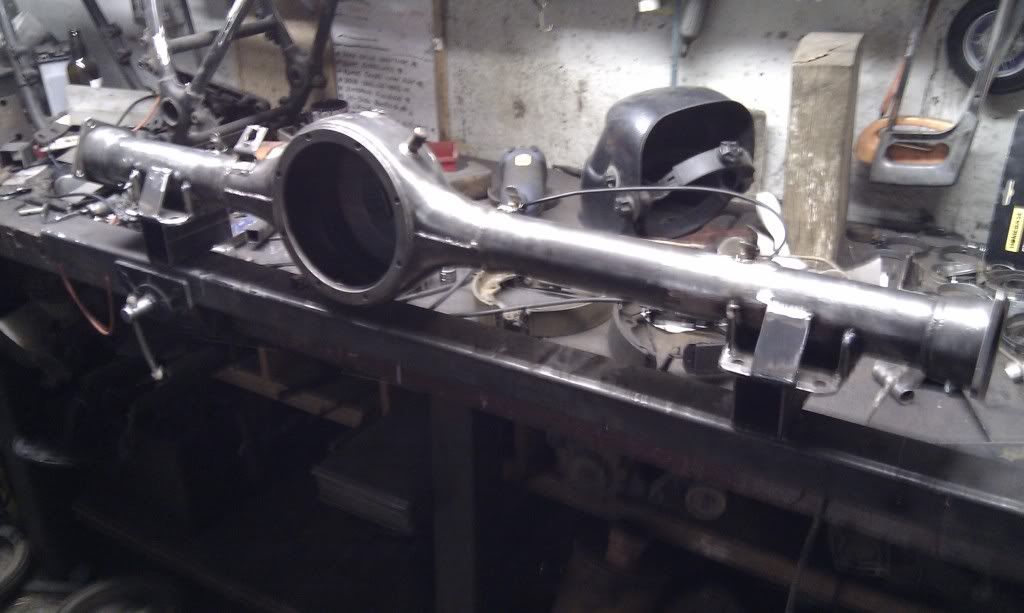
Here's how I set up my sammy axles for the conversion to 410 spring spacing and U-bolt eliminators
I set up my little jig using a 410 axle to space the box section to the correct width, tack the spring plates on to them and set the axle in the correct position and at the correct angle making sure the axle is centred an square with lots of careful measuring.
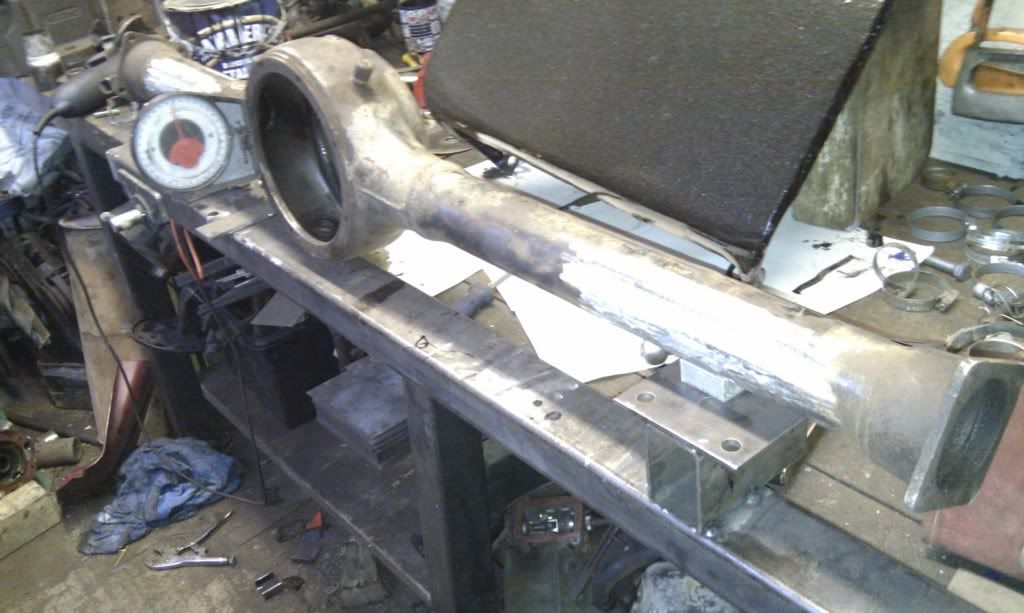
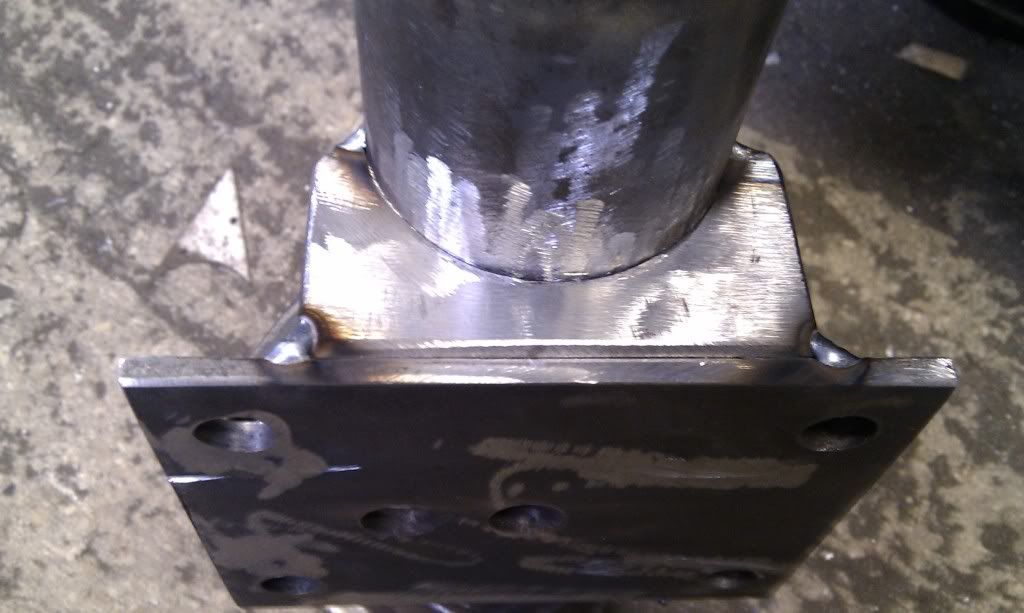
Tack on some plates on each side of the axle, check all the measurements again and weld up.
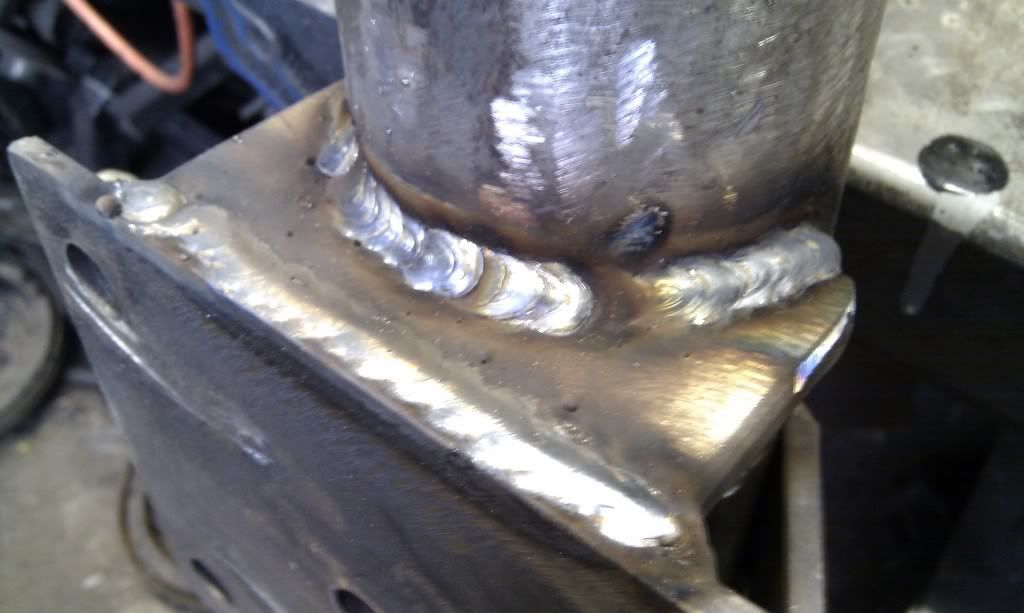
Cut out the main supports, tack them in, cut the tacks to remove axle form the jig and weld them up, allowing plenty of time for the axle to cool in between welds to avoid any axle warpage
Re: Scottie's Zuke
Posted: Fri Oct 21, 2011 12:26 pm
by ScottieJ
Re: Scottie's Zuke
Posted: Fri Oct 21, 2011 2:08 pm
by Karis
ahahaha... ohh dear good job you have different tyres usually!
Re: Scottie's Zuke
Posted: Sat Oct 22, 2011 8:50 pm
by ScottieJ
The sj has a new home

Tomorrow ill be moving all my tools over to the new workshop

- IMAG0091.jpg (188.21 KiB) Viewed 7459 times
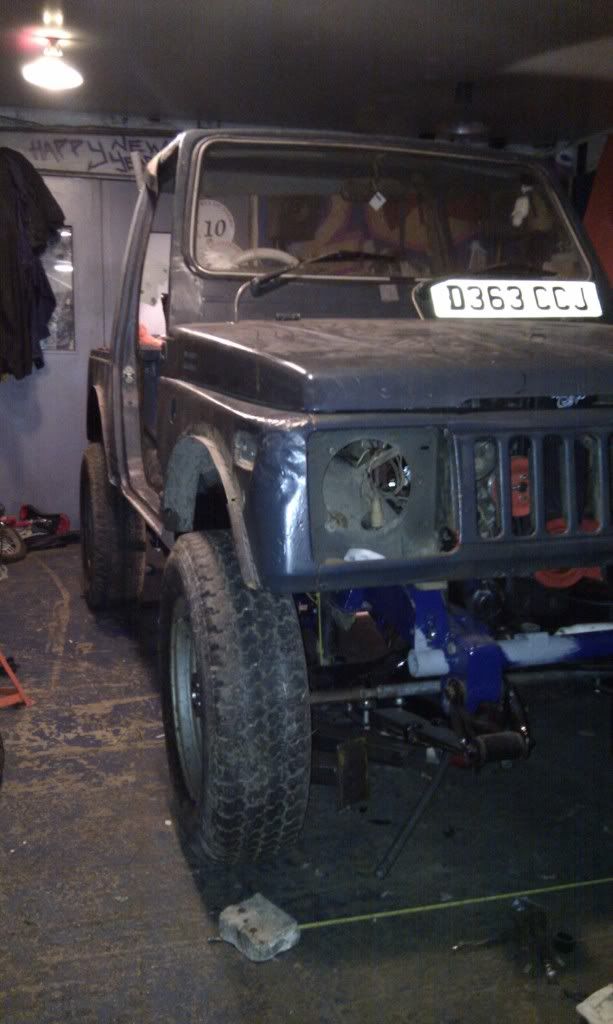
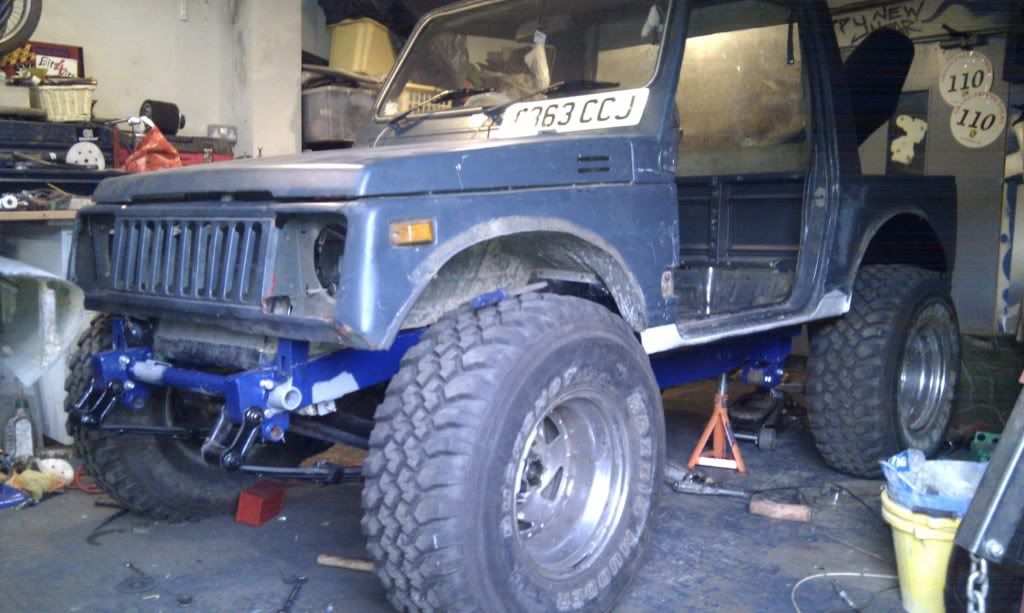
It does look quite sad on stock tyres

- IMAG0092.jpg (185 KiB) Viewed 7459 times
He's also got a bit of company

- IMAG0093.jpg (181.09 KiB) Viewed 7459 times
Re: Scottie's Zuke
Posted: Sat Oct 22, 2011 10:03 pm
by turbo-tom
would love a big work space like that


Re: Scottie's Zuke
Posted: Fri Oct 28, 2011 12:44 pm
by ScottieJ
turbo-tom wrote:would love a big work space like that
It is going to be good to not have to squeeze around the SJ to work on it.

- IMAG0106.jpg (179.31 KiB) Viewed 7404 times
Damn it looks good with the sammy axles and wide wheels