Page 11 of 43
Re: Dans Zook Build - ITS ALIVE!!!!
Posted: Sat Jan 28, 2012 10:02 pm
by dan_2k_uk
Where do you get 4.6's from. On a serious note they are for future use. Just cant resist a bargin. £60 for the pair and they were local. Ive got a 1.3 tbox to swap back in aswell if I need to run them before tyres permit.
EDIT:
Ah just looked at the axle sticky.
The fella seemed to think they were ok with a 410 t-box and 31's so im sure it will be ok in the future with larger tyres.
Dan
Re: Dans Zook Build - ITS ALIVE!!!!
Posted: Sun Jan 29, 2012 10:19 am
by justaddmud
well you could always start with a sammy t-box that could help with road speed
Re: Dans Zook Build - ITS ALIVE!!!!
Posted: Sun Jan 29, 2012 10:29 am
by dan_2k_uk
Yeah but would lose the 20% reduction in low range gears. Will see how I get on.
Might have to get my hands on a trashed rear diff so I can build it up ready and be able to swap it in and try it then swap back if its not right
Re: Dans Zook Build - ITS ALIVE!!!!
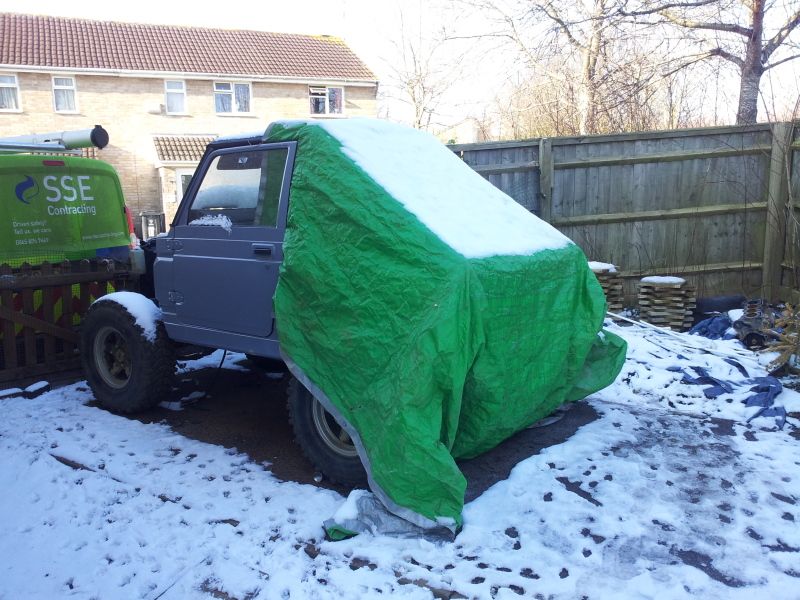
Posted: Sat Feb 11, 2012 6:46 pm
by dan_2k_uk
Re: Dans Zook Build - ITS COLD OUT THERE!!!
Posted: Sat Feb 11, 2012 9:30 pm
by turbo-tom
looking good dan!

, loving the new grey paint work and i think the contrast of the black roof is going to set it right off!

Re: Dans Zook Build - ITS COLD OUT THERE!!!
Posted: Sun Feb 12, 2012 12:25 pm
by dan_2k_uk
turbo-tom wrote:loving the new grey paint work and i think the contrast of the black roof is going to set it right off!
I cant wait to see it with black arch extensions aswell.
Im going to keep the headlight surround black aswell to add to the theme.
Partly because I cant be assed to strip and paint it but also because I think it will look great.
Dan
Re: Dans Zook Build - ITS COLD OUT THERE!!!
Posted: Sun Feb 12, 2012 5:58 pm
by ScottieJ
Looking good man

get that front end painted and on!
Re: Dans Zook Build - ITS COLD OUT THERE!!!
Posted: Wed Feb 22, 2012 7:07 pm
by dan_2k_uk
ScottieJ wrote:Looking good man
get that front end painted and on!
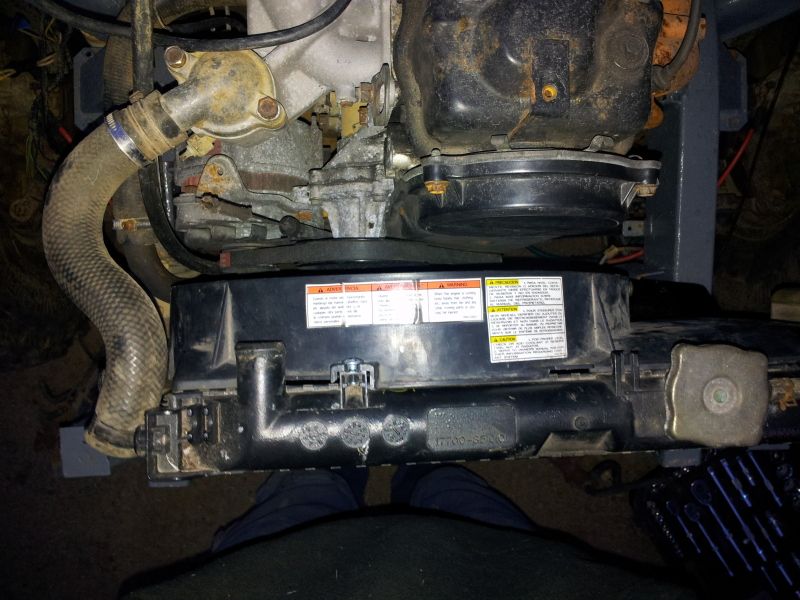
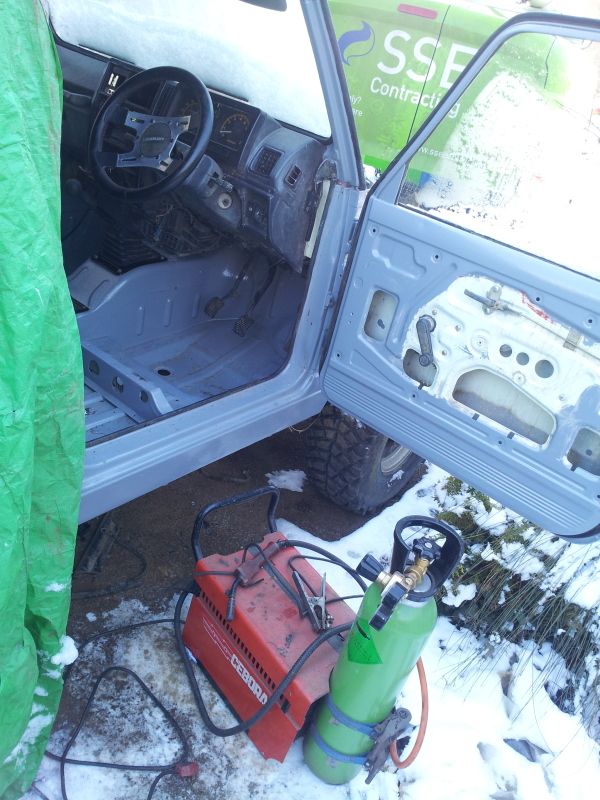
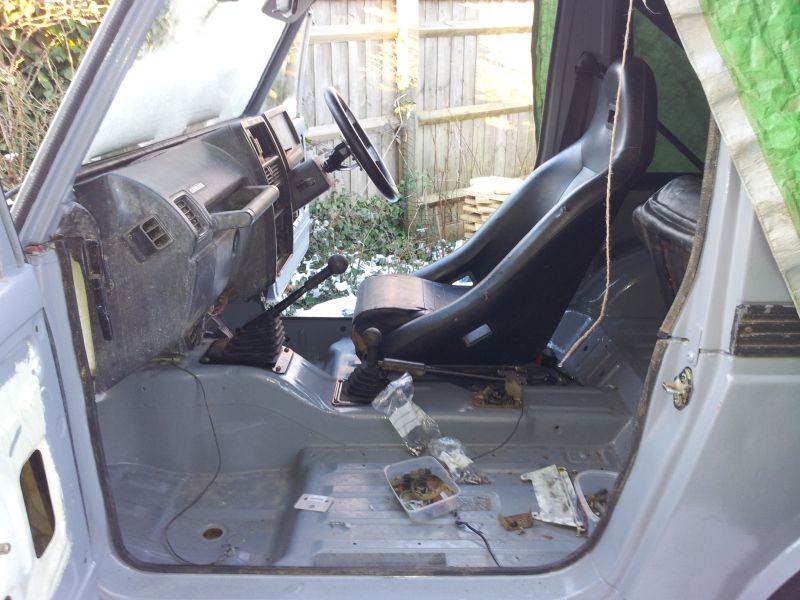
Its been a bit dark and wet outside for that and I was doing Trotters sammy all weekend but I've done a bit more on the passenger seat subframe and knocked up some door cards in the odd hour of light I've had here and there.
got some 1.6mm ally sheet and traced the old card
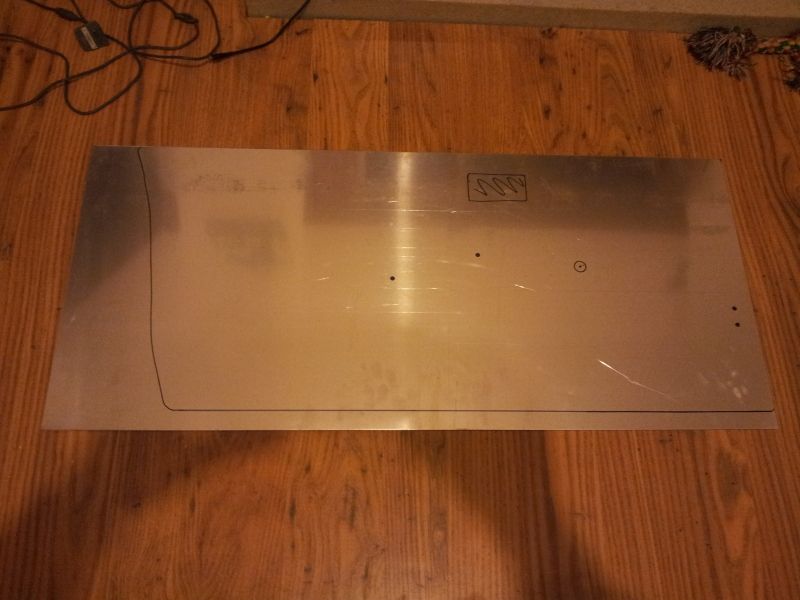
Cut out and rubbed down with Cillit Bang and a Brillo pad for ghetto brushed effect
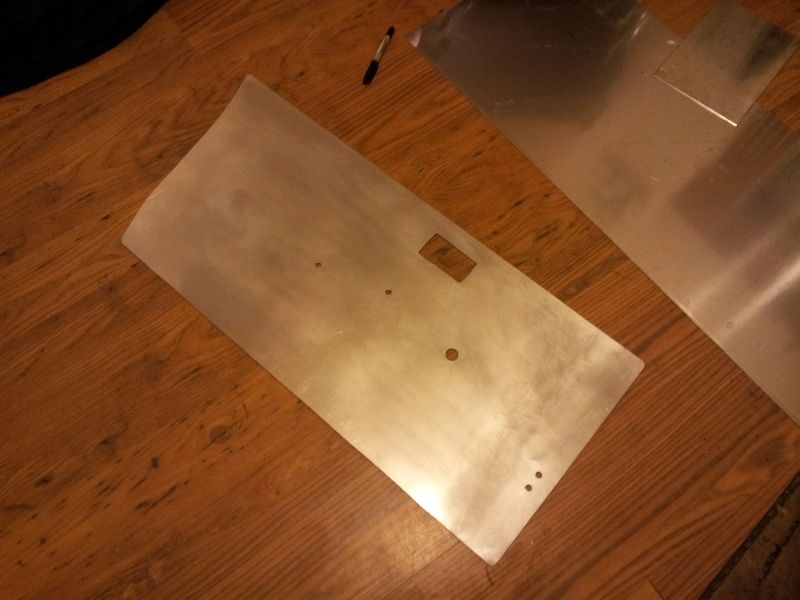
Fitted to truck

Just need to rivet them on once I've given the window mechs a good once over.
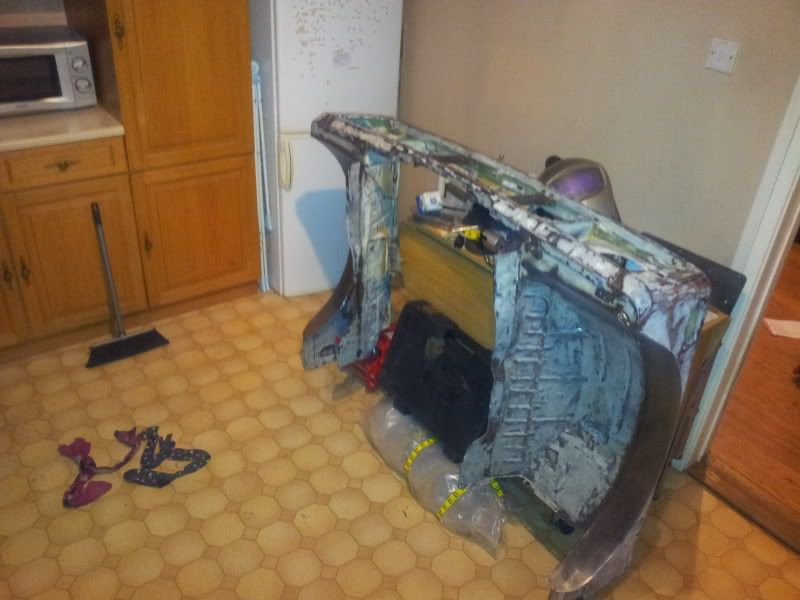
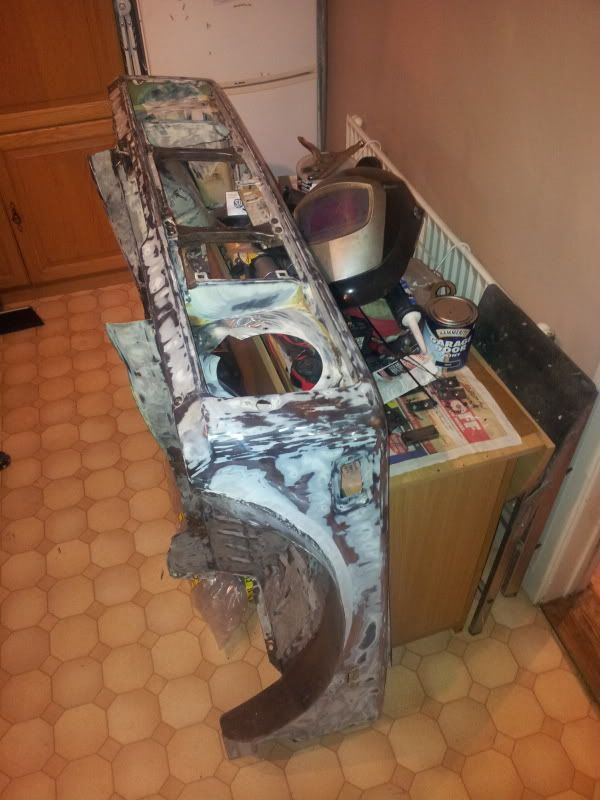
The Front clip is totally finished, fillered, sanded, and ready for paint. So once its dry and light enough I will quickly strip the bonnet down and take them over to my dads garage and paint them.
Dan
Re: Dans Zook Build - ITS COLD OUT THERE!!!
Posted: Sun Feb 26, 2012 7:21 pm
by dan_2k_uk
Been helping/annoying Trotter this weekend so not too much progress on mine.
What I have done is spend way too long making a gauge plate to go over the clock/coin slot and vents.
I'm a sucker for accuracy and spent a good few hours trying different arrangements and ideas before settling on this one.
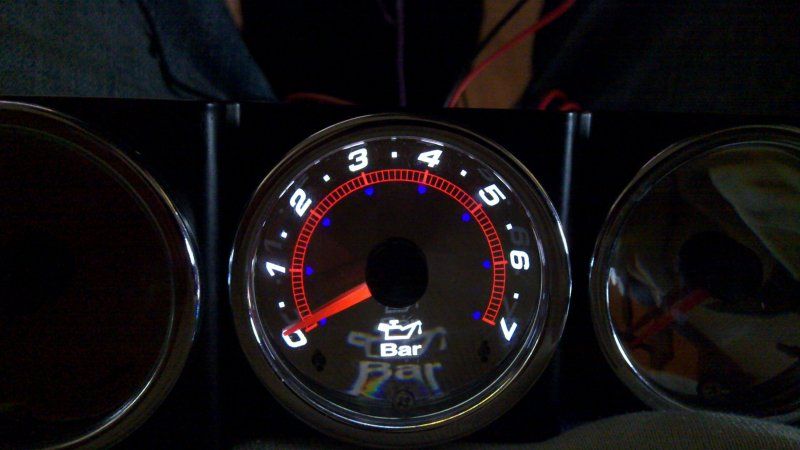
In true keeping with the build the gauges were free! (Coolant temp, Oil temp, Oil pressure)
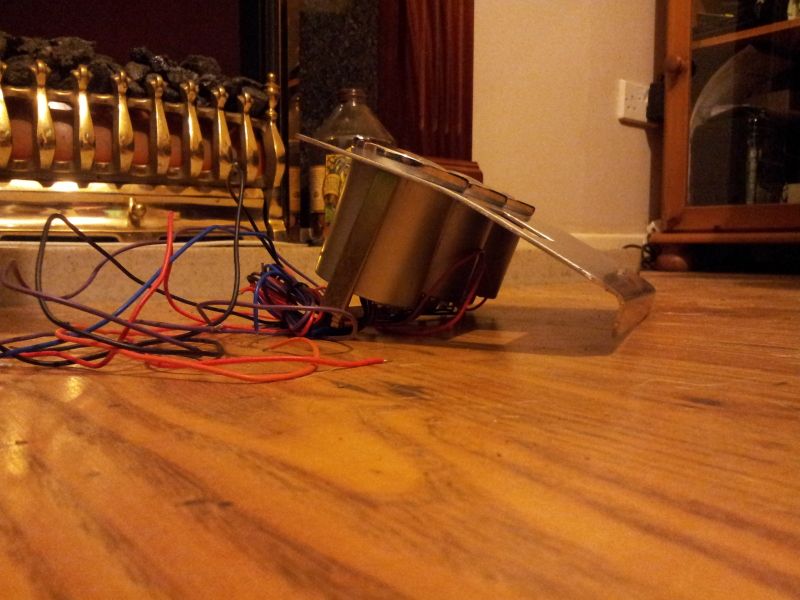
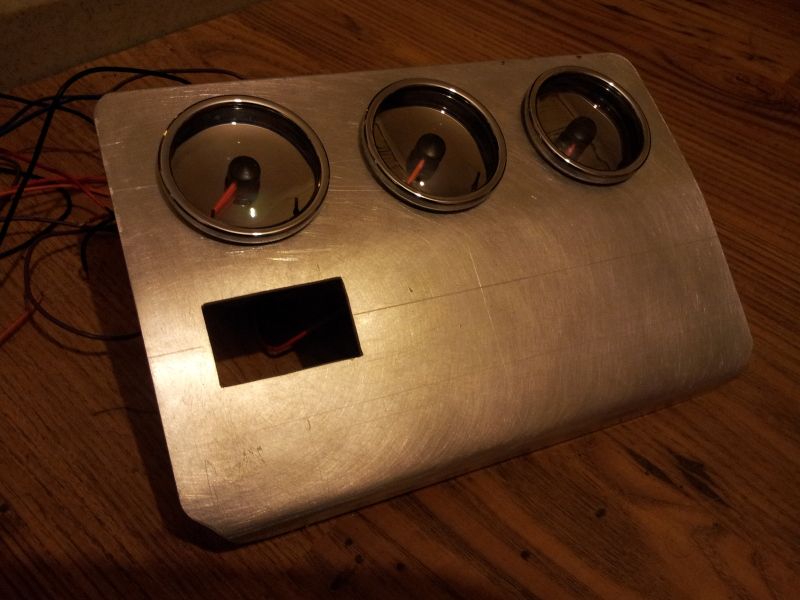
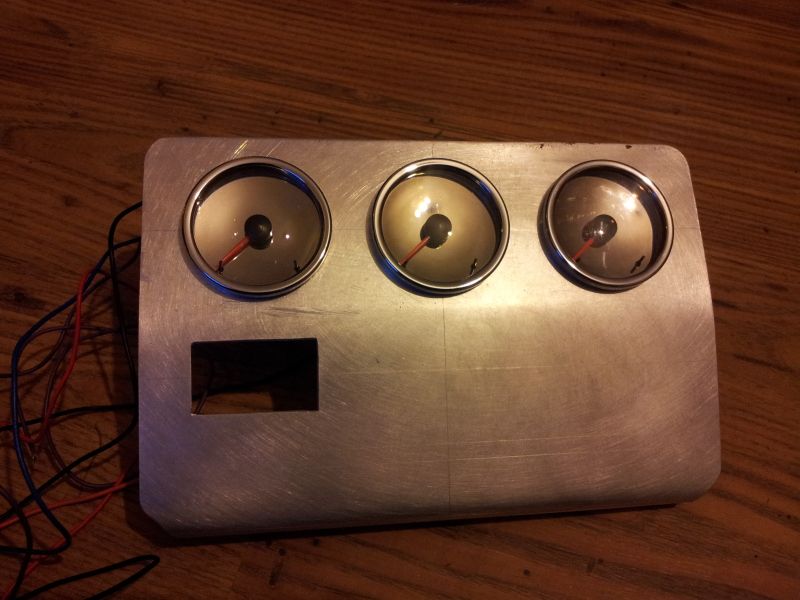
I bent it to fold in under the lip of the heater controls at the bottom to try keep crap from getting up behind.
The rectangle hole is for one of these cheap and cheerful voltmeters (in red) and if when it turns up its reasonable quality I will be ordering a spare for when it dies.
Click Here for Ebay Listing
Next to that will be a line of 5 toggle switches, and possibly a kill switch and immobiliser tag receiver thing in the space below. (need to wait for switches to turn up to drill holes)
The gauges are mirrored but look pretty nice when illuminated.
Dan

Re: Dans Zook Build - ITS FINALLY HOT OUT THERE!!!
Posted: Sun Feb 26, 2012 10:00 pm
by turbo-tom
they look pretty smart them guages please let me know how you fit and wire up your oil temp and people say you have to drill into the sump pan but wont the wires just snap of whilst your off roading etc